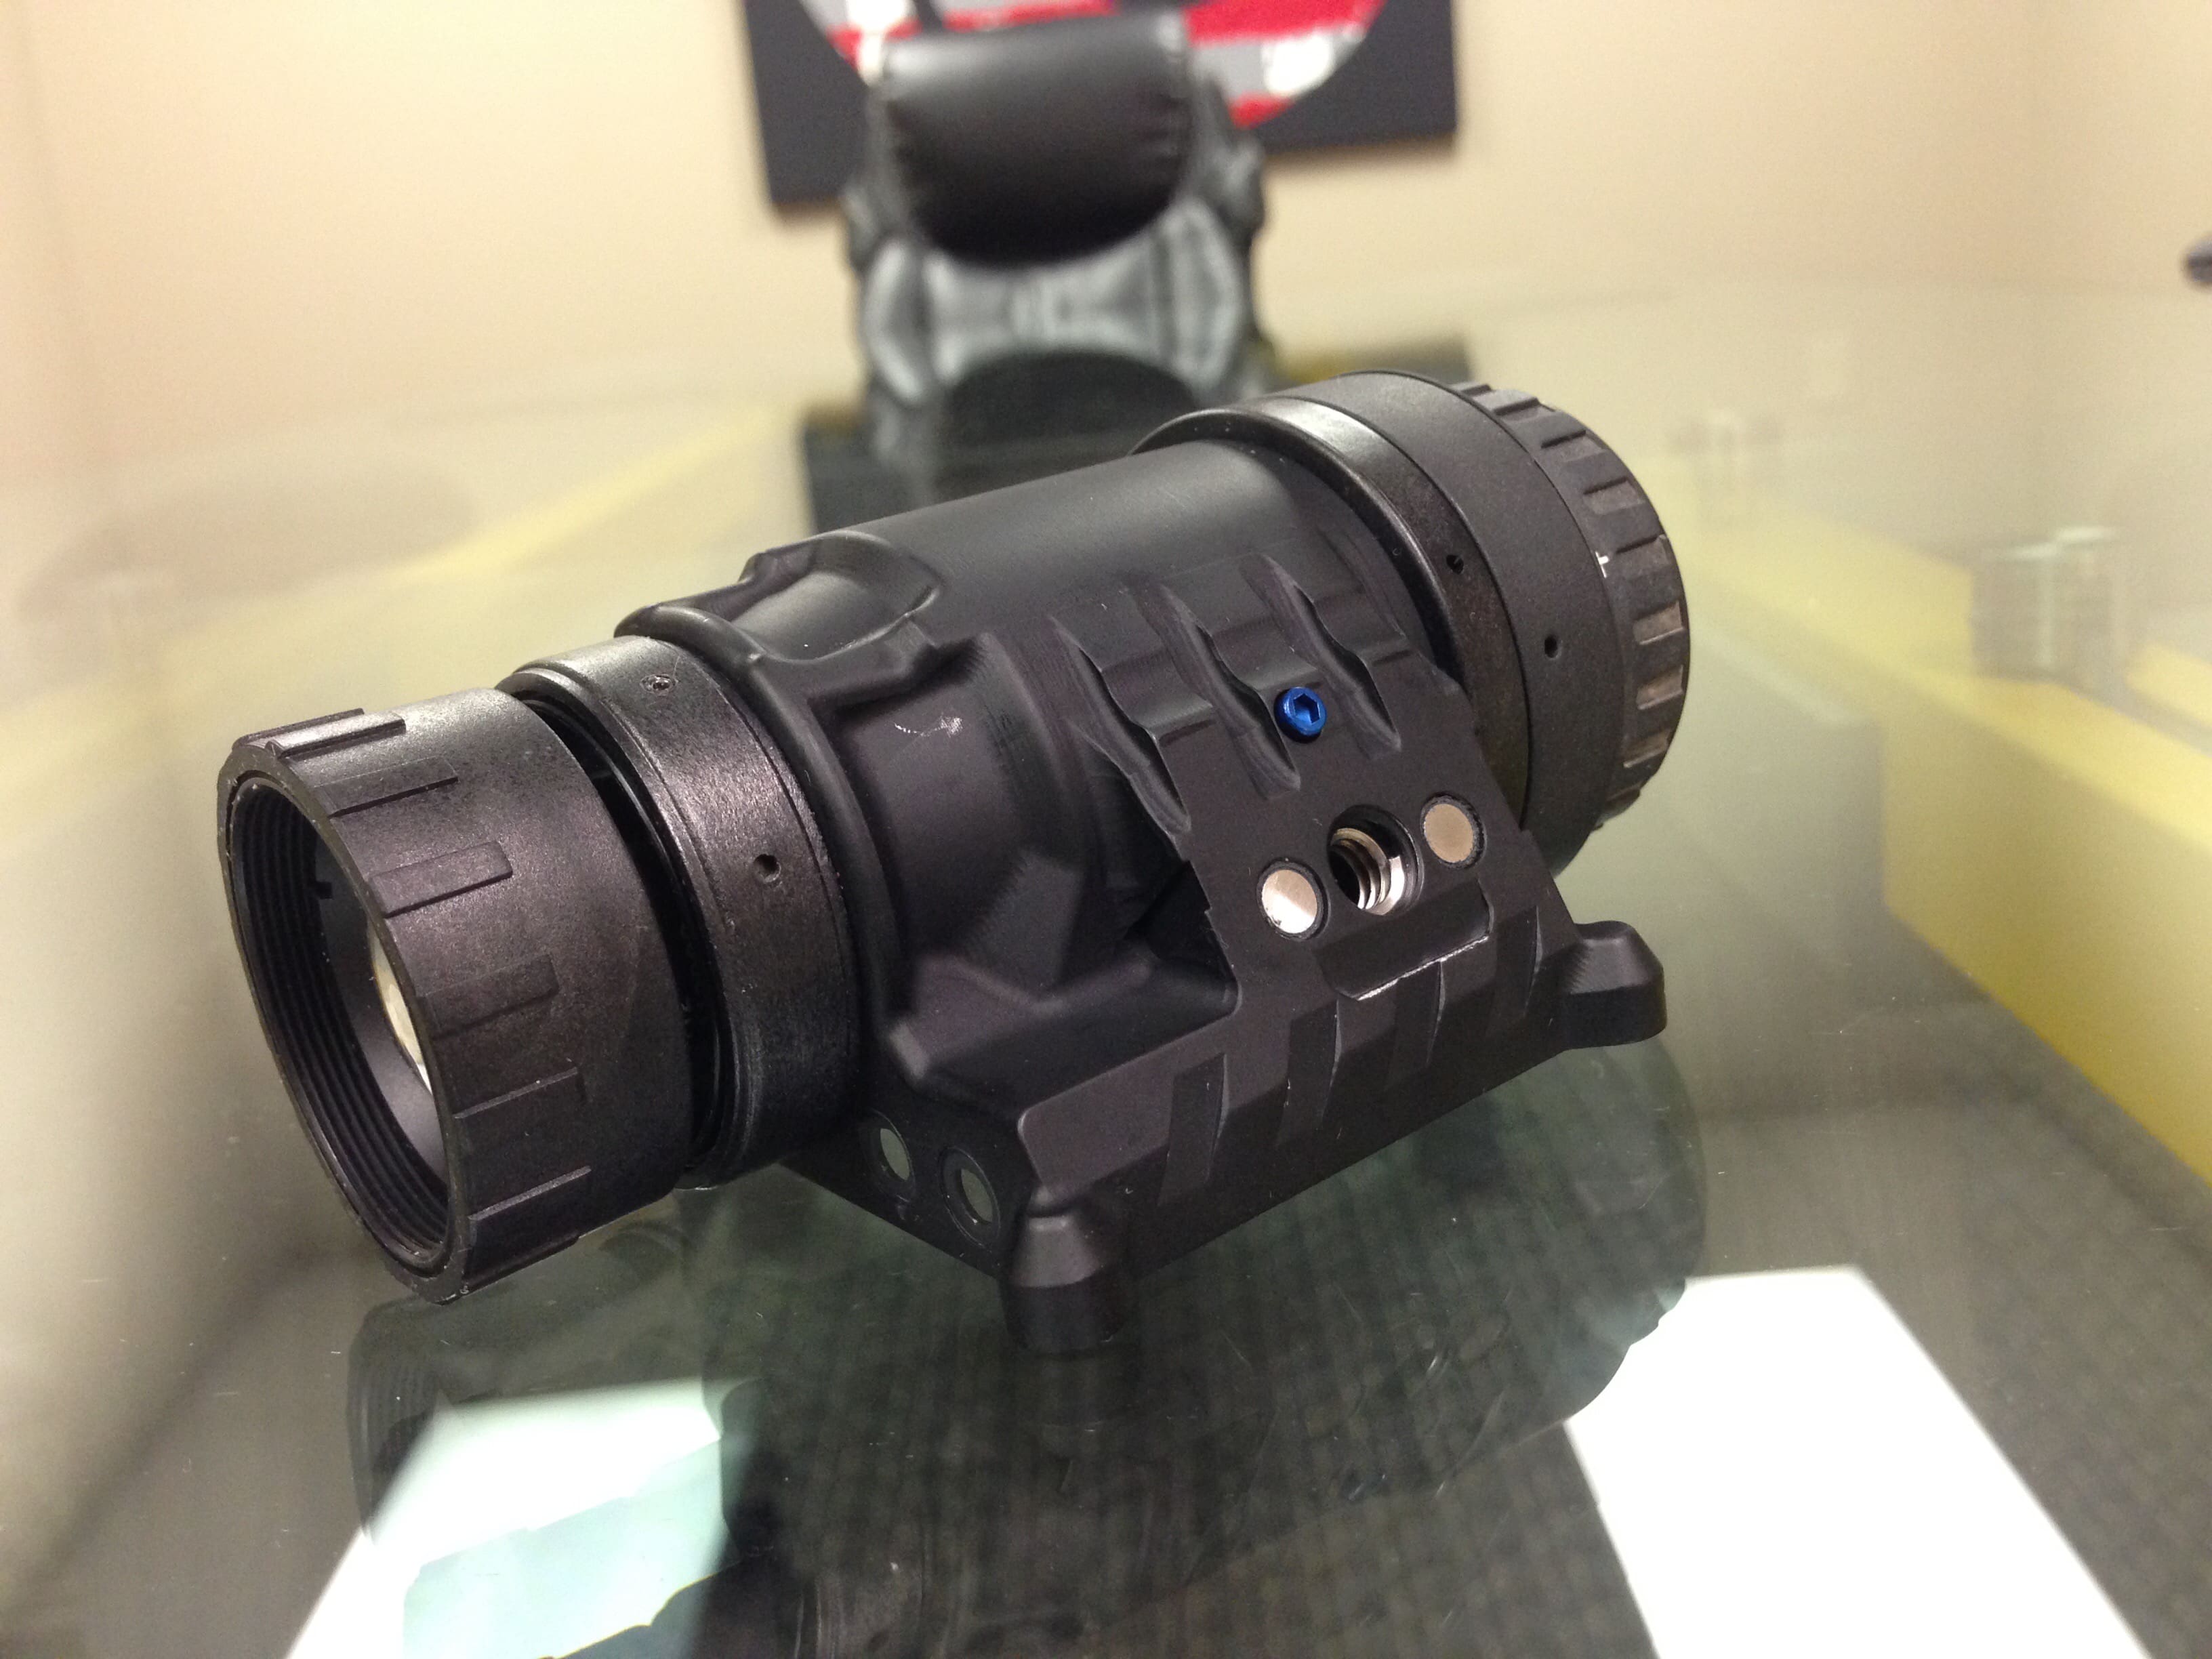
A quick laymen review of the PVS-14 component layout tells a fairly quick story. The electronics (image tube and lower monocular housing/battery box) are the most complex and the most expensive segments of the device (see supporting graphic). This is good news, since you won’t want to tinker with these. In their issue state, both of these components are efficient as-is (unless damaged) and require no excessive skill to install/remove. These items are not the center topic, but come into discussion down the road.
Interestingly enough, the least expensive component and universal junction for the monocular itself is the chassis (upper monocular housing). From an industry cost perspective, this item is as cheap as they come. The legacy chassis is a simple molded plastic part that serves as the universal junction for the remaining complex components. The optics, image tube, battery housing, purge screw, o-rings and associated components all interface into, onto, or within this housing. Average cost to manufacture, about 20 bucks. The cost to install the pins, windows and various heli-coils (if they use them) equals the same or more cost. This is a general manufacturing estimate; different companies may vary with labor and methods.
The points be made are:
– You have rough part cost that equals as much as a good lunch.
– The cost driver to this component cost is mostly physical labor/burden.
– This critical part is the junction point to every other part that costs from 5-50X more (excluding fasteners, spacers, etc.)
– This part is essentially 18 years old and has never been improved beyond its initial design and manufacturing process, other than to manufacture it at an even lower cost.
To many it may appear that the plastic chassis (above, left) is being bullied in examination, but the facts are what they are. This is the most inexpensive key component and it’s mission is binary; to hold all the other stuff together. It does. If it can do that (much like a rifle lower receiver does), let’s make it do more since is it a relatively simple part. For reference, one of the main reasons a PVS-14 fails in the field is internal issues. Corrosion, fouled optics and impact/deformation rank highest in deadlined devices. The core issue is interface compromise. Either a lens seal, housing seal or thread surface allows moisture or dirty air inside the device.
Some of the easiest ways measure improvement of something are to add utility, ease logistics, increase longevity and improve performance. Looks might also help.
This chassis modification is an example of taking the lowest common denominator (plastic housing) with minimal function and expanding the reliability and usage, easing logistics and opening the modularity discussed in the first segment of this series. A standard PVS-14 has the following attributes (some not visible) which could argue for an “improved” device over replacing the device.
– Significant ruggedization of felt shock and recoil.
– Increased submersion well past 60′ exposed.
– Denser front windows to minimize impact cracks.
– Exacting surface features for interface.
– Full backwards compatibility with legacy components.
– Minimal weight increase of about an ounce.
– Ability to add a variety of new optics.
– Does not require full disassembly to repair optics or electronics.
– Looks cooler.
This is an example of how EO of the future may want to lean given the cost, logistics support matrix and utility lean designs we have had to present.
Night Vision Redux is a weekly series prepared with the assitance of DEP, the US subsidiary of Photonis. It is intended to educate readers about image intensification (I2) systems and ways they can be upgraded without having go purchase comoletely new systems.


How does someone with a PVS 14 or Thermal get their devices to you to upgrade?
At the conclusion of the article series, the various DEP website and components representatives will be listed.
In the next few weeks a few events will conclude;
– All the various and possible component will be covered, for a full picture of options and capabilities.
– The parts should be stocked and administrative support established.
– Independent testing of performance claims would be completed, or at least subject to 3rd party evaluation.
What can be a spoiler of sorts is thus far has barely scratched the surface of the coming weeks. Please wait to see the upcoming posts before you decide on an upgrade, or type of upgrade. Hence the SSD suggestion of a series.
The hardware shown is or has been in use for awhile in pockets of users. DEP went fully public last month.
Thanks for the quick response. I look forward to the rest of the series.