

I start every active shooter response course by placing my students a football field away from the objective.
No matter how experienced they are, the first thing I do is put distance between them and the building, throw a flashbang, and yell, “Go.”
The sprint is primarily about introducing stress. It is the closest I can come in scenario-based training to replicating what someone may feel crossing a parking lot toward gunfire or closing on a structure with a rifle and plate carrier, not knowing what is waiting on the other side of the door.
Heart rates spike. Fine motor skills begin to deteriorate. That is the environment I want my students operating in before they get on the X.
The sprint also serves another important purpose: the kit shakeout.
Standing Still Tells You Nothing
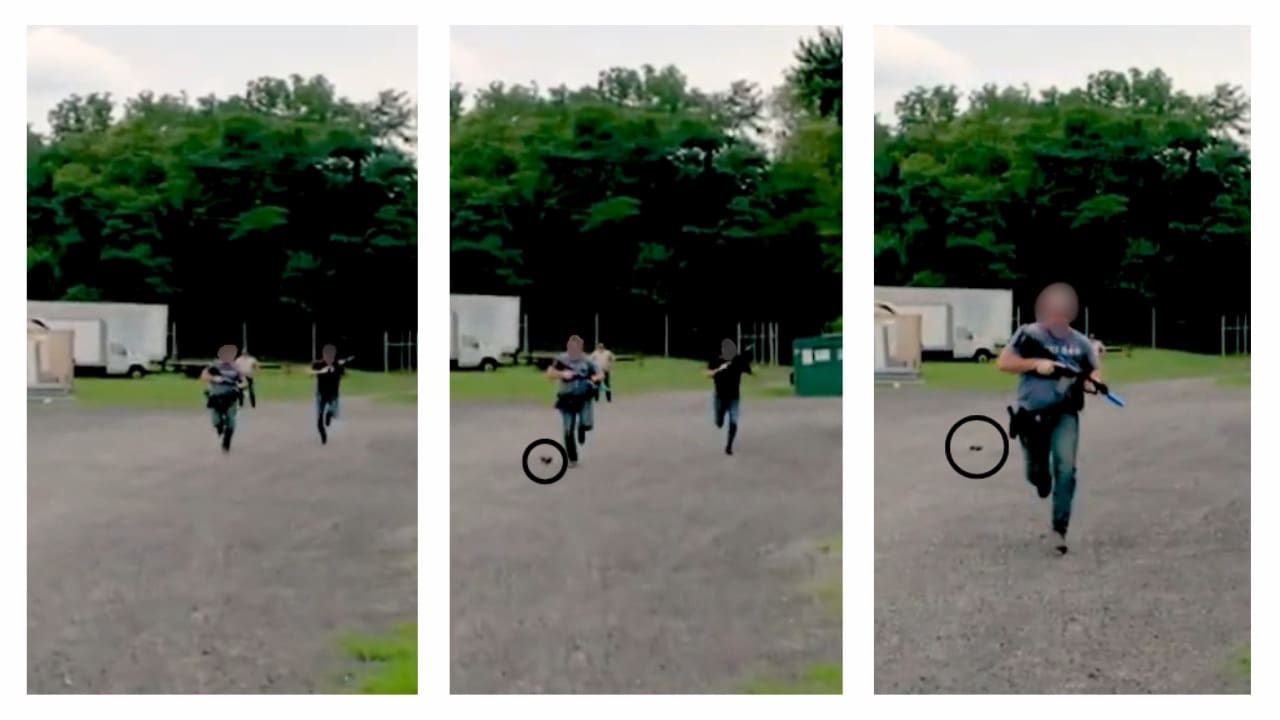
Somewhere along that hundred-yard sprint, gear almost always starts falling off.
Med kits. Tourniquets. Magazines. Sometimes entire pouches.
I call it a “yard sale.” An ant trail of equipment marks the path the student ran, like a trail of breadcrumbs made from pieces of their own kit.
Some of it is expensive gear that looked great in the locker. Some of it comes from overloaded carriers where a student attached everything they could think of instead of moving half of it into a backpack. Other times, it is department- or agency-issued equipment that no one has truly tested under movement and pressure.
The source does not matter. Equipment can look perfect while someone is standing still, but you will never know whether it works until you put it through the paces.
Students usually laugh when it happens, and watching someone trace their sprint path to collect scattered gear can be funny. But the lesson underneath it is not funny at all.
When It Matters Most
The real problem becomes clear a few minutes later.
The student enters the structure, engages the simulated threat, and encounters a casualty bleeding on the ground. They reach for the med kit on their belt or plate carrier, and it is gone.
It is sitting in the grass a hundred yards behind them.
Now they must run back to find it and then cover the same distance again to reach the casualty. In a real emergency, those are seconds that may determine whether someone survives a gunshot wound.
I do not mind when equipment fails during training. In fact, I welcome it because failure creates an unforgettable learning point.
It is better to learn that you should assume nothing works until it has been pressure-tested in a controlled environment. A kit shakeout in training may cost someone a little embarrassment that their teammates will not let them forget. A kit shakeout during a real armed response could have far more serious consequences.
One case has always stuck with me.
A student and friend arrived at a course wearing what I can only describe as an “Amazon special.” His medical pouch looked the part but had never been run under stress.
It did not survive the sprint.
His equipment failed in front of his peers, and he immediately understood the gravity of that happening during a real emergency. He adjusted his setup, retested it, and moved forward.
Today, he runs a Blue Force Gear® GRID® Battle Belt outfitted with a Micro Trauma Kit NOW!® Nano ES built for law enforcement.
That is exactly what a professional should do. Identify failure. Correct it. Test the solution.
One Setup Does Not Fit Everyone
Gear setups are personal.
Body type, job, environment, and mission all influence what works. There is no single correct belt, carrier, or rig for every operator or officer.
Looking at someone else’s setup can provide useful ideas butcopying it without accounting for your own mission is where problems begin. What works for someone teaching on a flat range may not work for an officer spending a shift inside a patrol vehicle. A setup built for short-duration operations may not work for someone moving long distances over difficult terrain.
Do not build your equipment around appearance. Build it around what you may actually be required to do.
My Recommended Kit Shakeout
1. Build for Your Mission
Set up your equipment around your job, body, environment, and responsibilities.
Talk to colleagues about their setups. Study how experienced professionals configure their equipment. Use those conversations for ideas but evaluate every decision against your own requirements.
Ask the hard questions:
• Can you reach your medical kit with either hand?
• Can you access it while sitting or wearing gloves?
• Does your belt remain stable while running, climbing, or changing positions?
• Can you move through doorways, vehicles, and confined spaces without snagging?
• Is your sling adjustable enough to stabilize a longer shot or move the rifle behind you when you need to go hands-on?
• Is every item on your kit necessary, accessible, and secure?
If you cannot explain why something is on your equipment, it may not need to be there.
2. Test It Through Realistic Training
The first time you truly test your equipment should never be during a real response.
Scenario-based training through your department, unit, or professional course will expose problems quickly. Events such as The Tactical Games can also reveal what happens to your setup once movement, fatigue, repetition, and pressure are introduced.
Do not limit the test to a flat range. Run in it. Climb in it. Get into and out of vehicles. Work from awkward positions. Access your equipment with either hand and while wearing gloves.
Standing still only tells you how the kit looks. Movement tells you whether it works.
3. Adjust and Retest
Never stop refining your setup.
If something shifts, bounces, snags, blocks another item, or cannot be accessed when you need it, change it. Then run the test again.
Equipment is only one part of proficiency. It cannot replace judgment, fitness, medical knowledge, or consistent training. But when the moment comes to use it, that equipment must remain secure, accessible, and functional.
Why I Run Blue Force Gear
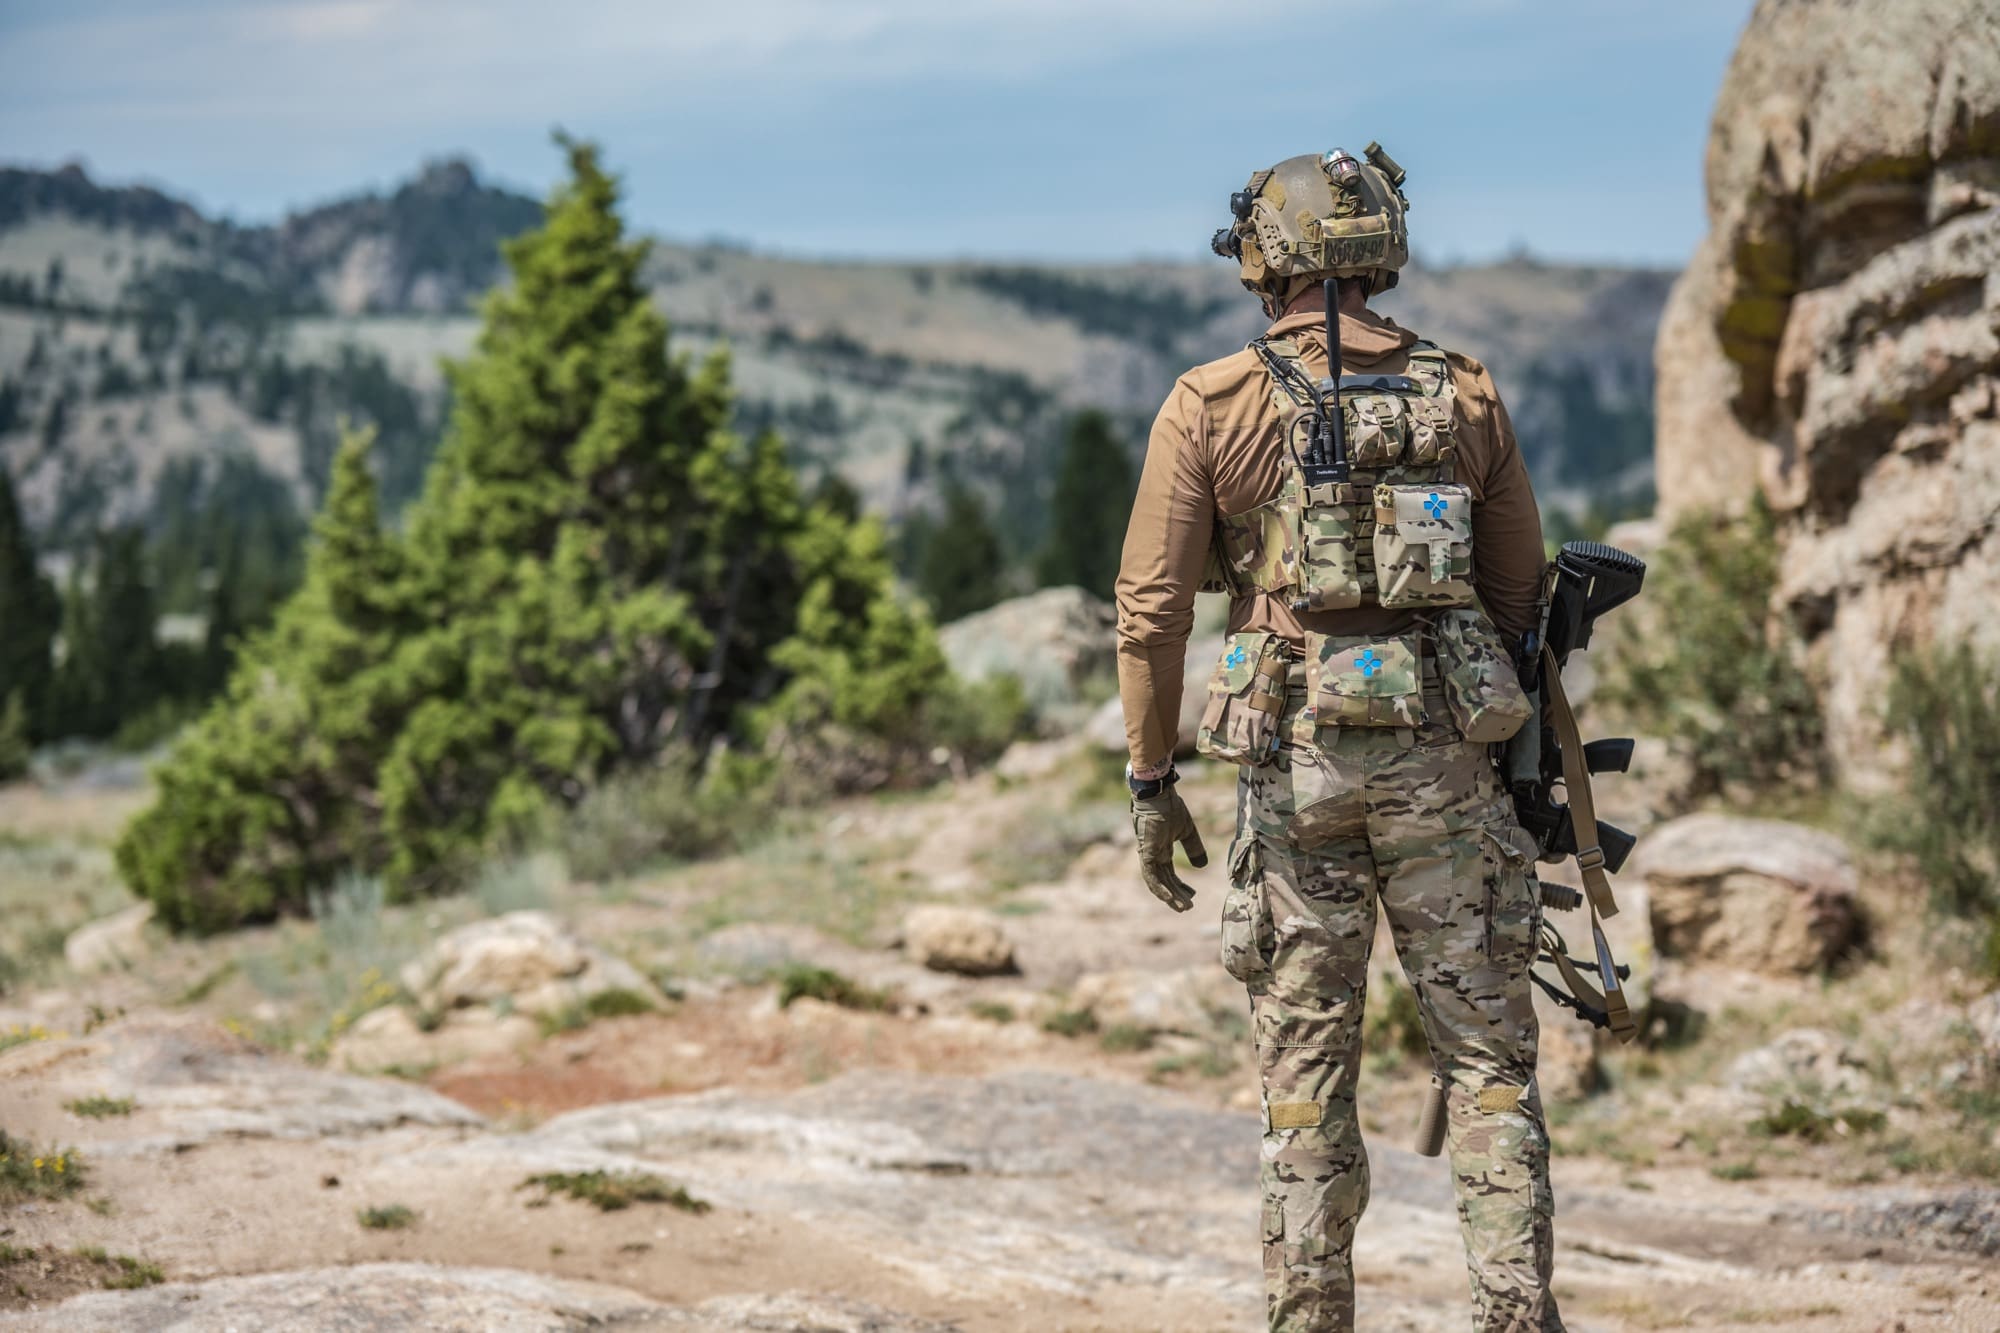
I have been running Blue Force Gear for years, and the reason is simple: it is lightweight, low-profile, and built for movement.
When I stand next to people wearing bulkier, industry-standard equipment, my setup often looks small by comparison. That is exactly what I want.
Snag-free, low-profile gear allows me to move faster and cleaner when sprinting, climbing, working around vehicles, or entering a structure. It gives me the capability I need without adding unnecessary bulk.
Water resistance also matters. On a long movement in the rain with a 70-pound rucksack, added weight matters. Equipment that absorbs water gains weight and fights you for the rest of the movement.
My BFG® equipment remains close to the same weight wet or dry, and it has held up through years of hard use. More importantly, it stays where I put it when movement, weather, fatigue, and pressure are added to the problem.
That is when equipment earns your trust.
Pressure-Test Your Setup
Before you trust your kit during a real response, answer these questions under movement and stress:
• Can you reach critical equipment with either hand?
• Can you access it while wearing gloves?
• Does anything shift, bounce, snag, or interfere with movement?
• Does your equipment remain secure while running, climbing, kneeling, or changing positions?
• Does one item block access to another?
• Can someone else locate and access your medical equipment?
• Does your setup still work inside a vehicle or confined space?
• Have you tested it while tired, wet, and under pressure?
If you cannot answer yes to every question, your setup still needs work.
Your equipment does not earn your trust because it looks right, comes from a familiar brand, or was issued by your agency. It earns your trust after you have run in it, climbed with it, worked around vehicles in it, accessed it with either hand, andconfirmed that it remains where you need it under pressure.
Build it for the mission. Test it realistically. Fix what fails. Then,test it again.
Always Better®
By Kyle Sproles
Founder, Active Shooter Response Solutions
Visit Active Shooter Response Solutions