

Your belt isn’t an acceptable tourniquet and neither is a bandanna with a stick twisted in it. These are modern times; commercially available tourniquets are ubiquitous and have been proven over and over again to save lives. Don’t plan to improvise, plan to have a real tourniquet ready and available.
The number one goal in treating any extremity hemorrhage (i.e. bleeding out) is to keep the blood in the body. The human body only has so much blood and while there’s no specific quantity that’s agreed upon for how much you can lose before you’re gone, suffice it to say you want to lose the least amount possible.
When it comes to tourniquet selection, we support the CoTCCC recommendations for commercially available tourniquets; the two most widely used and proven being the SOF Tactical Tourniquet (SOFTT) and the Combat Application Tourniquet (C-A-T).
Here’s How to Apply a Tourniquet
Orient the Tourniquet: The direction of pull to tighten the tourniquet should be towards the midline of the body. This is a good rule to remember and will make application easier if you have to apply a tourniquet on yourself one-handed. Picture an imaginary line running vertically up and down the center of the body; that’s your midline.
High as Possible: Always keep the tourniquet as high as possible on a limb; never on a joint.
Grab the Loop and Pull: Don’t get in the habit of grabbing the tail of the tourniquet to tighten it right away. By grabbing the loop and pulling it towards the midline, you’ll keep the tourniquet from spinning and control it better during one-handed application.
Pull the Tail: Take all the slack out of the tourniquet by pulling the tail to tighten it.
Manipulate the Base: If there’s still slack left in the tourniquet, or you can’t tighten it any further because of its position, grab the base and move it. Then take up the rest of the slack.
Tighten the Windlass: Continue turning the windlass until all bleeding stops, or is controllable/manageable. It doesn’t matter what color the blood is, tighten it until it stops.
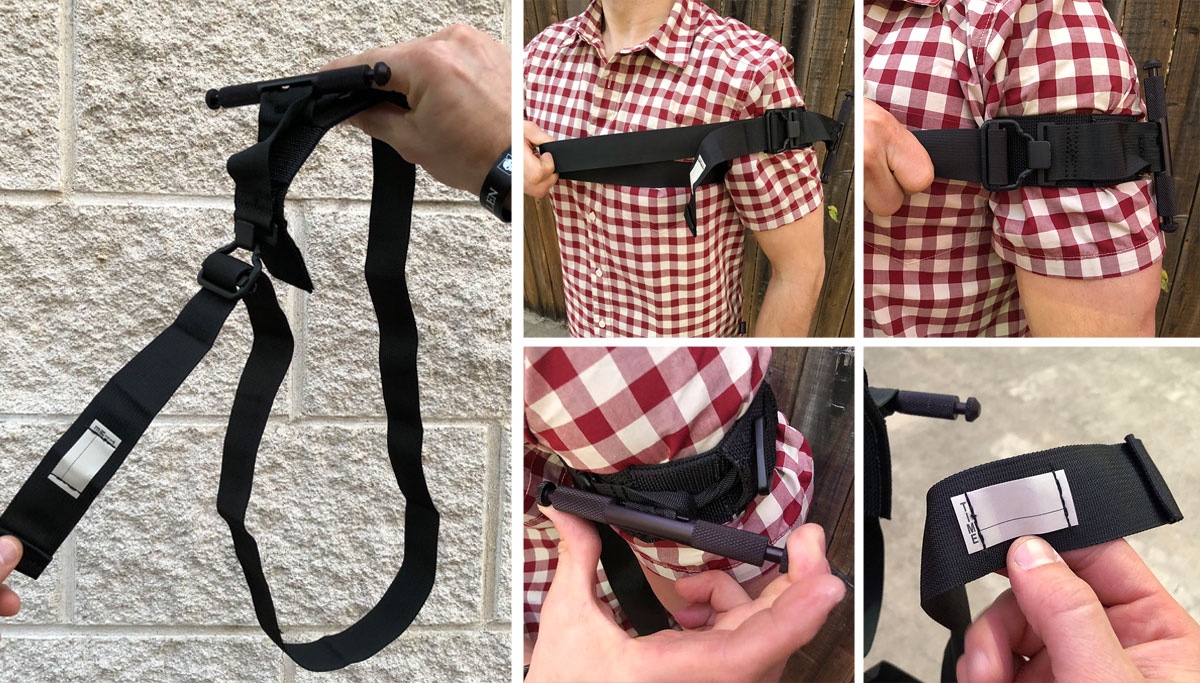
Anchor the Windlass: Each side of the windlass has a groove that locks into the d-ring, preventing it from coming undone. Lock this in and ensure it’s locked in the windlass groove.
Time and Date: At the end of the tail, the SOFTT has a sewn-in tag for writing in the time and date. A sharpie works great for this, but anything will do. It’s important to note this for higher echelon care, (i.e. hospitals) so that they know how long the tourniquet has been in place.
Practice: You should be able to deploy and apply your tourniquet in 12 seconds, one-handed. Practice until you can meet that goal each time. You’re also not going to ruin your tourniquet by practicing with it, just be sure you’re checking it after each practice session and if you see anything that’s damaged or has the potential to fail, replace your tourniquet.
Get Training: This email shouldn’t be used as a replacement for medical training in the usage of a tourniquet. Seek training for yourself and your loved ones from competent trainers. Remember, a tourniquet is not a last resort!
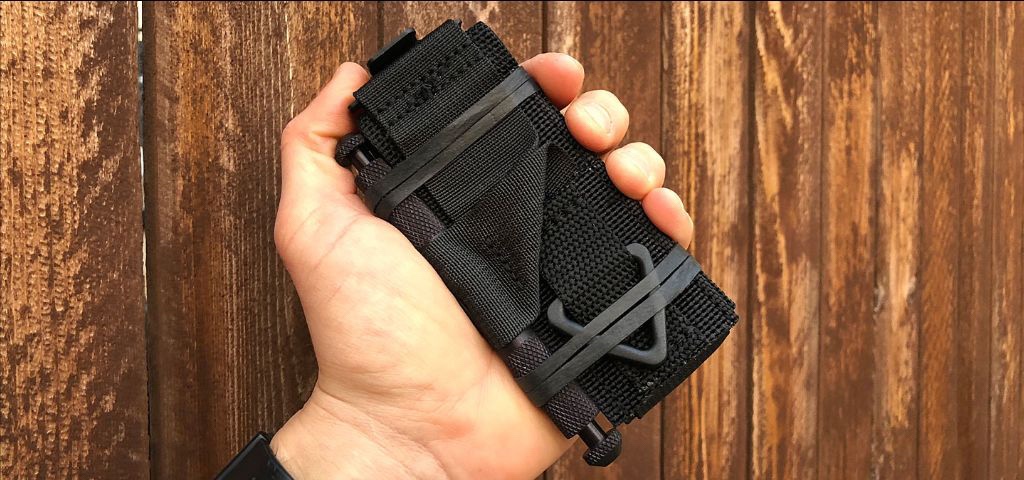
The last thing to discuss is how to store a tourniquet, we’ve recently developed and patented our TourniQuick® Pouch. It provides not only a fully-enclosed storage method, but more importantly, a revolutionary deployment system that reduces time from deployment to application, saving valuable seconds. Remember, seconds count when you’re bleeding out!™
Whether you purchase from ITS or not, always buy tourniquets from a reputable resource to avoid fakes. A failure to plan is a plan to fail, so keep a tourniquet with you and be prepared to save a life.
Thanks to ITS Tactical for allowing us to share this post.
I like the guys at ITS but am going to have to vigorously disagree with this:
You’re also not going to ruin your tourniquet by practicing with it, just be sure you’re checking it after each practice session and if you see anything that’s damaged or has the potential to fail, replace your tourniquet.
Having been around the world as a medic and having trained thousands, I have seen lots of tourniquets in the field. I have seen plenty of them that have been rendered unserviceable from practice use. Maybe you can get away with using it for practice once, twice or ten times but you just don’t know. Why would you risk it? Tourniquets are FDA classified as One Time Use medical devices for good reason. Simply inspecting it after practice doesn’t fly. What if the failure point happens on that next use? The one that is for real.
It is well-accepted in the field that you never train or practice with your issue tourniquet. Most companies, NAR for the CAT / Tac Med for the SOFT-T, make BLUE practice tourniquets for a reason. Use them.
Out of curiosity, what is breaking on SOF-T tourniquets being used for practice gear?