As I am sure you can tell, I love history. I find it amazing that even today, you can read something about WW2 that you never knew about. There were so many specialty units that sometimes it was hard to say, “Oh, this group gets its roots from…” Combined Operations is one of those groups, and they had so many smaller Units / Parties (I think I might have liked being part of “Parties” more than a Team. So, it would be “I am a party guy” and not “I am a Team guy”) that we are just now finding out about that they might not have been the father of some groups today. Still, they might have been the mother or the ugly step-sister.
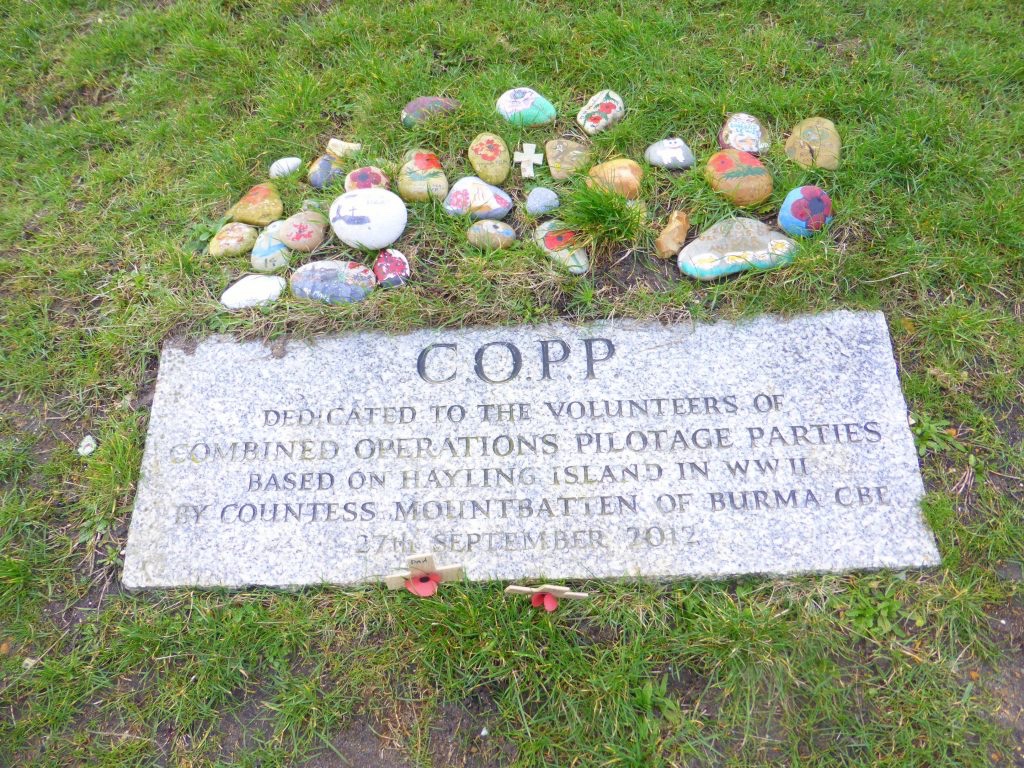
While serving in the Second World War, Nigel Clogstoun-Willmott established the Combined Operations Assault Pilotage Parties (COPP), which were responsible for covert beach reconnaissance. This proved to be critical in the success of the Allied seaborne invasion campaign. Amphibious force attacks on land and sea are among the most dangerous of all military operations. Apart from the fact that they necessitate the precise coordination of armed forces on the ground, air, and sea, they might also be subjected to various issues associated with landing on foreign enemy beaches.
Among these are tidal roughness, inadequate sand and shingle texture, steep beach gradients, and restricted beach exits, for example. Various enemy defenses, including mines, beach obstructions, pill boxes, and gun emplacements, can make natural disasters more dangerous and challenging to overcome. Nigel Clogstoun-Willmott, an accomplished navigator in the Royal Navy, was one of the few who truly understood the gravity of the risks involved. He recognized that amphibious troops must be carefully directed into coastal waters by men who had been deployed to the coast ahead of the fleet.
Furthermore, he recognized that the only way to resolve these issues truly was to conduct a thorough reconnaissance of the proposed beach landing sites, work that would require men skilled in navigation, hydrography (marine surveying), and engineering to land covertly on the beaches at night.
Of all special forces operations, beach reconnaissance was one of the most clandestine and risky. The men engaged were forced to conduct their operations right under the noses of the enemy, knowing that if they were arrested and interrogated, their intelligence might jeopardize the entire operation and their lives.
In 1910, Clogstoun-Willmott was born in the Indian city of Shimla. A senior engineer, his father worked on significant infrastructure projects throughout northern India, including the construction of roads and bridges.
He was transported to England for his education, attending Lambroke School and Marlborough College until he was eight. He joined the Royal Navy when he was 17 years old, specializing in navigation and quickly earning a reputation as a creative problem solver and unique thinker.
The fact that he was aware of the dangers of landing on enemy shores came to him early in life. Gallipoli was the first sizeable amphibious operation of modern times, and his uncle ‘Cloggy’ had been severely wounded during the battle in 1915.
As a Beach Master for the landings at Narvik in the far north of the country, Clogstoun-Willmott received first-hand knowledge of these perils during the unsuccessful Norwegian campaign of 1940.
He was charming, courteous, and good-natured, but he was also a military professional who took his duties seriously. He spent a long time reflecting on the lessons learned from this campaign and how amphibious operations should be conducted going forward. In 1941, Clogstoun-Willmott was stationed in the Mediterranean with ‘Layforce,’ a commando group that had been dispatched to the Middle East. With the challenge of attacking the Italian-controlled island of Rhodes, Layforce got his first chance to put his theories into action.
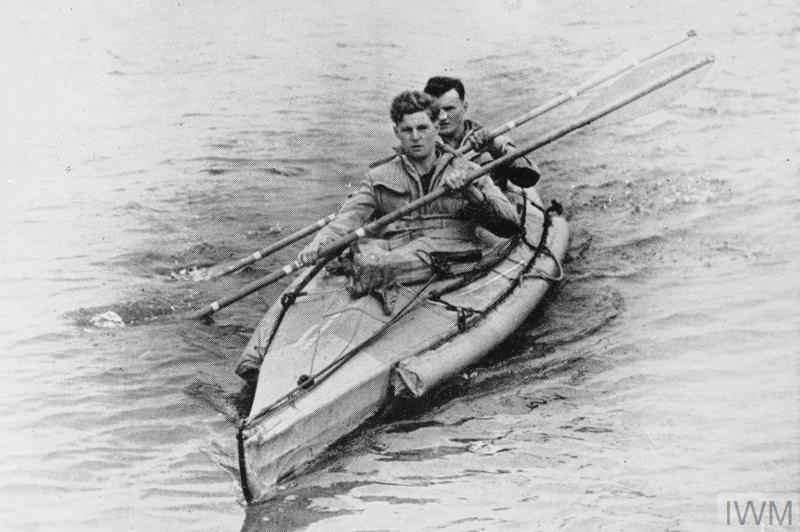
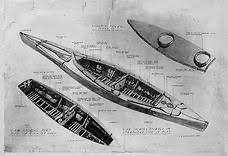
As a result of his collaboration with Captain Roger Courtney, a canoeist who had recently created the Special Boat Section, which was primarily intended for marine reconnaissance operations, he could complete this task. Courtney and Clogstoun-Willmott worked together to conduct the world’s first in-depth military beach reconnaissance mission.
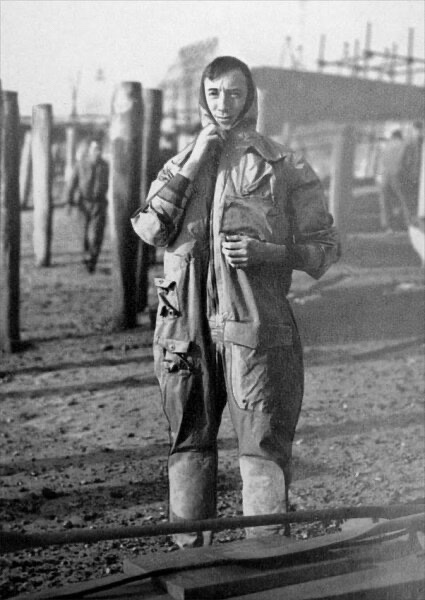
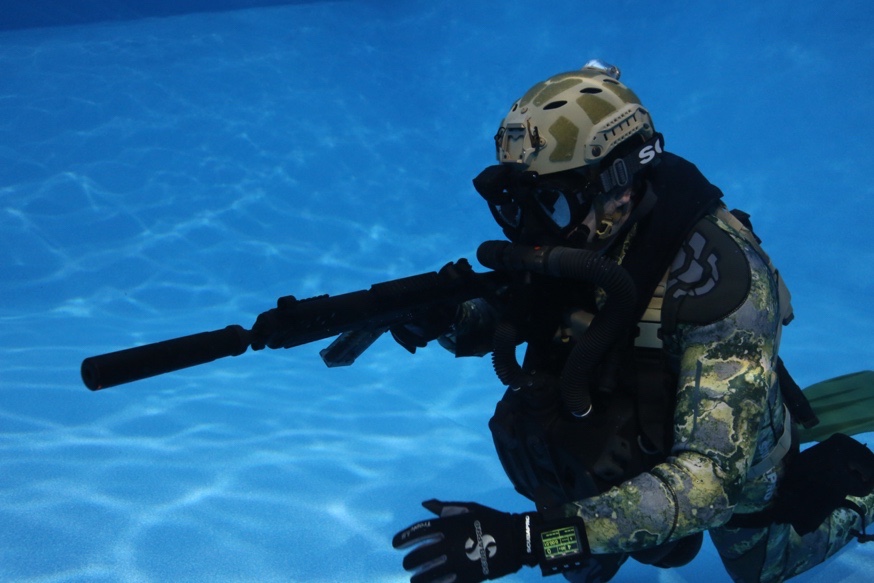
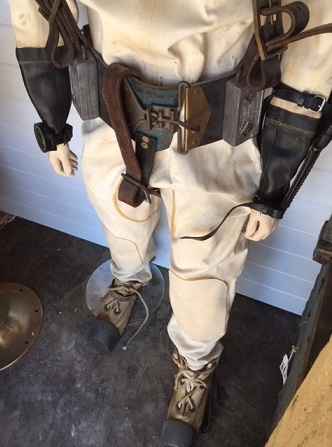
A wide variety of equipment was available, from flimsy cold-water suits made of heavily greased long johns and jumpers to the newest infrared signaling technology and the humble chinagraph pencil for taking notes in dripping wet conditions.
The mission was a resounding triumph. Both soldiers were honored, with Clogstoun-Willmott getting the Distinguished Service Order and Clogstoun receiving the Distinguished Service Medal. However, the valuable information gathered as a result of this work was never put to good use.
As a result of the British being lured into a futile attempt to resist the German invasion of Greece, the mission was called off entirely. Clougstoun-Wilmott was again called upon to serve as a Beach Master, coordinating British forces’ evacuation. His narrow escape from capture came after he commandeered a Greek caique and sailed it to Egypt, where he was one of the last to leave. Not until August 1942, following the failure of a massive raid on the French port of Dieppe, was it realized how essential Clogstoun-theories like Willmott’s were.
Admiral Louis Mountbatten, Director of Combined Operations, approached him and requested him to assemble a team – dubbed ‘Party Inhuman’ – to assist with Operation Torch, the invasion of French North Africa. He agreed and formed the team. When this endeavor proved successful, it resulted in the formation of the COPP in early 1943. The first order of business for the COPP was to conduct reconnaissance in preparation for the upcoming invasion of Sicily. However, due to insufficient training and equipment, achievement came at a high price this time. Only four of the sixteen guys who were assigned to the mission returned.
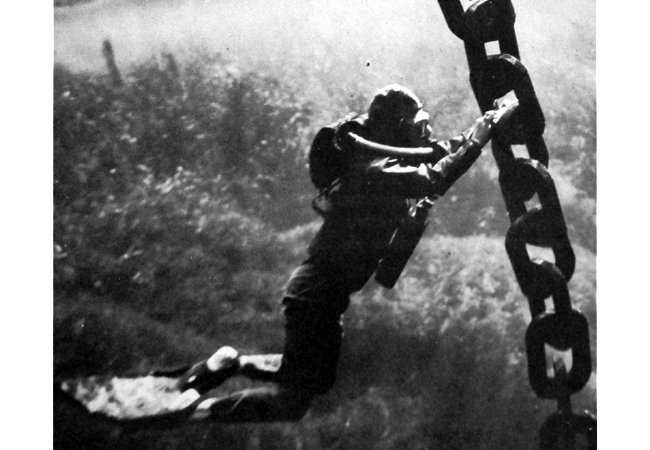
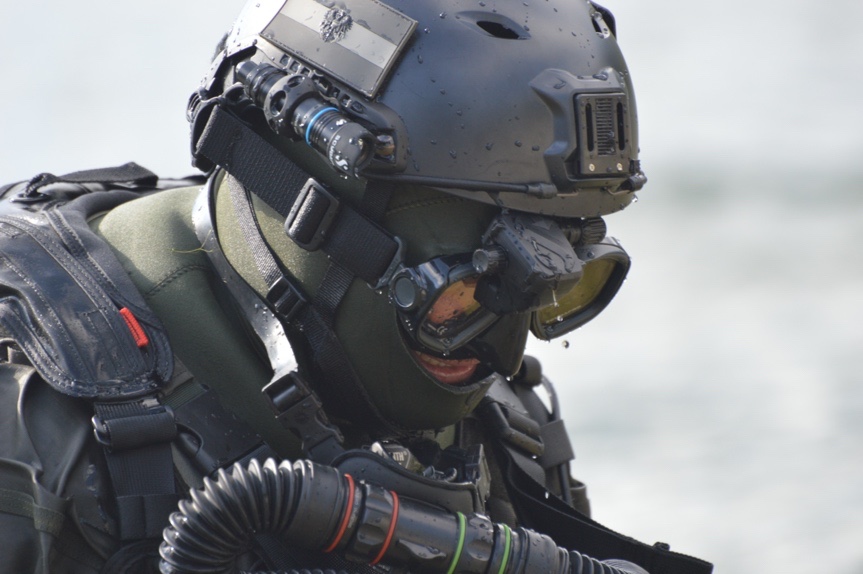
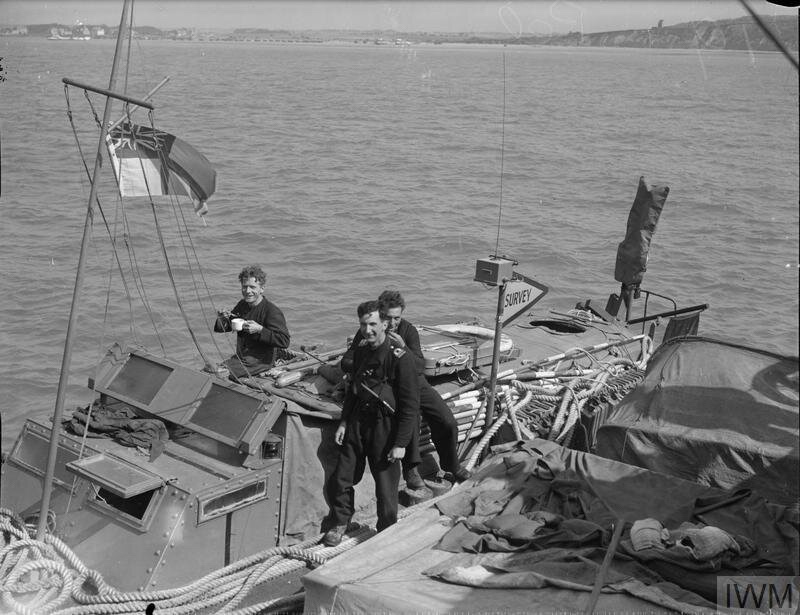
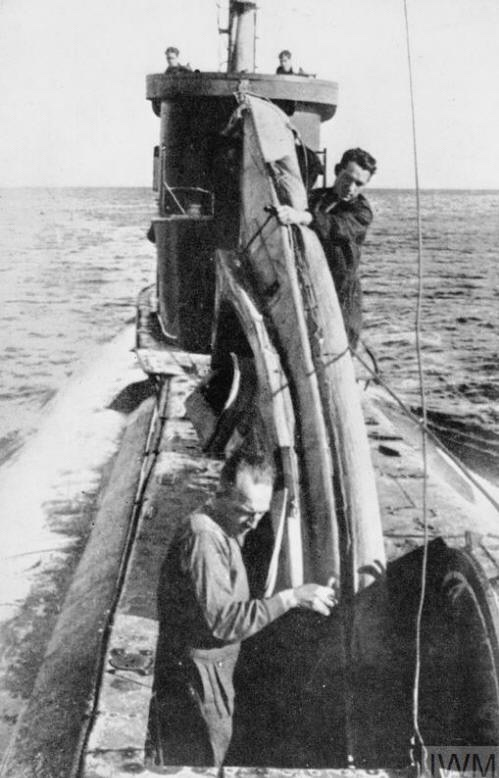
Later, Clougtoun-Wilmot, who is by nature a martinet and a training fanatic, collaborated with Mountbatten to guarantee that the COPP had access to the resources it needed to prepare for the invasion. The COPP teams were re-energized and contributed significantly to the Allied landings in Italy after re-energizing. During the D-Day landings, the COPP faced its most difficult challenge. COPP troops were now armed with tiny submarines known as X-craft, as well as specialty landing boats and diving gear, in preparation for the invasion of France.
They carried out a thorough study of the potential beaches and returned samples for analysis to establish that big trucks would be able to pass through them without being damaged. On D-Day itself, COPP personnel were dispatched ahead of the massive invasion fleet to ensure that it arrived safely. This scientific approach to warfare played an essential role in preparing for what was considered the most complex military operation in history.
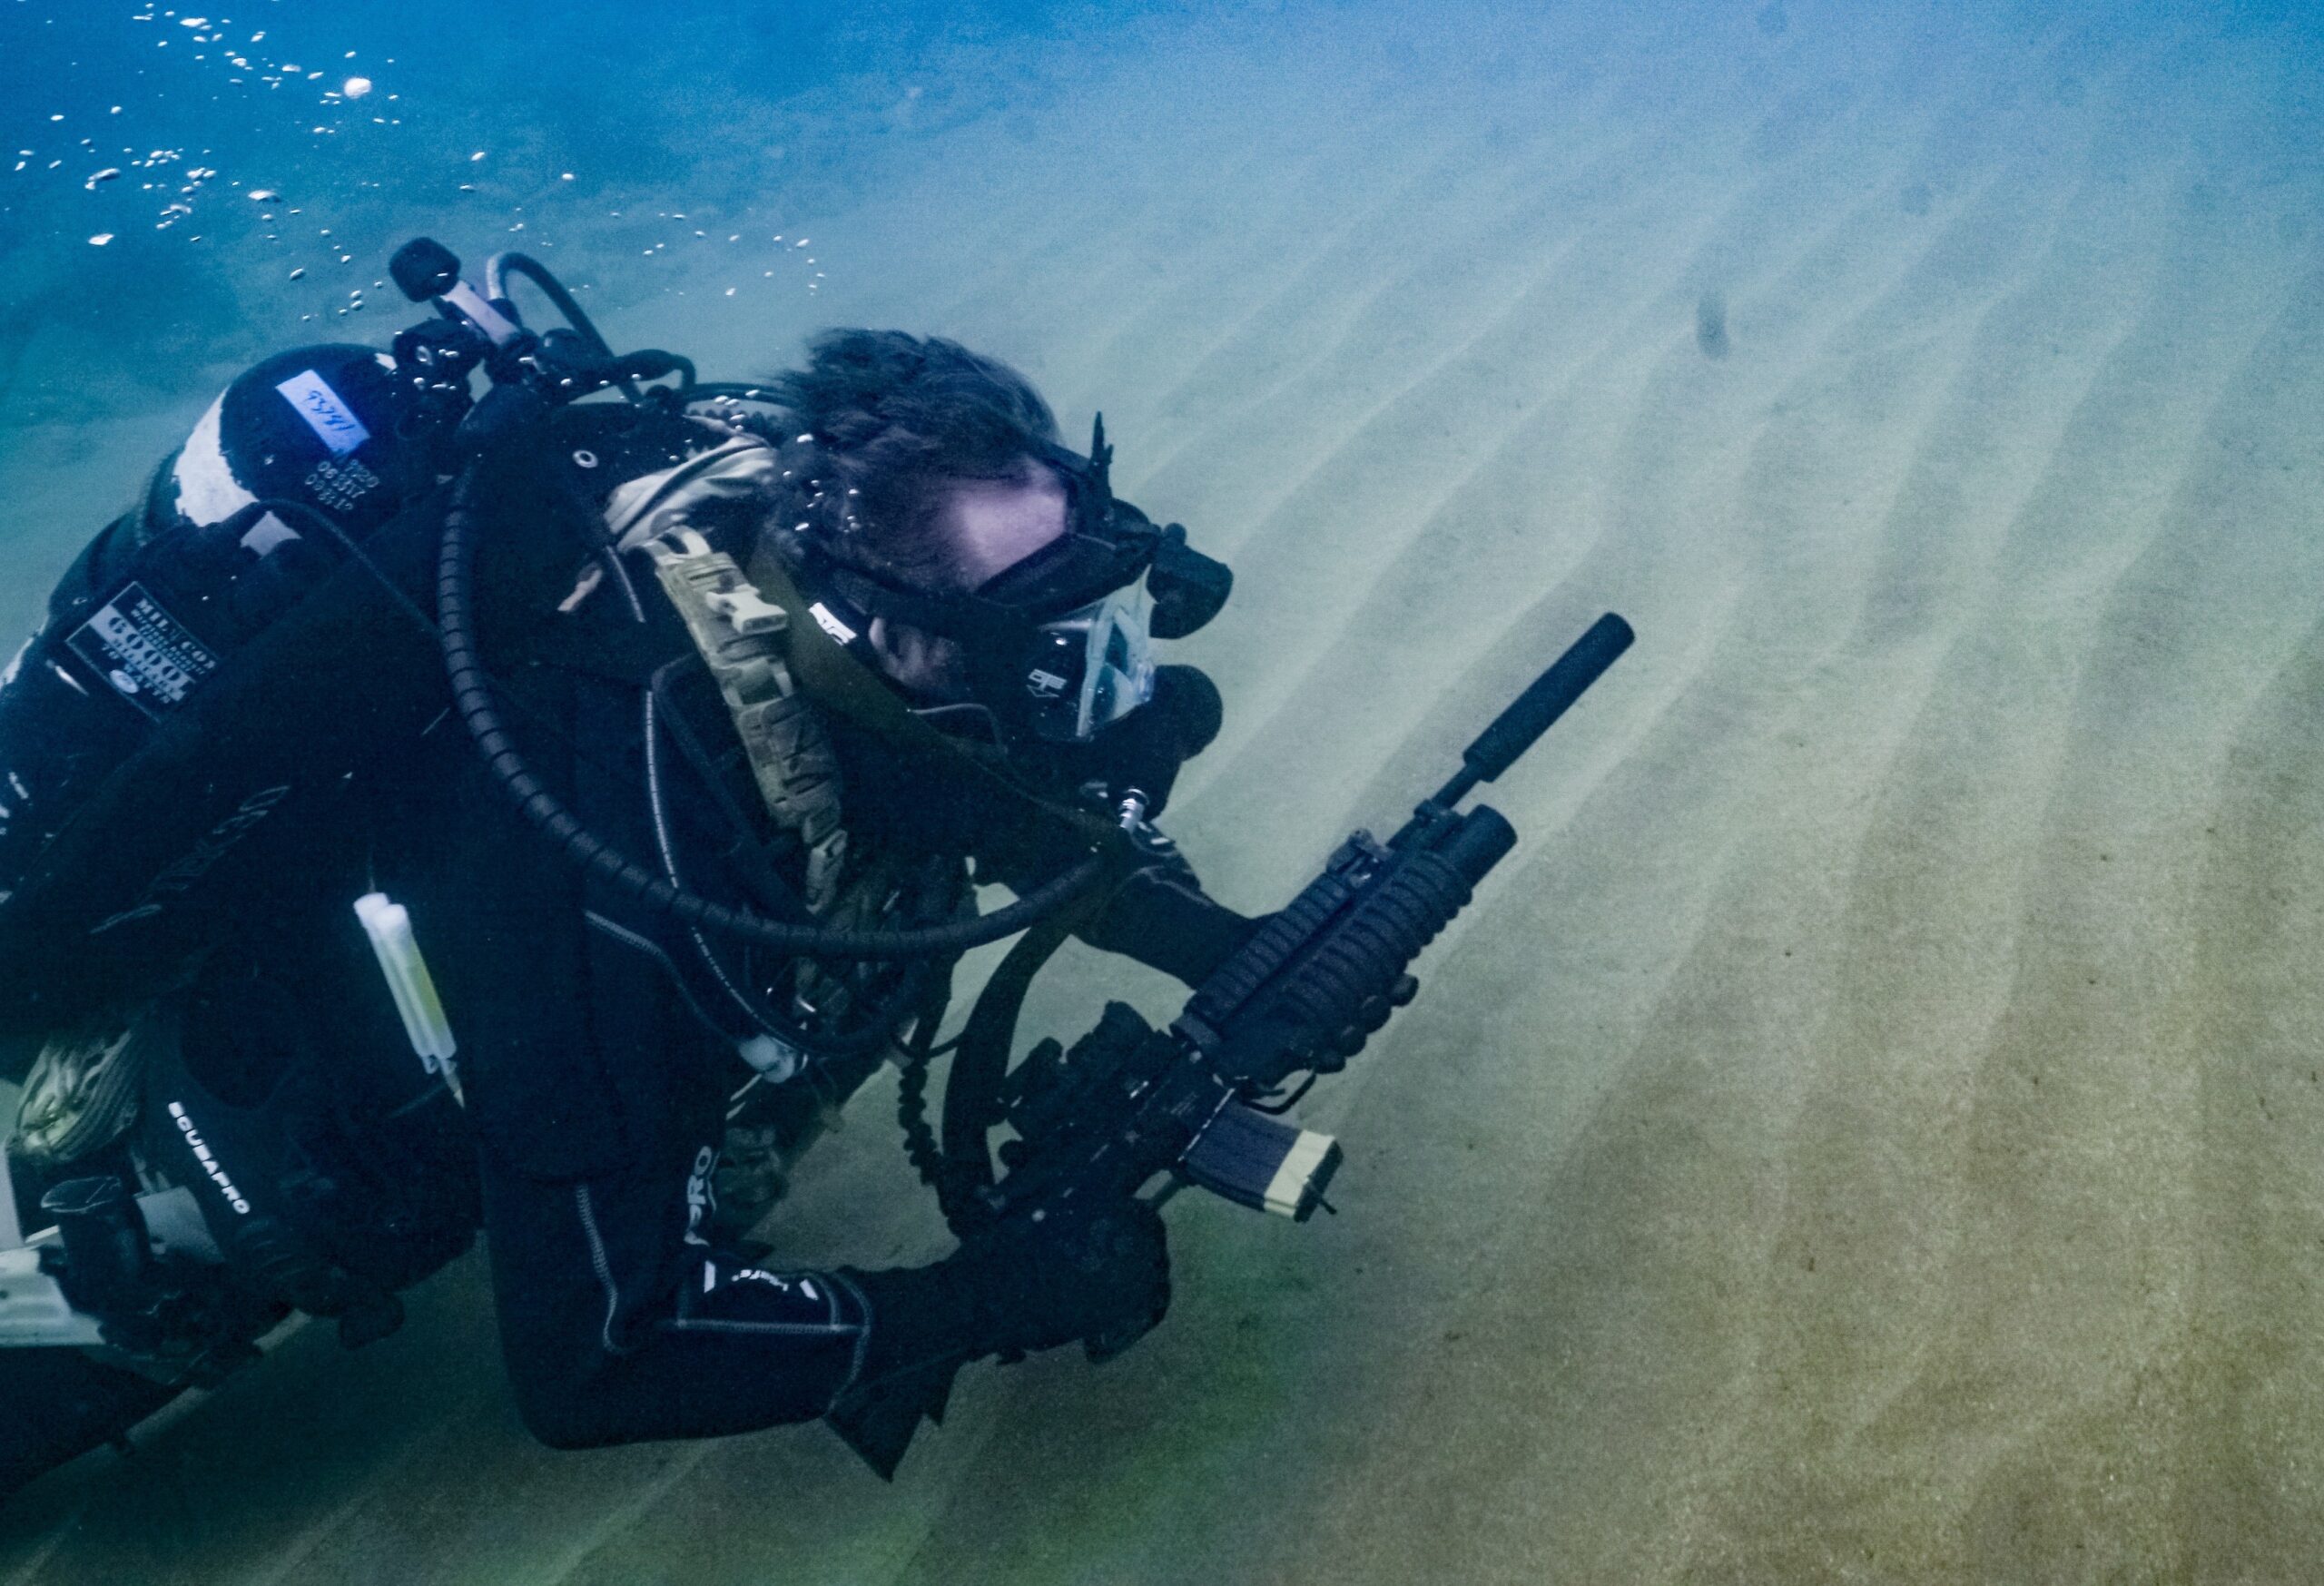
While D-Day was the apex of the COPP’s operations, the unit also saw significant action in the Far East and the Mediterranean during its tenure. In 1945, it made it easier for people to cross the Rhine into the heart of Germany. Following World War II, the mission of the COPP was absorbed into what is now known as the contemporary Special Boat Service (SBS). They were beneficial during the amphibious operations during the Falklands War in 1982 due to their knowledge and expertise.
Later in life, Clogstoun-Willmott worked for the Navy in several positions and the intelligence agency MI5. At age 81, he passed away in Cyprus in 1992, after continuing to live an active life as a sailor until a few years before his death.
The COPP’s work was so closely guarded that it was not made public until after the Second World War had concluded. In the eyes of the public, Clogstoun-Willmott and his troops of the COPP continue to be unsung heroes of the Special Forces.

 ?
?