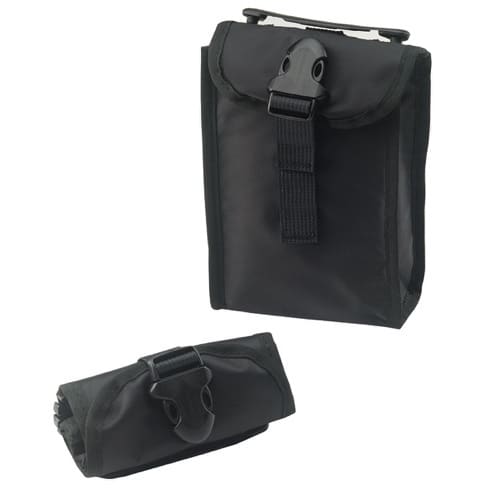
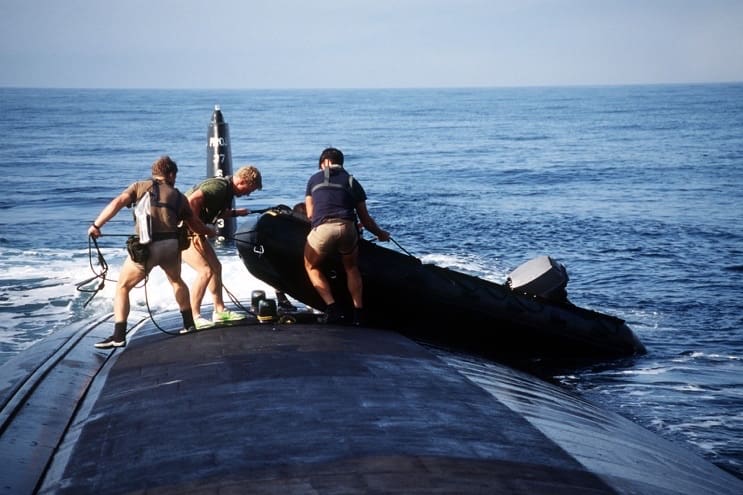
For the past couple of years, SCUBAPRO has been working hard to have more user-friendly products for the military. SCUBAPRO has always been actively involved with the military especial since one of the founders of the company was a former UDT man in Korea. But we have renewed our commitment to making sure the military gets the best gear posable. Starting with some little things, like adding holes to the classic SCUBAPRO Jet Fins. We have two lines of Jet fins; one now comes with a hole in the blade to help you carry them when coming out of the water or on the back of your gear. The Jet Fins are still a favorite for combat swimmers around the world and have been for over 50 years. So, what else can you do to help update one of the most popular fins in the world? Well, you work with one of the best tactical gear companies to adapt one of their products to work with yours. The MATBOCK Skins are a multi-layer adhesive/fabric laminate designed to give the user the ability to camouflage any surface desired. The Skins are waterproof and oil resistant and can be reused multiple times. The skins are available for the SEAWING Nova’s and the Jet fins. They come in two colors Muti-Cam and International Orange. The Skins can be used for OTB, combat swimmer operations, and adding the Orange if it will help you be seen on SAR missions.
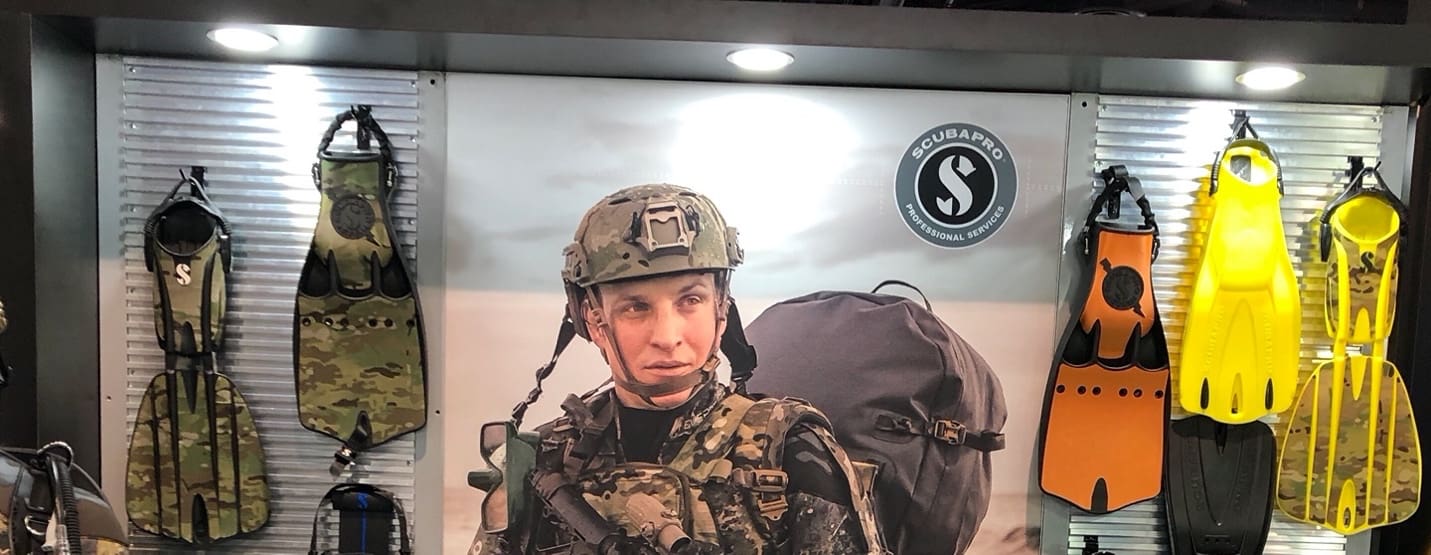
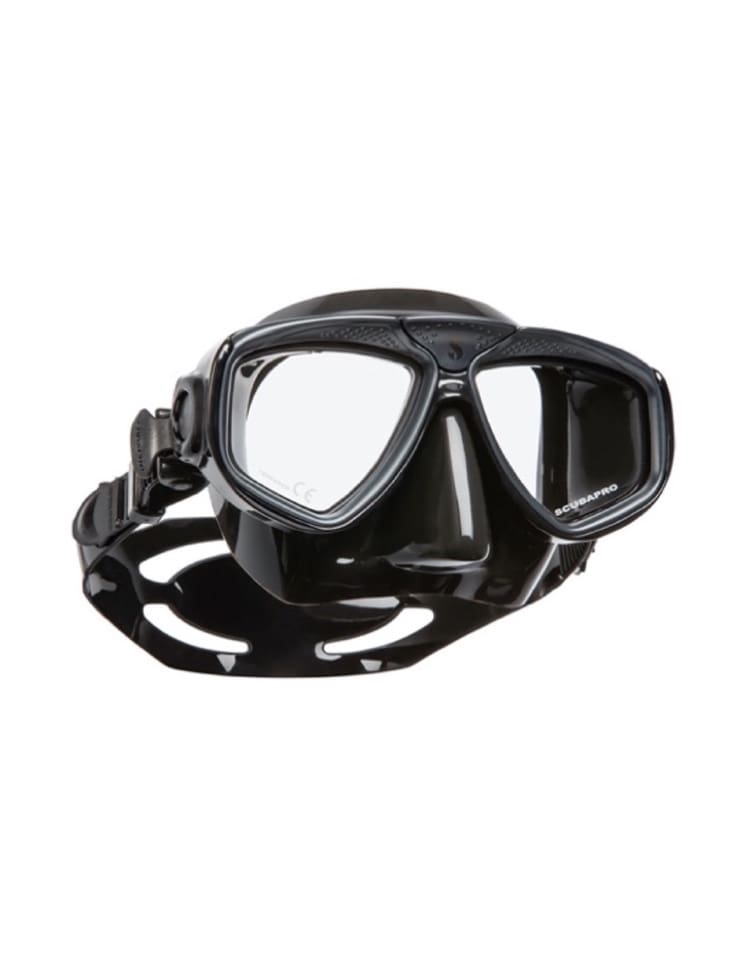
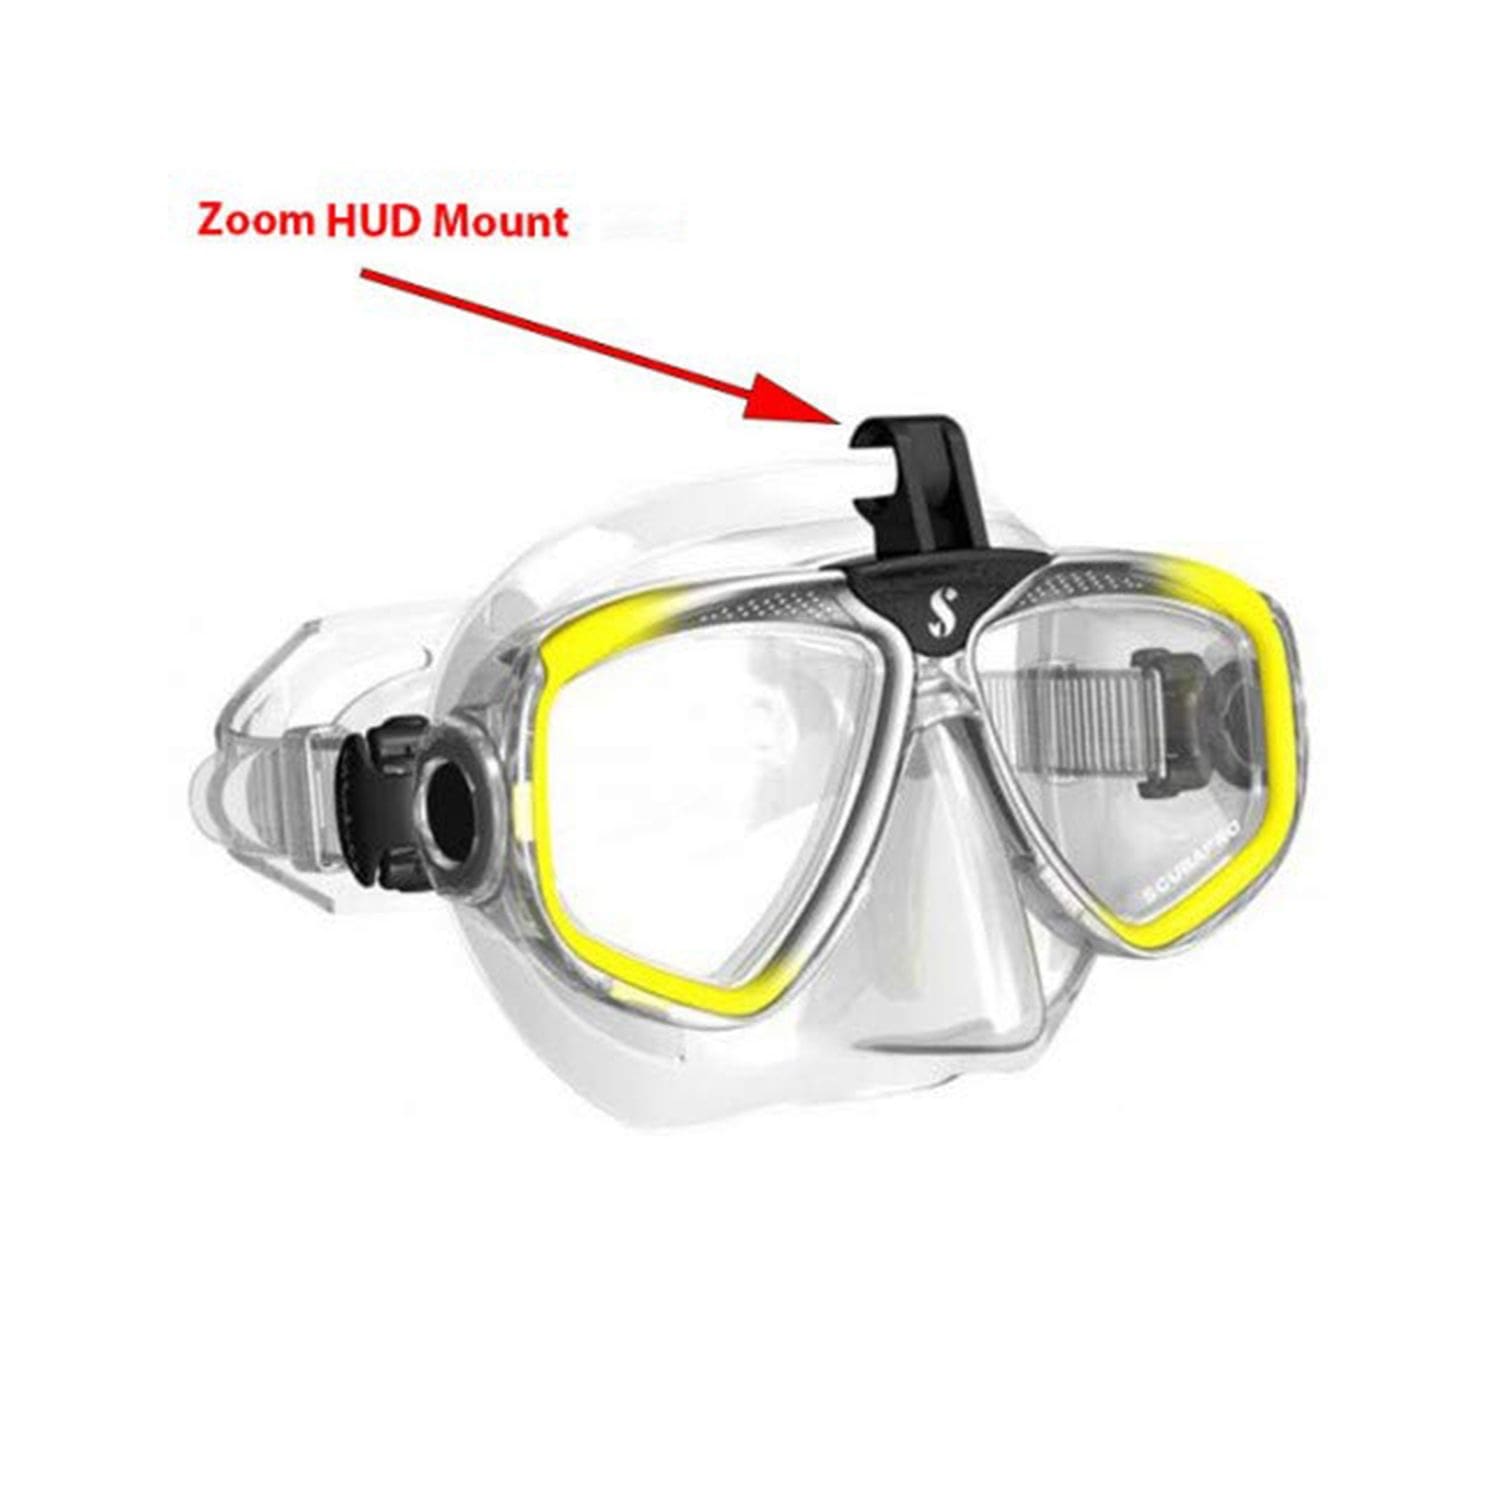
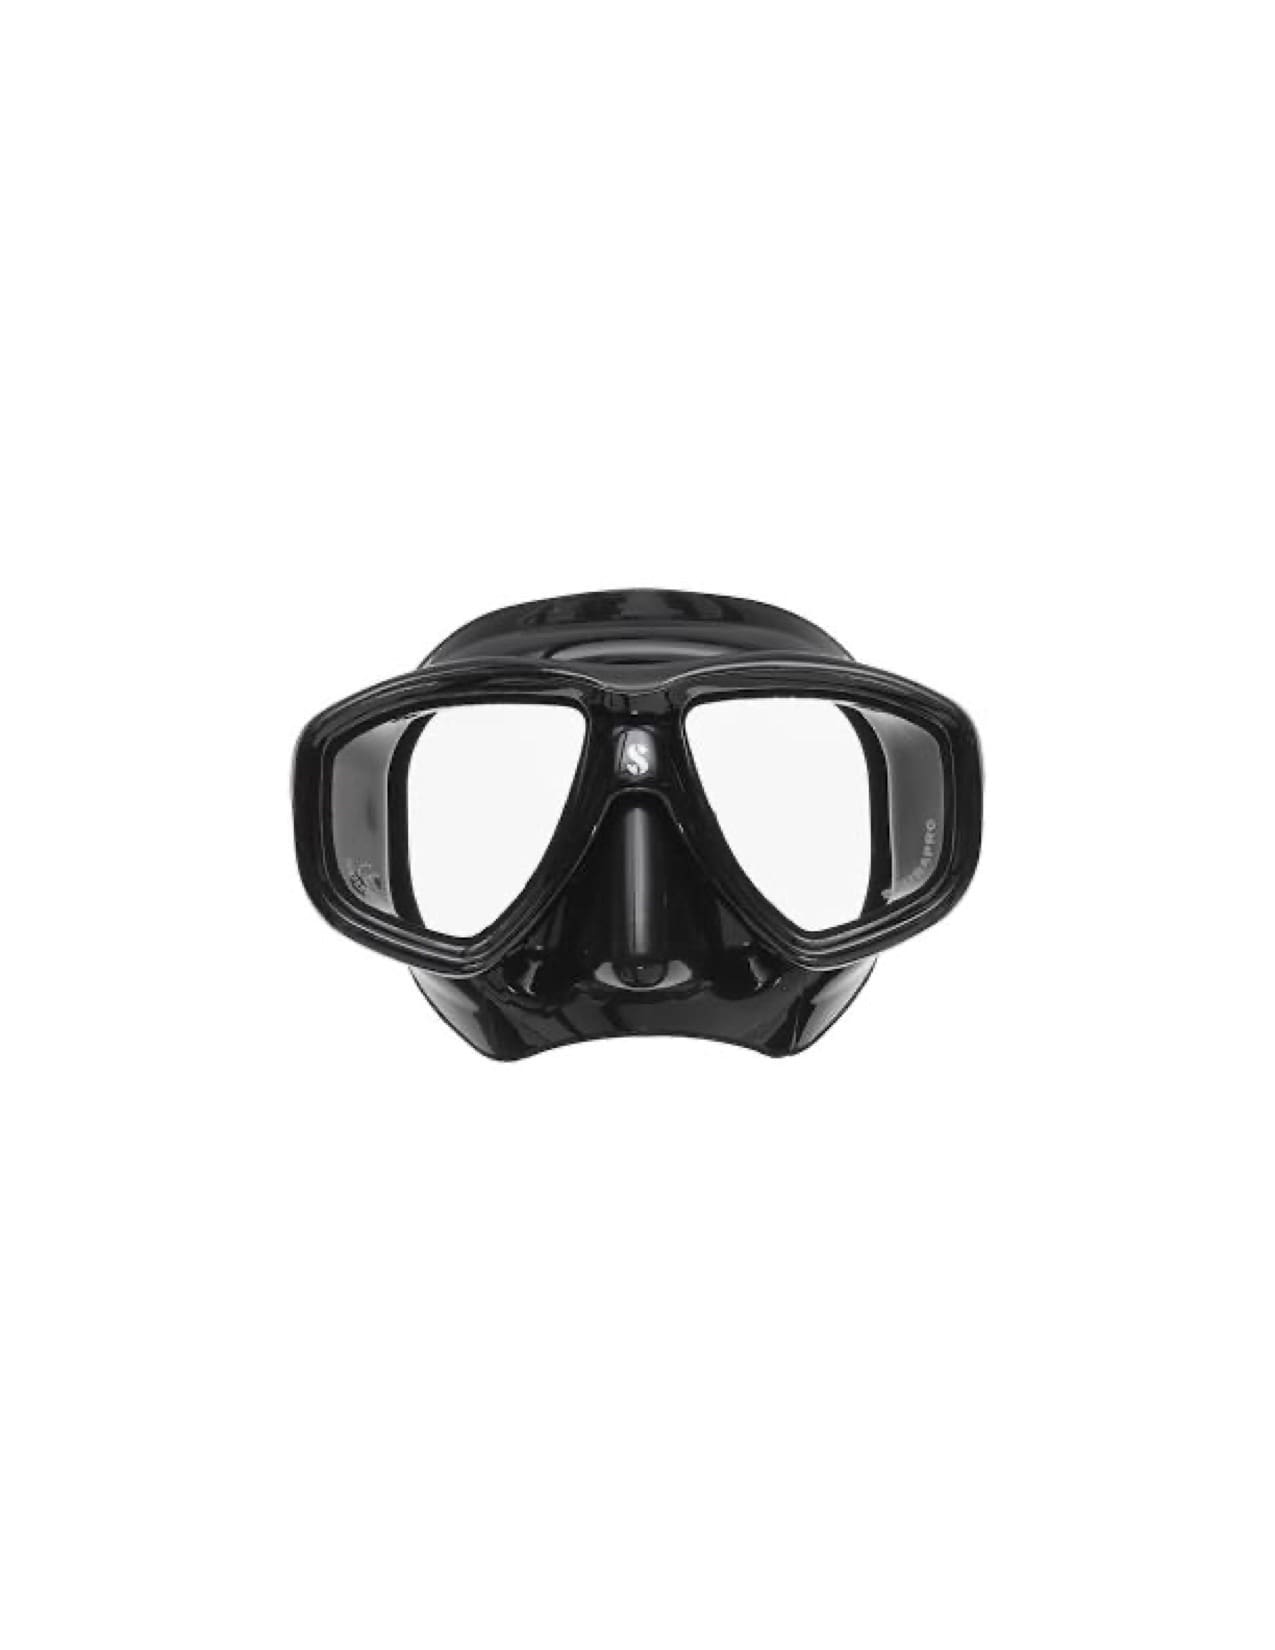
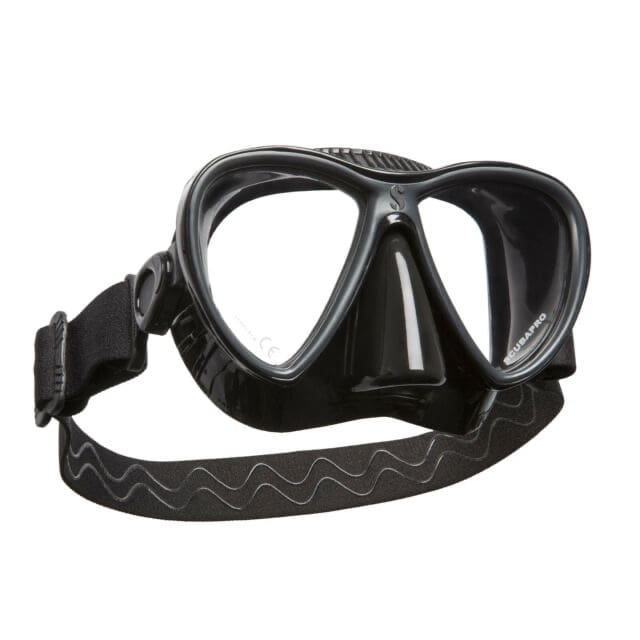
We have added a new subdued color to some of the best masks we have and also updated some to use our comfort strap system and Odin helmet strap system. The masks that have the new colors are the Spectra, Zoom, Synergy Twin Trufit, and the Flux Twin. All of these masks are also HUD compatible. You can now choose to use a comfort strap with it, and it can come with a HUD mount built into the mask.
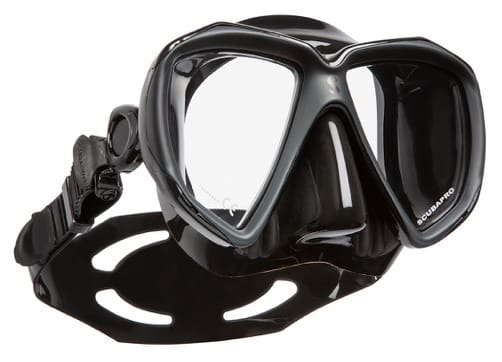
The dual-lens Spectra offers a broad view and comfortable water-blocking seal. Its low volume design makes it is excellent for combat swimmers; this also allows for effortless clearing and provides maximum field of view. Ultra-Clear lenses are made from tempered glass for safety and long- term durability. Universal skirt design is very comfortable and fits a variety of face shapes. Unique nose pocket design makes easy work of equalizing.
The Zoom is another low volume dual-lens mask that is ideal for all divers but, is especially well-suited to divers who use optical lenses. The mask has an innovative lens-change system that enables you to switch lenses yourself, without tools, in less than a minute. The mask also has an optional HUD hands-free dive computer mount adapter that attaches directly to the mask.
The Flux Twin is a low-volume dual-lens mask that comes with a robust and impact-resistant polycarbonate frame to withstand a lot of use and abuse. It is a little smaller than the Spectra. The hypoallergenic, silicone skirt features a double-feathered edge to provide a comfortable, watertight seal on a variety of face shapes.
The Synergy Twin benefits from SCUBAPRO’s second-generation Trufit technology. Unlike its predecessor, which featured a skirt made with uniformly thin silicone, the Synergy Twin Trufit features a skirt made of two thicknesses of silicone – thin and pliable where it touches the face for comfort and to ensure a watertight seal, and thicker near the mask frame for support and rigidity. It’s a compelling combination that delivers a comfortable fit for a wide range of face shapes as well as a reliable seal against water intrusion.
SCUBAPRO is always trying to innovate for the working divers and set the standard for new gear. The latest features for the Frameless/ Frameless Gorilla mask are the addition of the comfort strap adapter. They can be added onto existing masks, and this allows the user to add several new features to one of the most iconic masks ever made. We have new accessories for the classic Frameless mask. The latest version of the Frameless that is available with an integrated HUD Arm that allows you to mount the SCUBAPRO HUD hands-free dive compute.
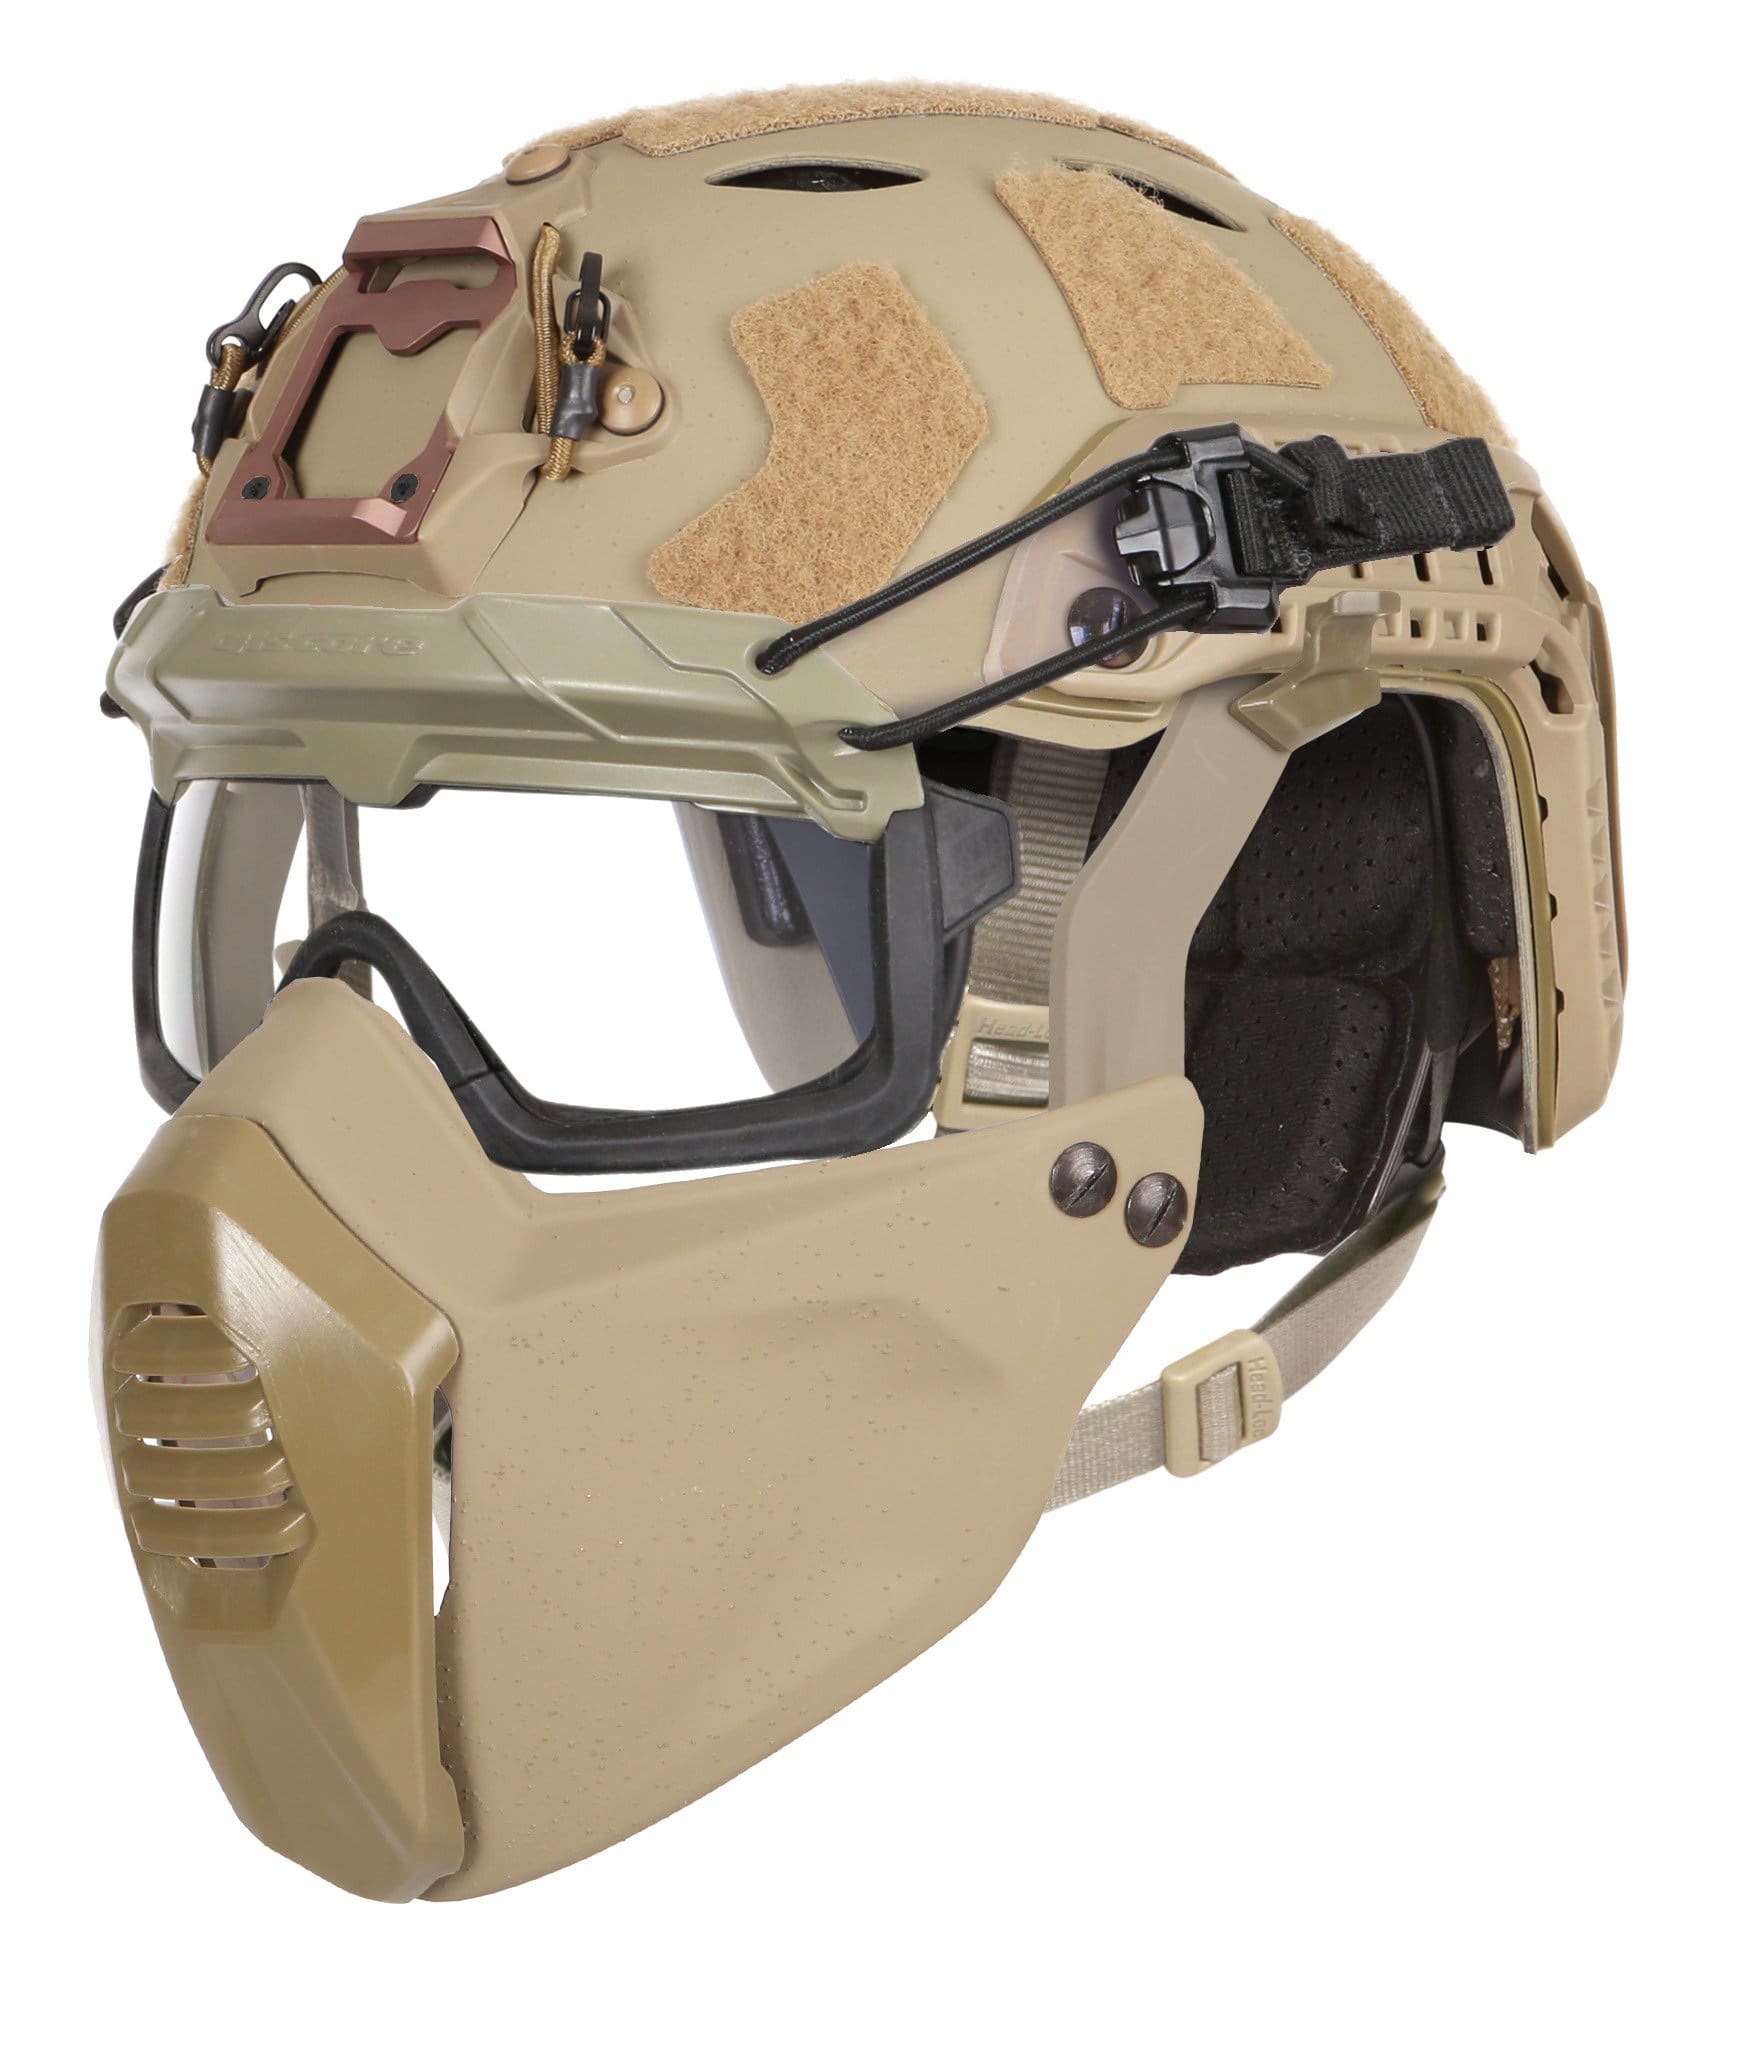
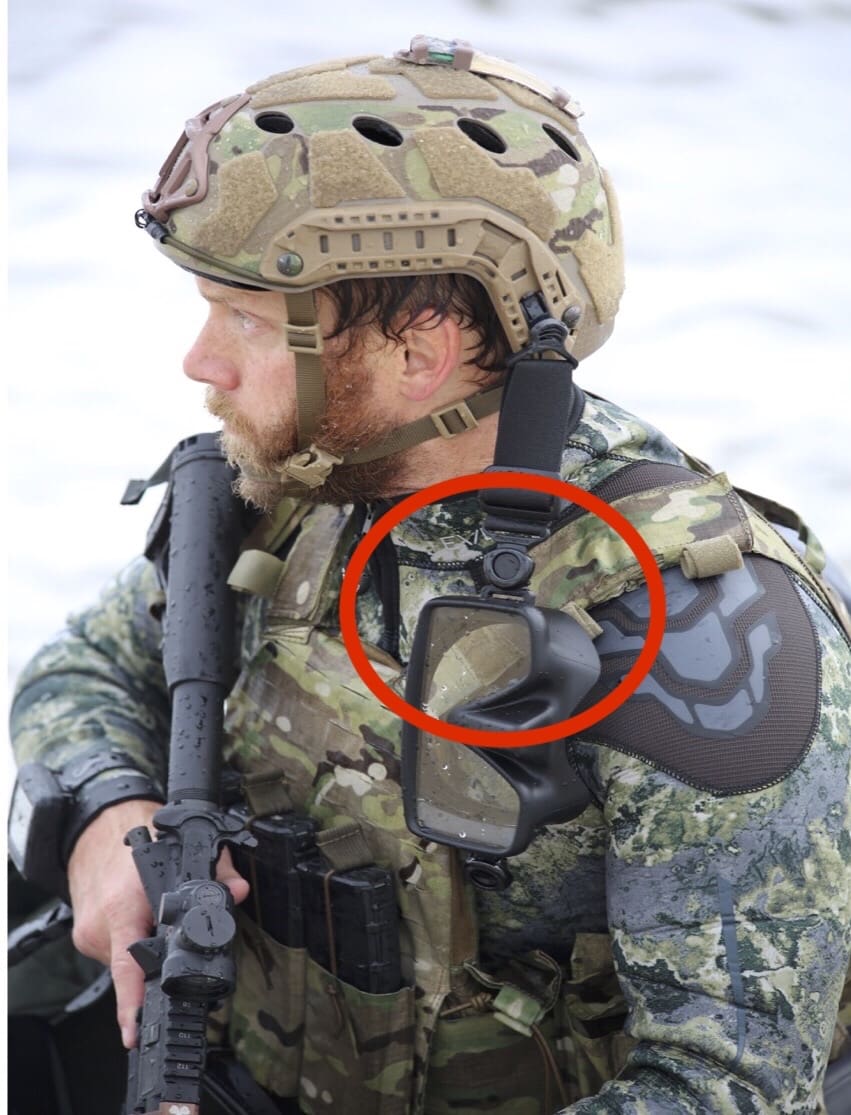
You can also convert the Frameless with quick clip adapters so you can use the comfort straps and even the Odin Helmet Straps. Again, SCUBAPRO has partnered with a leader in the Tactical Gear Industry. Ops-Core is the primer brand when it comes to helmet innovation. The Odin system allows any mask with quick clips to be attached to any helmet that has the Ops-Core ARC rail systems. The Odin straps are perfect for any time you have to wear a helmet when diving or in the water. Like diving a DPV, Wearing Jet-boots, Search and Rescue Operations or working in Fast Moving Water. The Comfort Strap is similar to a ski goggle strap in design. It clips right into the mask buckle adapter and offers a wide adjustment range. It also is a lot less likely to break mid-dive as it is a nylon strap and not rubber or silicone. The adapter also makes the mask non-magnetic for EOD use, as it removes all metal parts.
Frameless with quick-release buckles QR kit PN 24.340.039
The SCUBAPRO Odin Helmet strap system features two mask straps fitted with the Ops-Core goggle swivel clip and shoe rail adapters. It will fit all Ops-Core helmets, or any helmet equipped with an ARC rail. It will fit any SCUBAPRO mask that has quick clips. Odin Helmet straps (part number 24.815.100)
For more information, please contact SCUBAPRO Global Military/ Government manager. ecrazz@clannfive.com


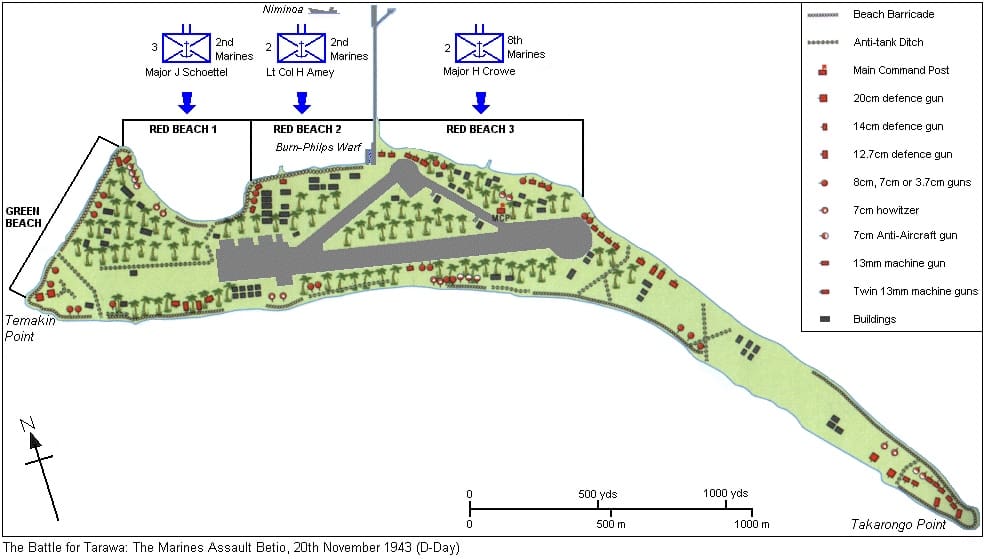

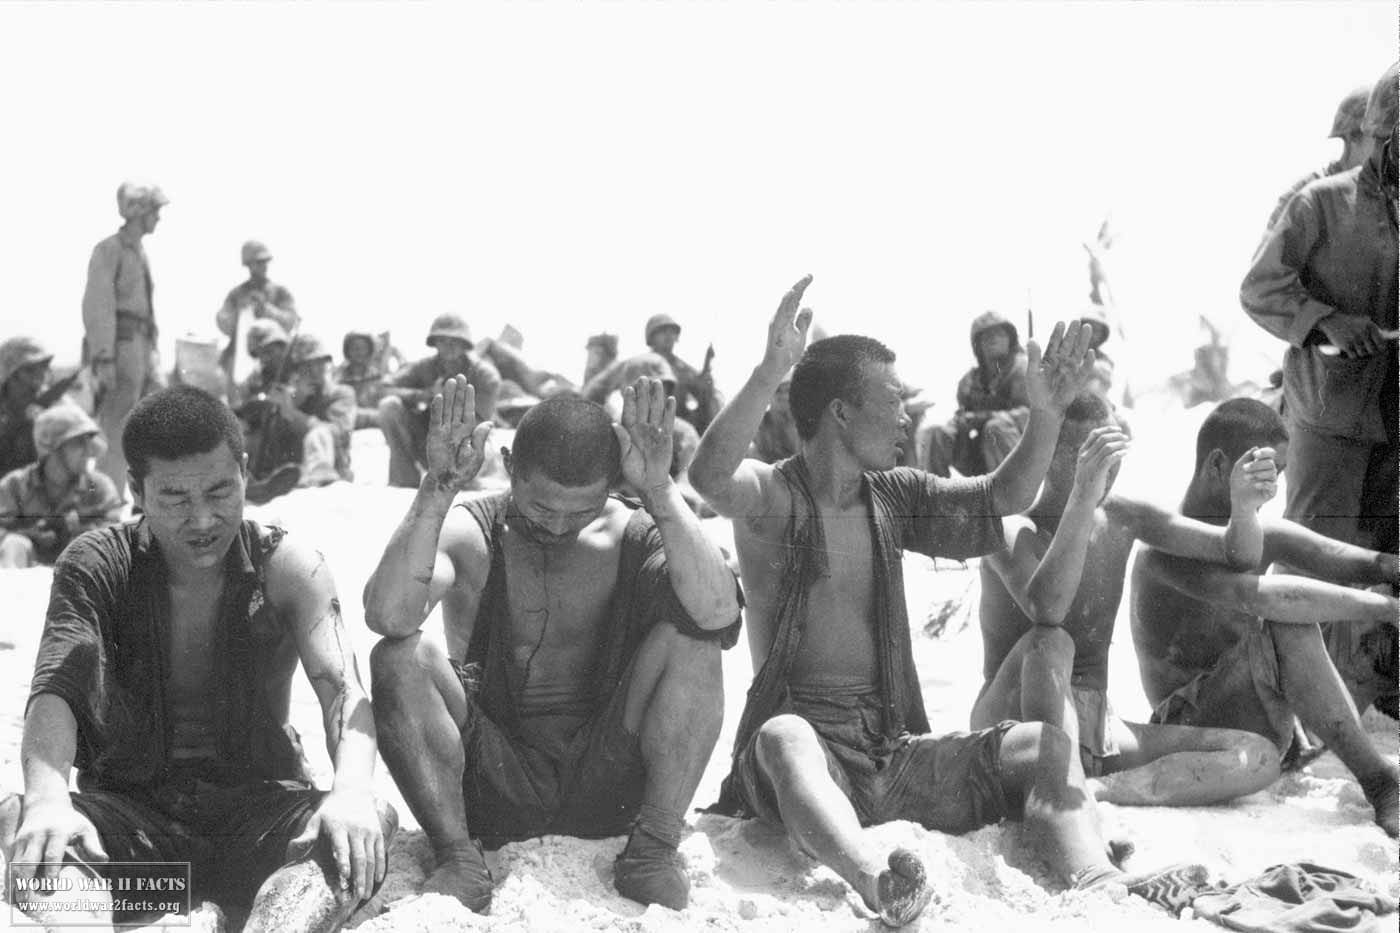
 The first two assault companies, K and L, suffered over 50 percent casualties in the first two hours of the assault. The following waves were in even more trouble. Embarked in Higgins Boats, they had no choice but to unload at the reef due to the low tide. They had to wade ashore over 500 yards under heavy fire.