It’s not uncommon for two divers to use different amounts of air, even if they are diving the same dive profile. Different factors will affect how much air you will consume until you learn good diving practices and buoyancy control. If you have been diving for a long time and you still go thru your air faster then the people around you, there are some things you can do to help improve your air consumption. Trying to conserve energy, controlling your breathing, and reducing your drag while diving. Planning your dive is the first step. Plan your dive to be underwater for the shortest amount of time as possible and not coming up and going off and then back on bag. If you are going to cover a lot of distance, turtleback for as long as possible to save as much air as you can.
Reducing Drag
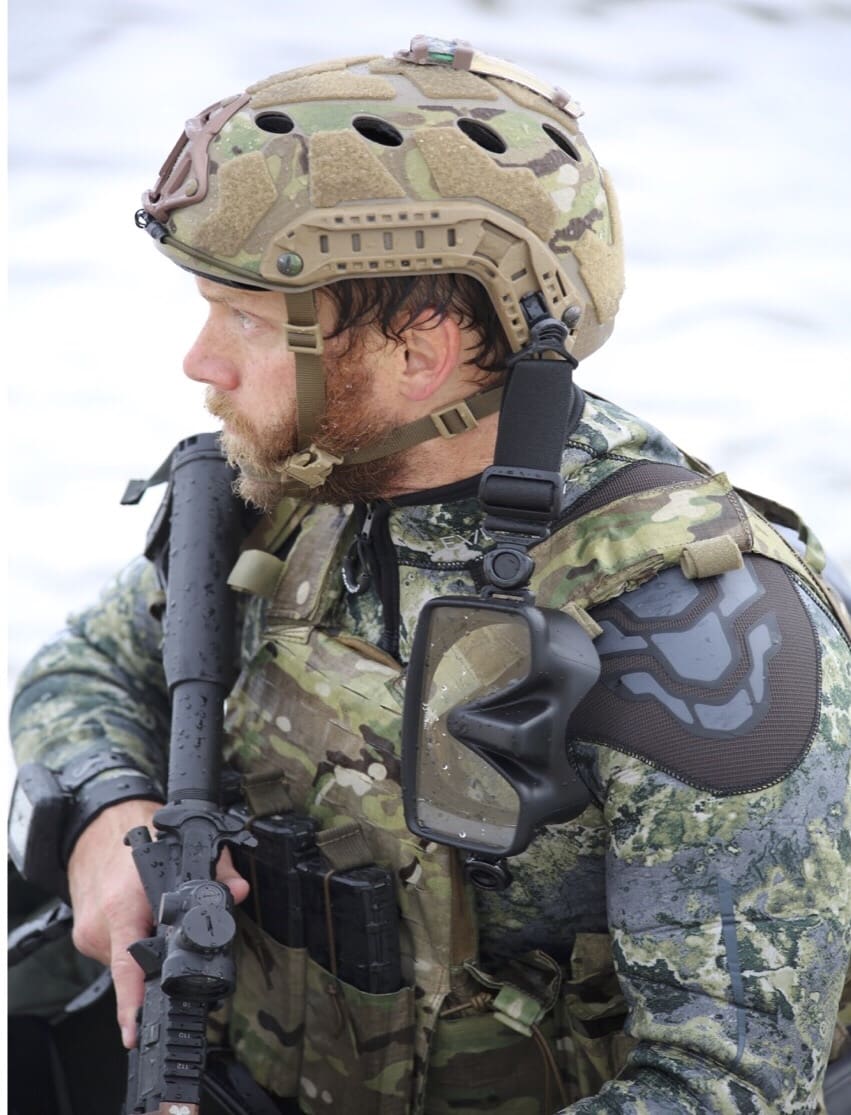
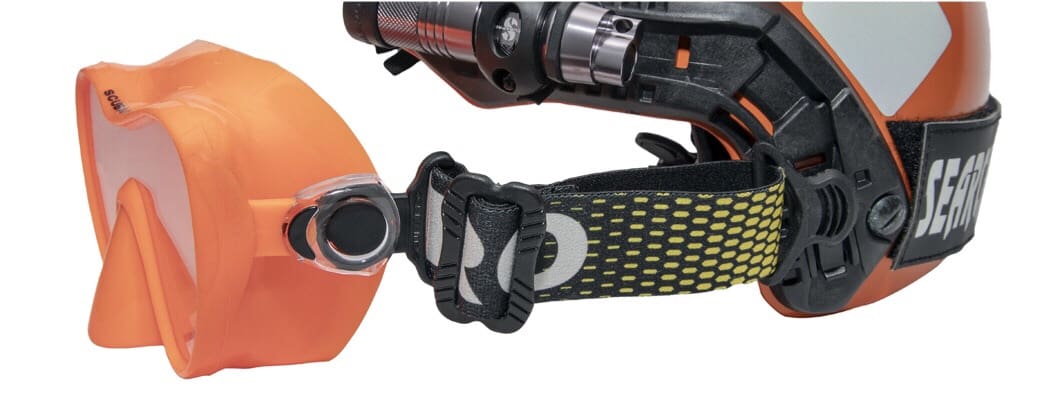
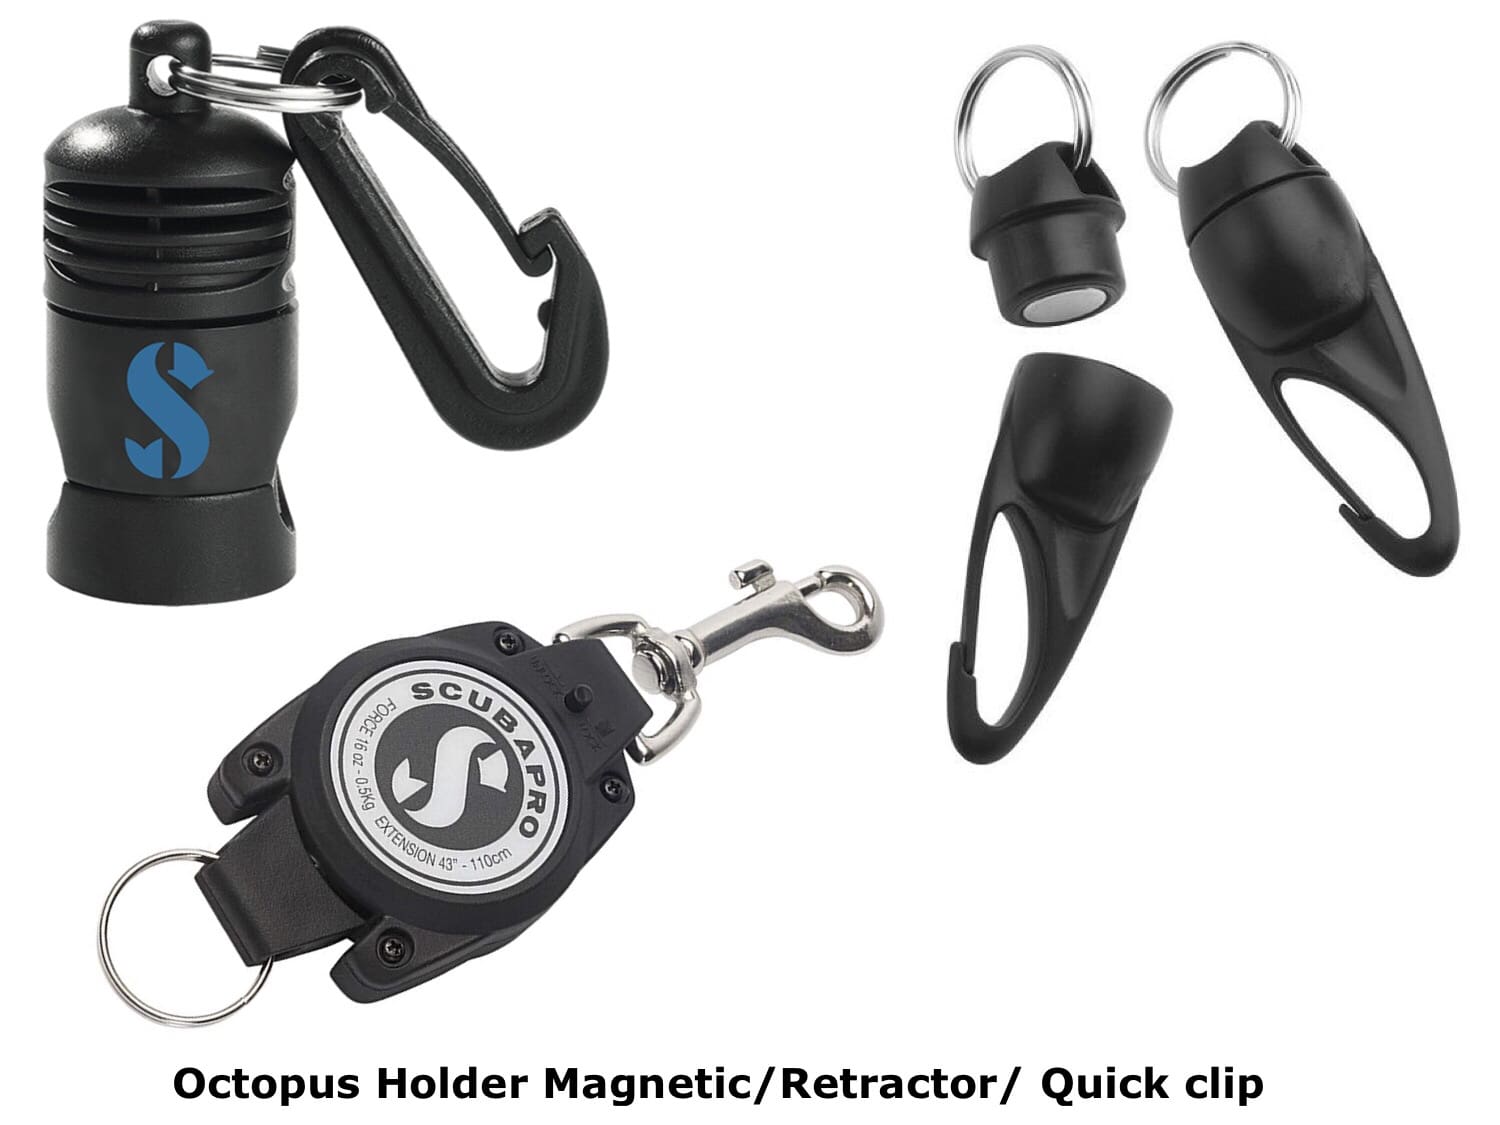
Water provides enough resistance on your body, and it doesn’t help when you have on a bulky BC, that is sticking out like a parachute. Try and tuck away anything that hangs and floats behind you. You want your resting position in the water to be as close to horizontal as possible. This more streamlined profile results in less exertion during the dive Try and use retractors and quick magnetic clips on all gauges and hoses. They allow you to look at your gauges and when you let them go, they go right back into place. Lastly, try and keep a good body position keep your hands in front of or as close to your body as possible, and wear a BCD that fits appropriately. Some BCD has a bungee on them to keep them tighter and then when they need to be inflated; the bungee allows for that. This will significantly reduce your drag in the water and help you improve your air consumption.
Slow Down
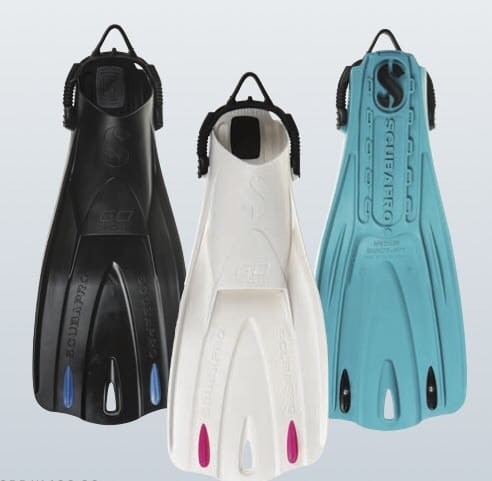
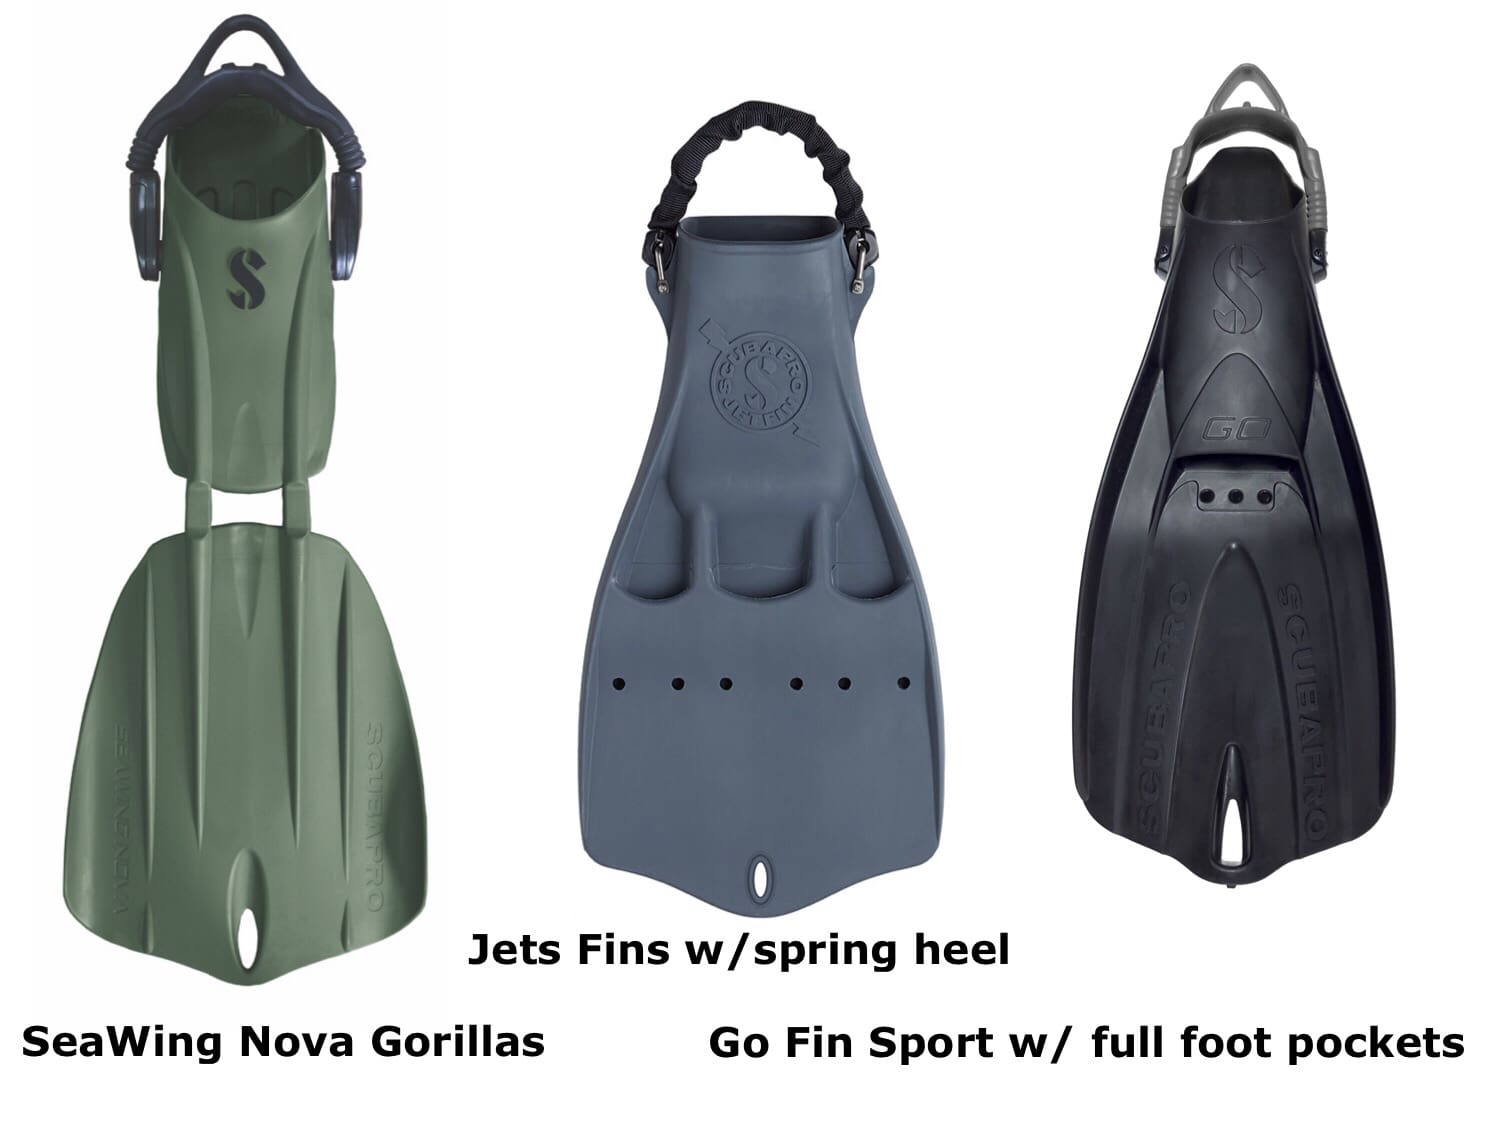
This is why you have been taught to swim at a certain pace. Normally for combat swimmers 3 min/ 100yards. If you stay with your pace, this will help maintain your breathing rate. Your movement in the water should be minimal, try not to flail around with your arms or kick furiously. Keep each fin stroke as short as possible, as a broad stroke expends a lot more energy. Your legs use the most O2. The right pair of fins will help with this. The reason they make so many different types of fins is that everyone’s kick is different. Just because they are right for your swim buddy doesn’t mean they will be right for you.
Relax
Be conscious of your breathing underwater. Try not to hold your breath or skip breaths. Sometimes when working and doing different things underwater, it will interrupt your normal rhythm and change your breathing without you noticing. Take slow and complete breaths, exhaling completely before inhaling. Stay warm. Know the water conditions you are going into and choose the right wetsuit thickness. Being cold drains more energy from your body that means you’ll use more air. Lastly, a quality regulator can also help make breathing more comfortable and easy to control. An old trick is to put your tongue on the roof of your mouth. This will help slow you down and lets less air in (that is the theory). If diving closed circuit make sure your mouthpiece fits property if you are moving it around a lot or if it feels like it is being pulled out or fighting to keep it in it will affect your breathing.
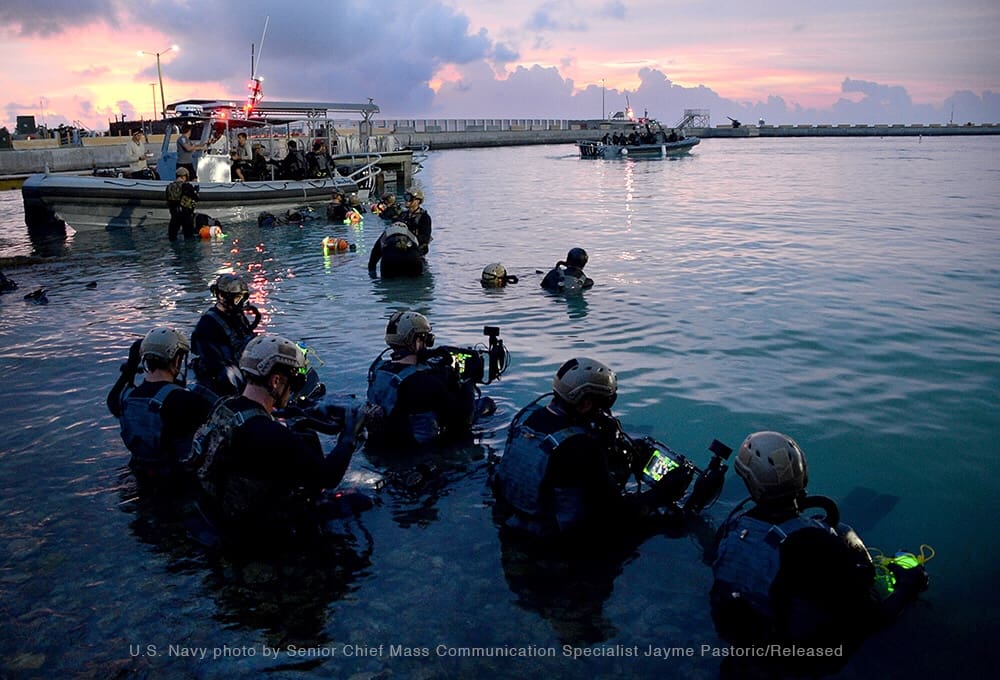
Lastly, try and dive more. As the military gets back into the water, and there are more opportunities to get into the water you will get better at it. Don’t wait until you are diving as part of your work up, try and get into the water as much as you can. Then when you are in the water try and do as much as you can to wear everything you usually would, so you can get used to it and set all your gear up correctly.