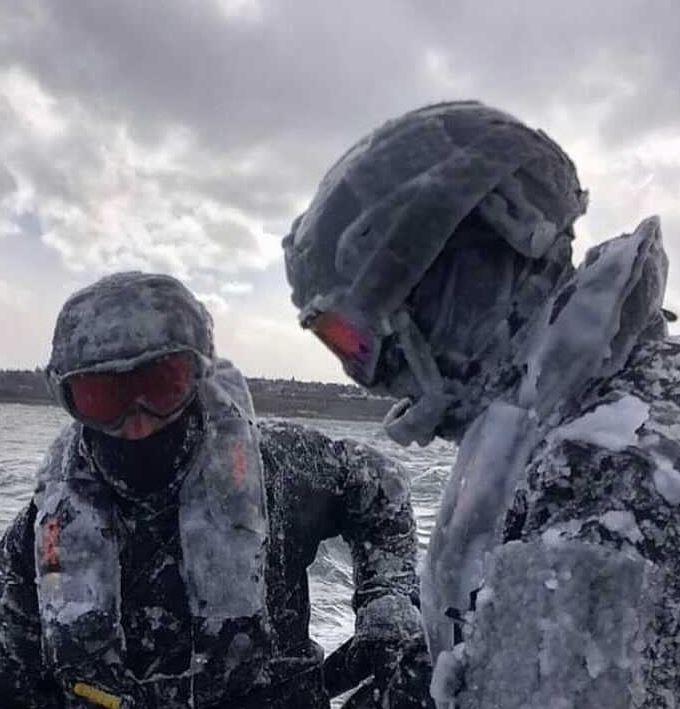
FORT BRAGG, North Carolina – Some of the nation’s elite Soldiers with the 82nd Airborne Division and 3rd Special Forces Group have finalized testing the Army’s new Parachutist Flotation Device (PFD).
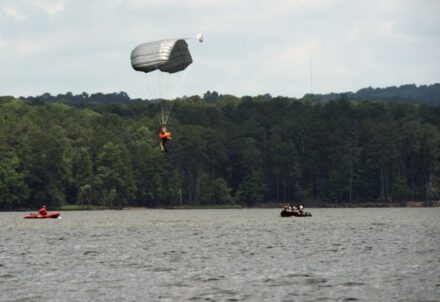
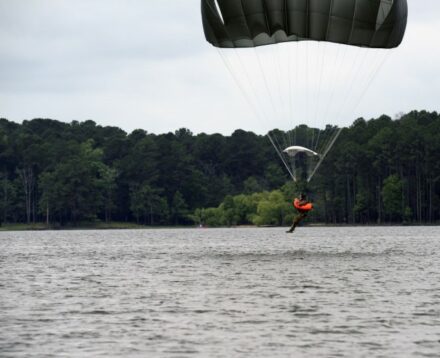
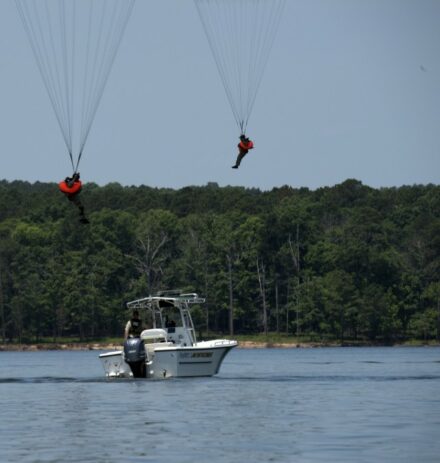
Preparation for the PFD test started in mid-April 2021 with the Airborne and Special Operations Test Directorate performing intentional water landings in Jordan Lake, North Carolina, according to Maj. Camden S. Jordan, ABNSOTD’s executive officer.
“Planners synchronized early with local emergency management, law enforcement and state wildlife agencies to help support the Army’s water operations on Jordan Lake,” said Jordan said.
Jordan went on to say rehearsals took place for the multi-tiered and complex infiltration technique before final testing in June.
“Located just West of Raleigh, North Carolina, Jordan Lake is one of North Carolina’s most pristine waterways, so these agencies provided swift water rescue teams, emergency medical technicians, small boat support and assisted in routing boaters away from the water drop zone while airborne operations are underway,” he said.
“We relied heavily upon the support of the community to execute this test. Local emergency services were the lynchpin to this entire test and could not have been executed without their outstanding support,” said Sgt. 1st Class John Reed, ABNSOTD’s Operations NCOIC.
According to Dan Shedd, Senior Mechanical Engineer Developmental Command at Natick, Massachusetts, military planners try real hard to keep airborne operations away from bodies of water.
He said on occasion, though, paratroopers can engage high value targets near large bodies of water so they must be equipped accordingly for safety.
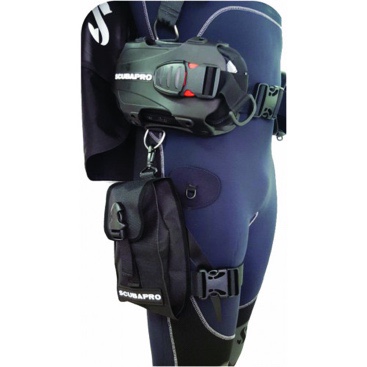
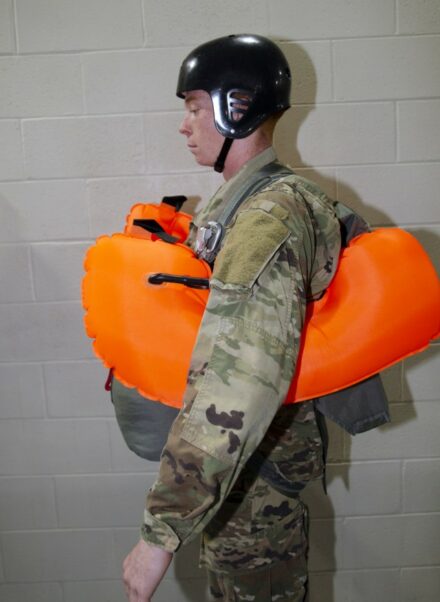
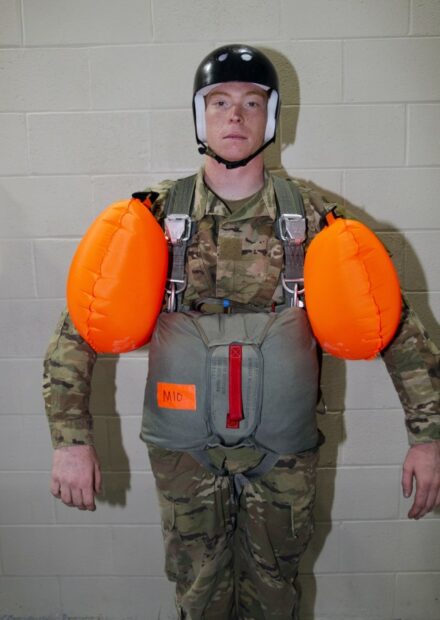
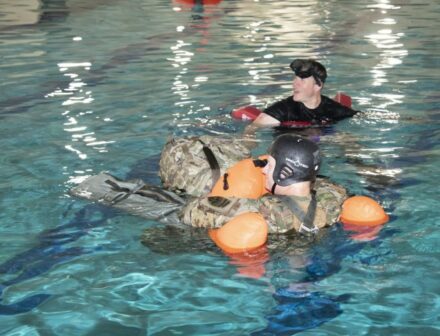
With flotation bladders that can be inflated using an internal carbon dioxide (CO2) gas cylinder or an oral inflation tube, once employed in the water, the PFD becomes critical in saving lives.
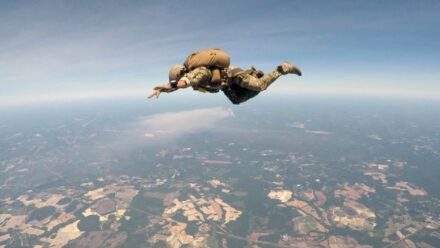
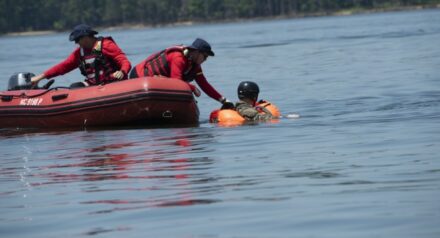
Shedd explained how the PFD must suspend a combat-equipped jumper in a “lifesaving” posture for an extended period following an airborne infiltration.
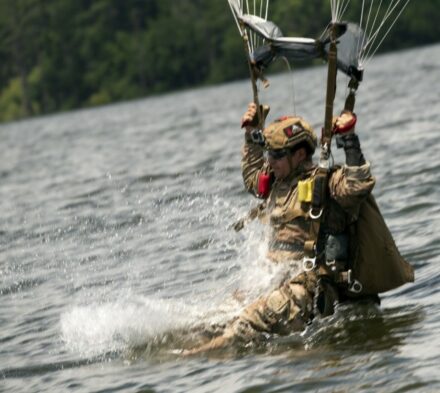
“In real-world scenarios,” he said, “this critical time allows recovery teams time to locate and extract jumpers in the event of a water landing.”
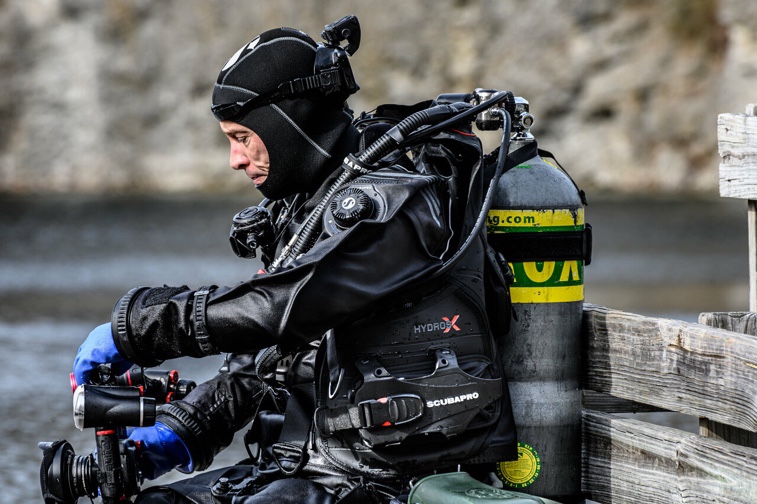
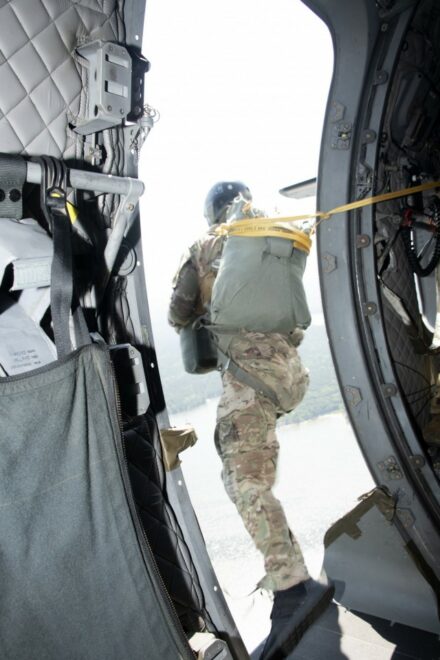
Reed said operational testing with Soldiers during early June saw participating paratroopers undergoing intensive training cycles geared toward preparing for deliberate water operations.
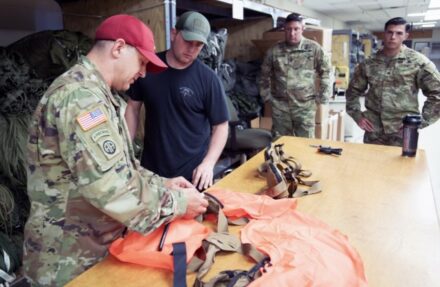
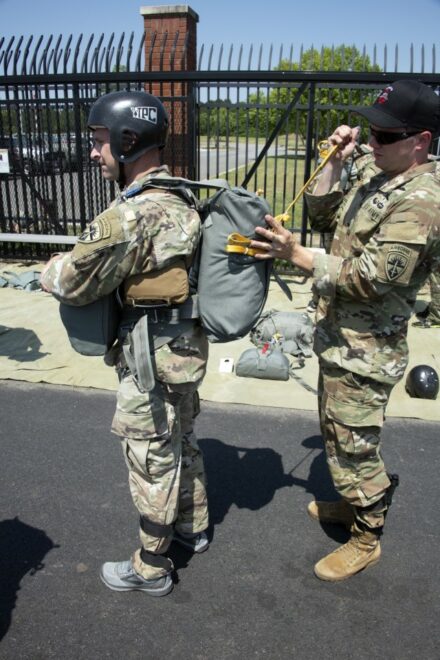
That training began with new equipment training (NET) so the Soldiers could practice the proper rigging techniques and activation procedures required using the PFD.
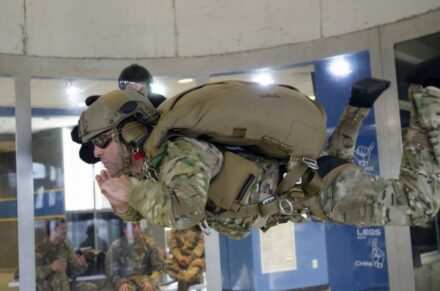
“Anytime two lifesaving devices are being employed by one Soldier, intense attention to detail is required for both proper fit and wear as well as how these systems interact during airborne infiltration,” said Staff Sgt. Jonathan R. Copley an ABNSOTD Military Freefall Master Jumpmaster.
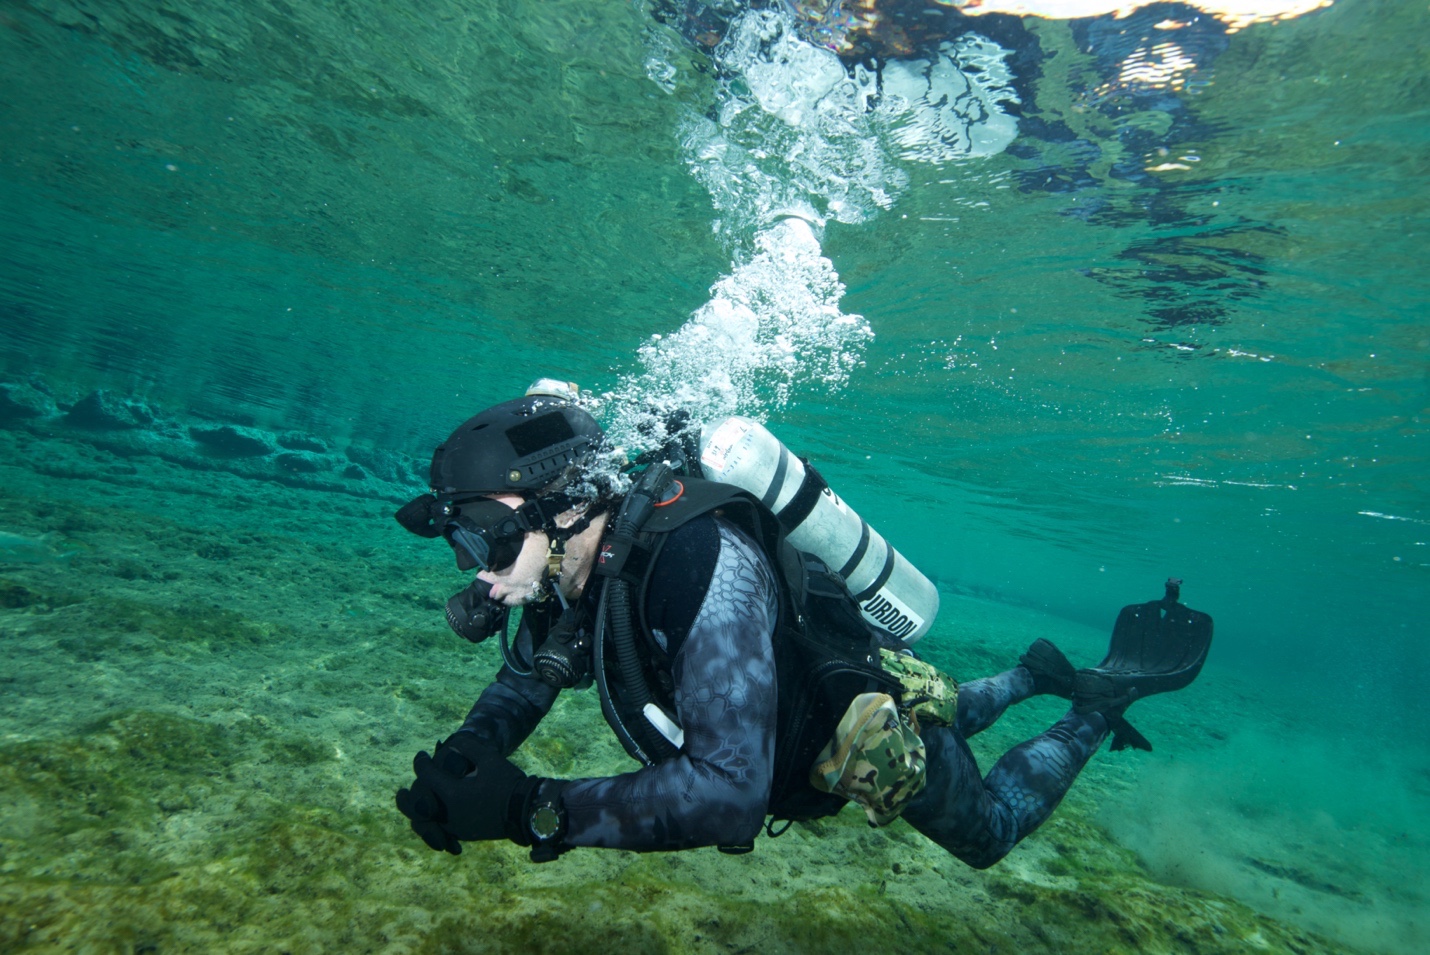
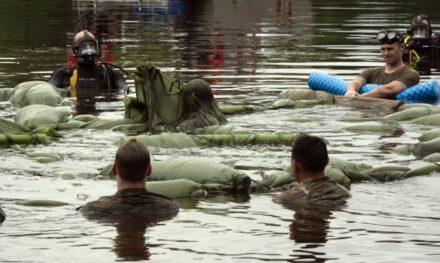
The rigorous NET training test jumps required the test Soldiers of 82nd Airborne Division and 3rd Special Forces Group to complete a full combat water survival test (CWST) conducted in Fort Bragg’s Mott Lake.
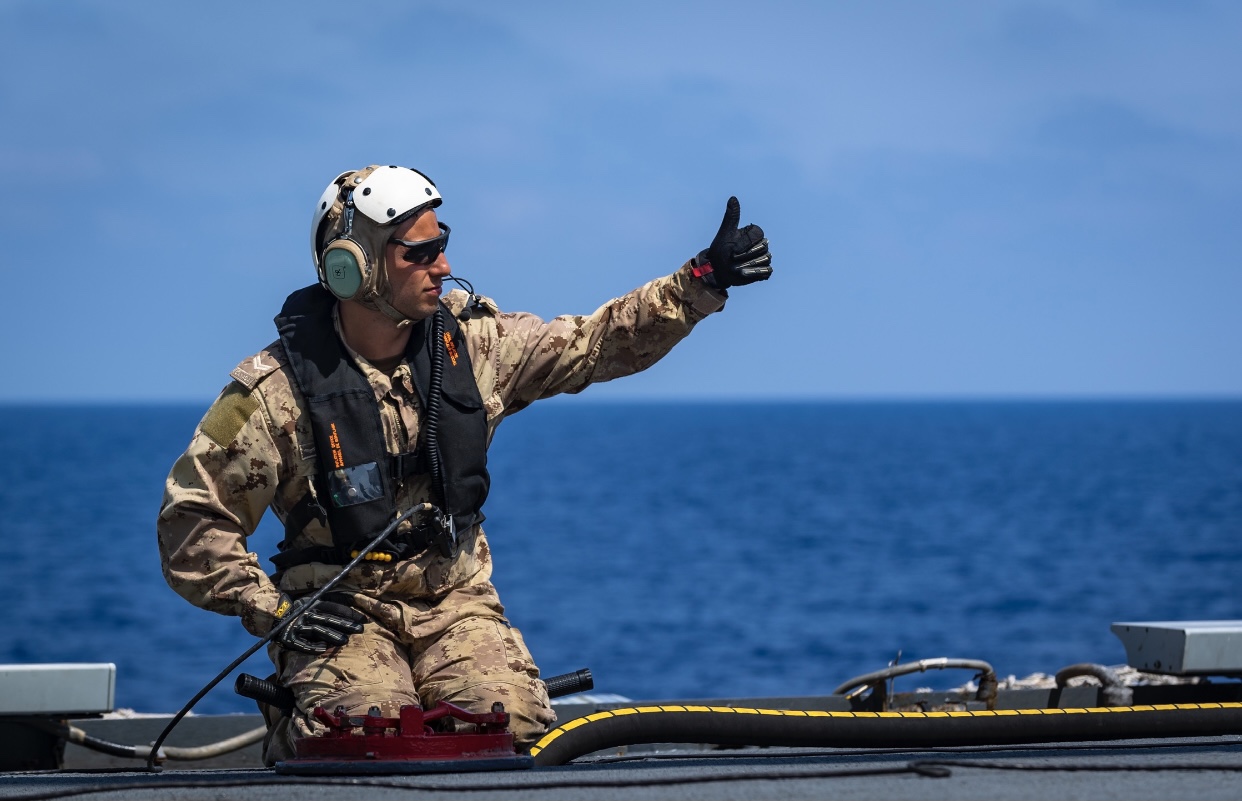
Sgt. 1st Class Steven Branch, a platoon Sergeant and Jumpmaster assigned to C Company 2nd Battalion 501st Parachute Infantry Regiment, gave the PFD a thumbs-up.
“The PFD is much easier to rig for static line operations,” he said. “We barely noticed having it on, and it can easily suspend a Soldier with combat equipment for a long time if needed.
“Overall I was very impressed with every aspect of the PFD.”
ABNSOTD used the PFD test to train parachute riggers from across the airborne and special operations community in the proper maintenance and care of the new life-saving apparatus once they return to home station.
This “maintainer” training included system maintenance, repacking, repair, proper storage, handling, as well as rigging and employment during water landings.
Sgt. Issa Yi, a parachute rigger with the 151st Quarter Master Company said, “The PFD was easy to pack and required no special tools or materials to maintain.”
Story by Mr. Mike Shelton, Airborne and Special Operations Test Directorate, U.S. Army Operational Test Command
Photos by Mr. James L. Finney, Mr. Barry W. Fisher, and Mr. Chris O’Leary, U.S. Army Operational Test Command, and SFC Timothy D. Nephew, Airborne and Special Operations Video Flyer