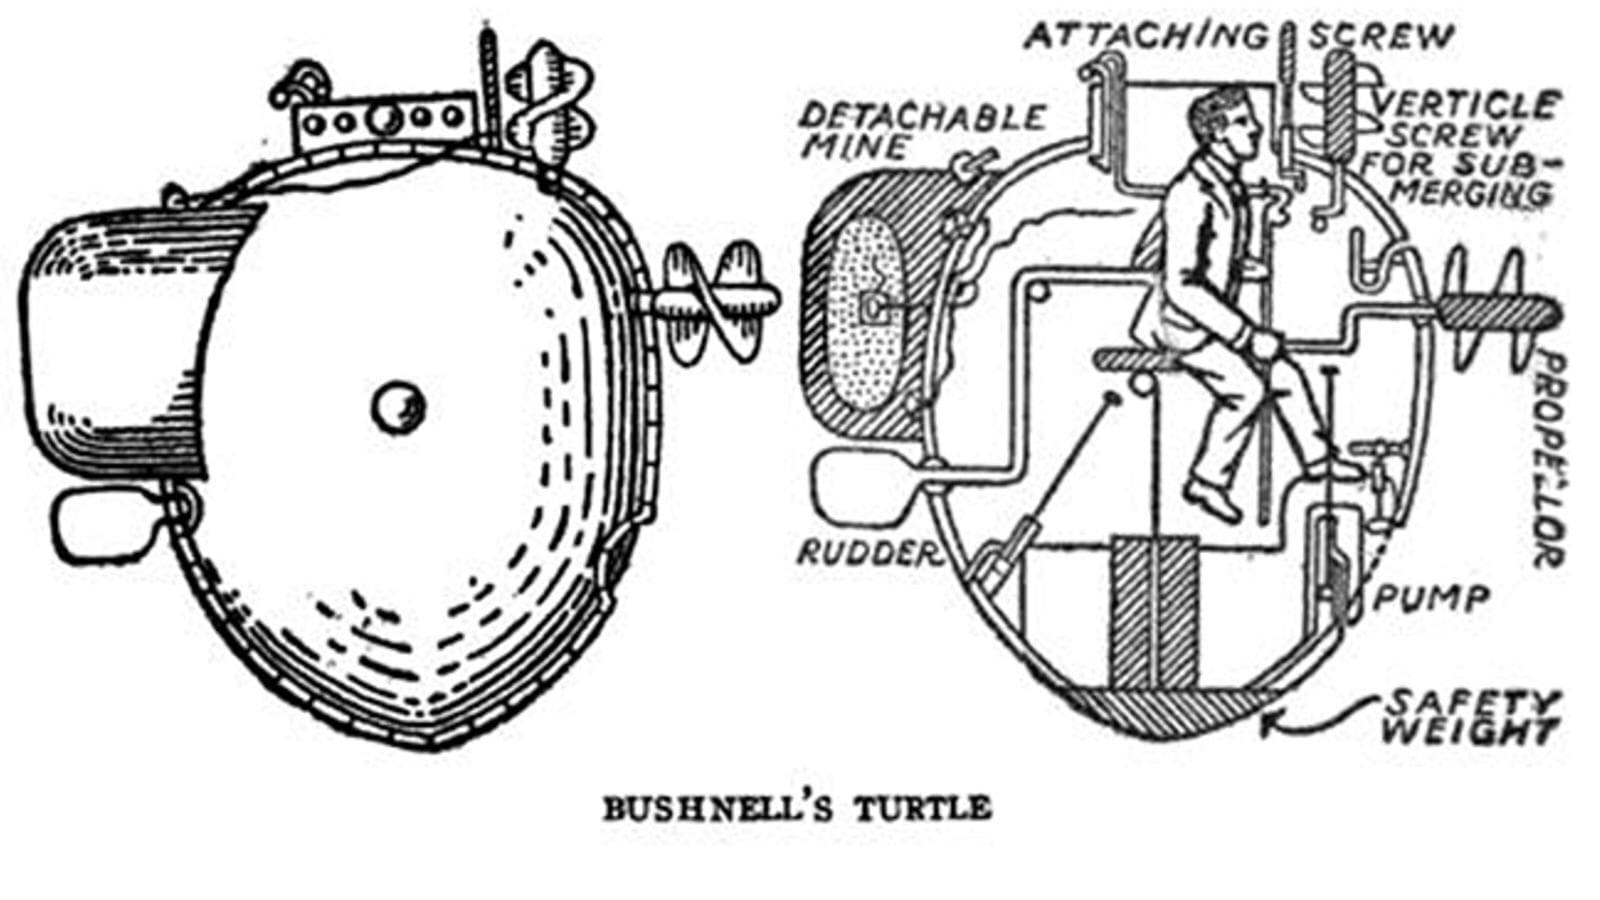
In the early 1770s, a Connecticut inventor David Bushnell started designing what would be the first submersible. It was a small egg-shaped and less than eight feet tall. Her hull was constructed from two oak shells held together by steel bands and waterproof with a thick layer of tar. It had ventilation tubes, a compass, and a device for determining depth. Attached to the exterior was a primitive bomb. The pilot entered the vessel through a hatch at the top. There were a couple of small glass windows that provided very light and visibility. It was operated by a hand crank that propelled it and a tiller that steered it. The operator also controlled the hand pump that regulated the ballast that submerged and surfaced the craft. Once submerged and the ventilation tubes were closed, there was about 30 minutes worth. It was called “Turtle” because of the two “shells” put together to make it.
In the spring of 1776, about a year into the Revolutionary War, Bushnell wrote to General George Washington asking if the Turtle could be used in defense of New York City’s harbor. Washington accepted the offer. Around midnight on 6 September, the Turtle, piloted by Army sergeant Ezra Lee. That’s right, the first submarine action by the U.S. was the Army.
It took Lee two hours to get to his target; a British ship named the HMS Eagle. Once he positioned himself beneath the vessel, he was supposed to drill into her hull using a bit attached to Turtle’s top hatch. Once the hole was deep enough, he would anchor his explosive device to the ship’s hull. He had about 30 minutes to get away from the Eagle before the charge would detonate. That was the plan, but Lee’s bit got stuck in a metal part of the hull. On his second attempt, the Turtle bobbed to the surface and was spotted. As he headed for shore, Lee released his “torpedo,” which exploded harmlessly in the middle of the East River. Again, he was Army.
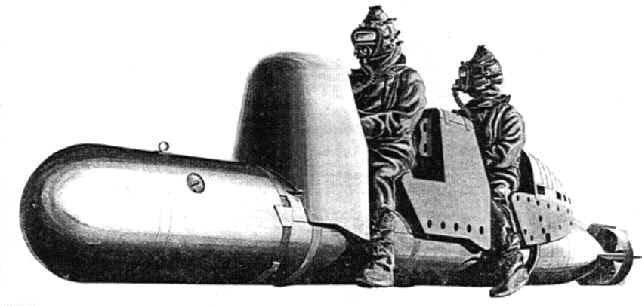
Although the Turtle was not technically a DPV, it was the U.S. first attempt at underwater warfare. The Human torpedoes or manned torpedoes are a type of diver propulsion vehicle used as secret naval weapons in World War II. The name was commonly used to refer to the weapons that Italy, and later Britain, deployed in the Mediterranean and used to attack ships. The first human torpedo was the Italian Maiale (“Pig”). In operation, it was carried by another vessel (usually a submarine) and launched near the target. It was electrically propelled, with two crewmen. With rebreathes and riding astride. They steered the torpedo at slow speed to the target. At the target, they would use a detachable warhead like a limpet mine and then rode the torpedo away. The idea was successfully applied by the Italian navy early in World War II and then copied by the British. They discovered how effective this weapon could be after three Italian units successfully penetrated the harbor of Alexandria and damaged the two British battleships HMS Queen Elizabeth and HMS Valiant, and a tanker. The official Italian name for their craft was Slow-running torpedo, but the Italian operators nicknamed it the “Pig” because they were difficult to steer. The British versions were named “chariots.”
They were used thru out WW2, After the war, the technology started to get better, and they were used thru out the cold war to put people onto beaches and other fun stuff like that. There are many types of DPVs out there, and I think it is better for me to post a link to a site that talks about them.
en.wikipedia.org/wiki/Diver_propulsion_vehicle
There are also some other ones out there. Make sure you get proper training before trying them.
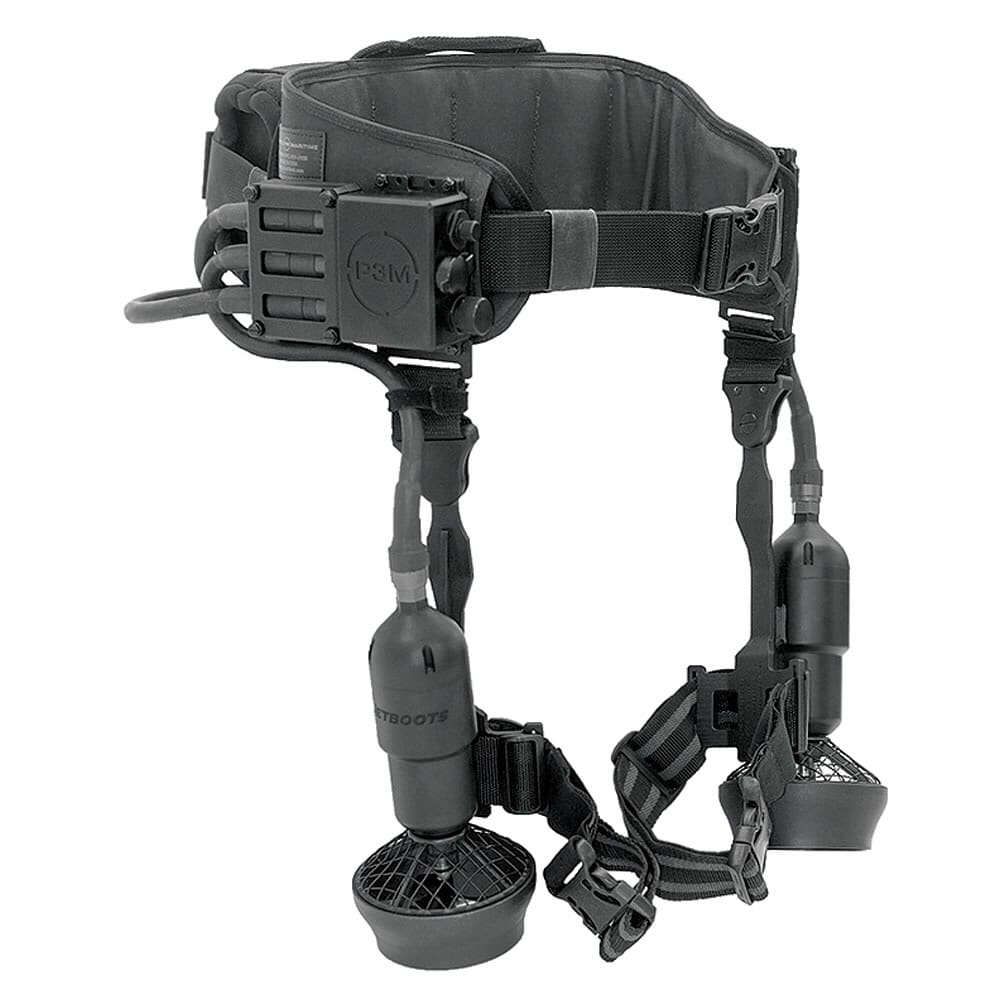
Jetboots Diver Propulsion System, (JDPS) is a unique hands-free diver propulsion system designed specifically for the military and commercial diver. JDPS uses brushless motors and lithium-ion batteries to achieve incredible propulsion at a meager total system weight, which enables previously impossible mission profiles. Jet boots were first used to help with hooking and climbing of GOPLAT and in currents. Now they are used more for getting from point A to B.
The most significant benefit of using a diver propulsion vehicle is you can go faster, cover more distance, and increase your bottom time. Since you won’t be kicking as much as you typically would be, you can stay down longer. They also help get divers into a place where because of the current you would not be able to get into. If you judge the tides wrong and trying to swim age against it, it can be impossible.
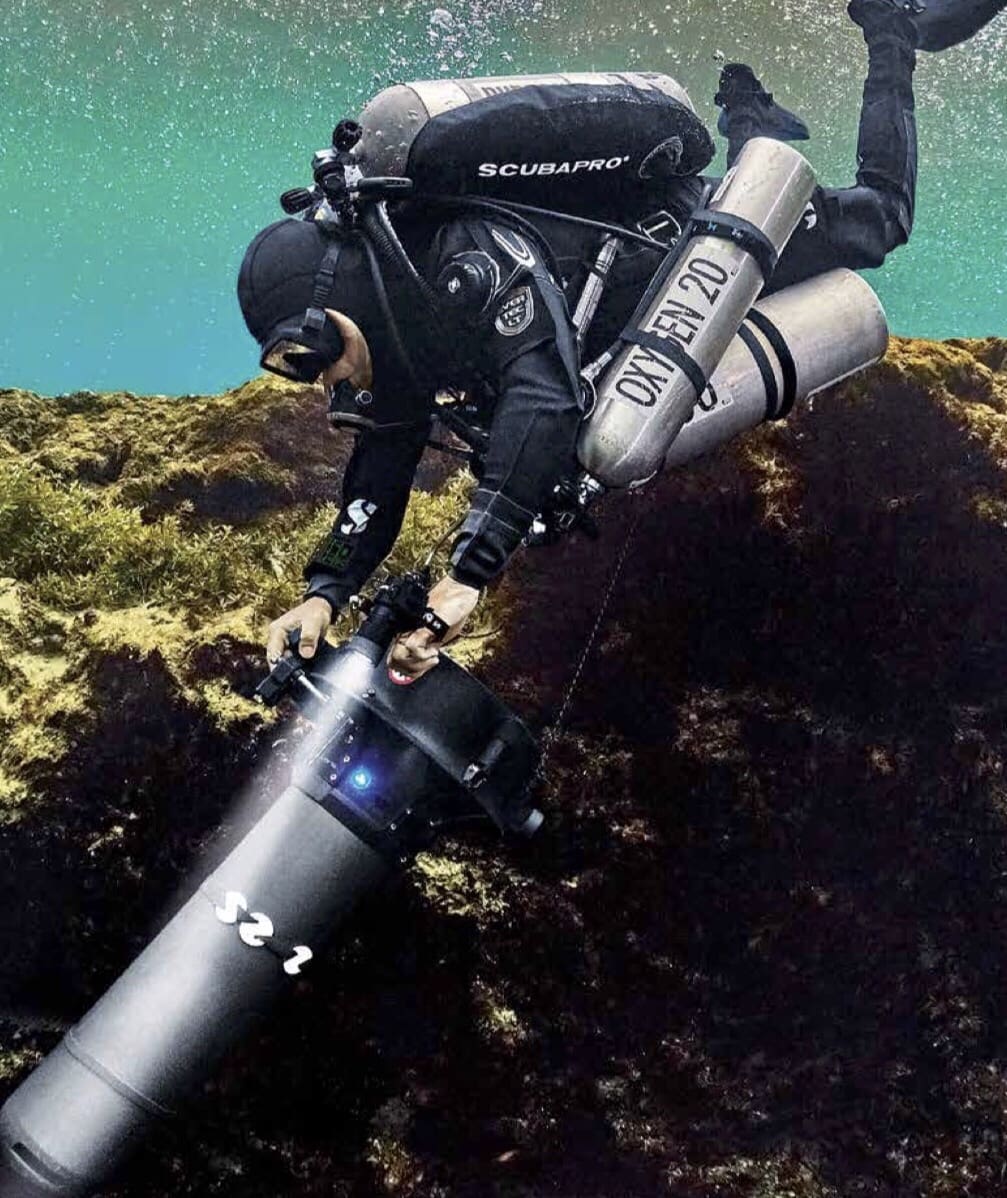
There are DPVs powerful enough to pull multiple divers at ones. The Suex is one of the best DPV’s out right now. I have seen it pull five fully loaded combat divers. Suex makes different models that can be used by themselves or linked together to work in pairs. The Suex represent the cutting-edge technology of underwater mobility. Performance, reliability, maneuverability, are the cornerstones that make Suex one of the leaders in the underwater scooter market. Diving a Suex is an incredible experience, ensures both high level of maneuverability in overhead environments and comfort during extensive cruising.
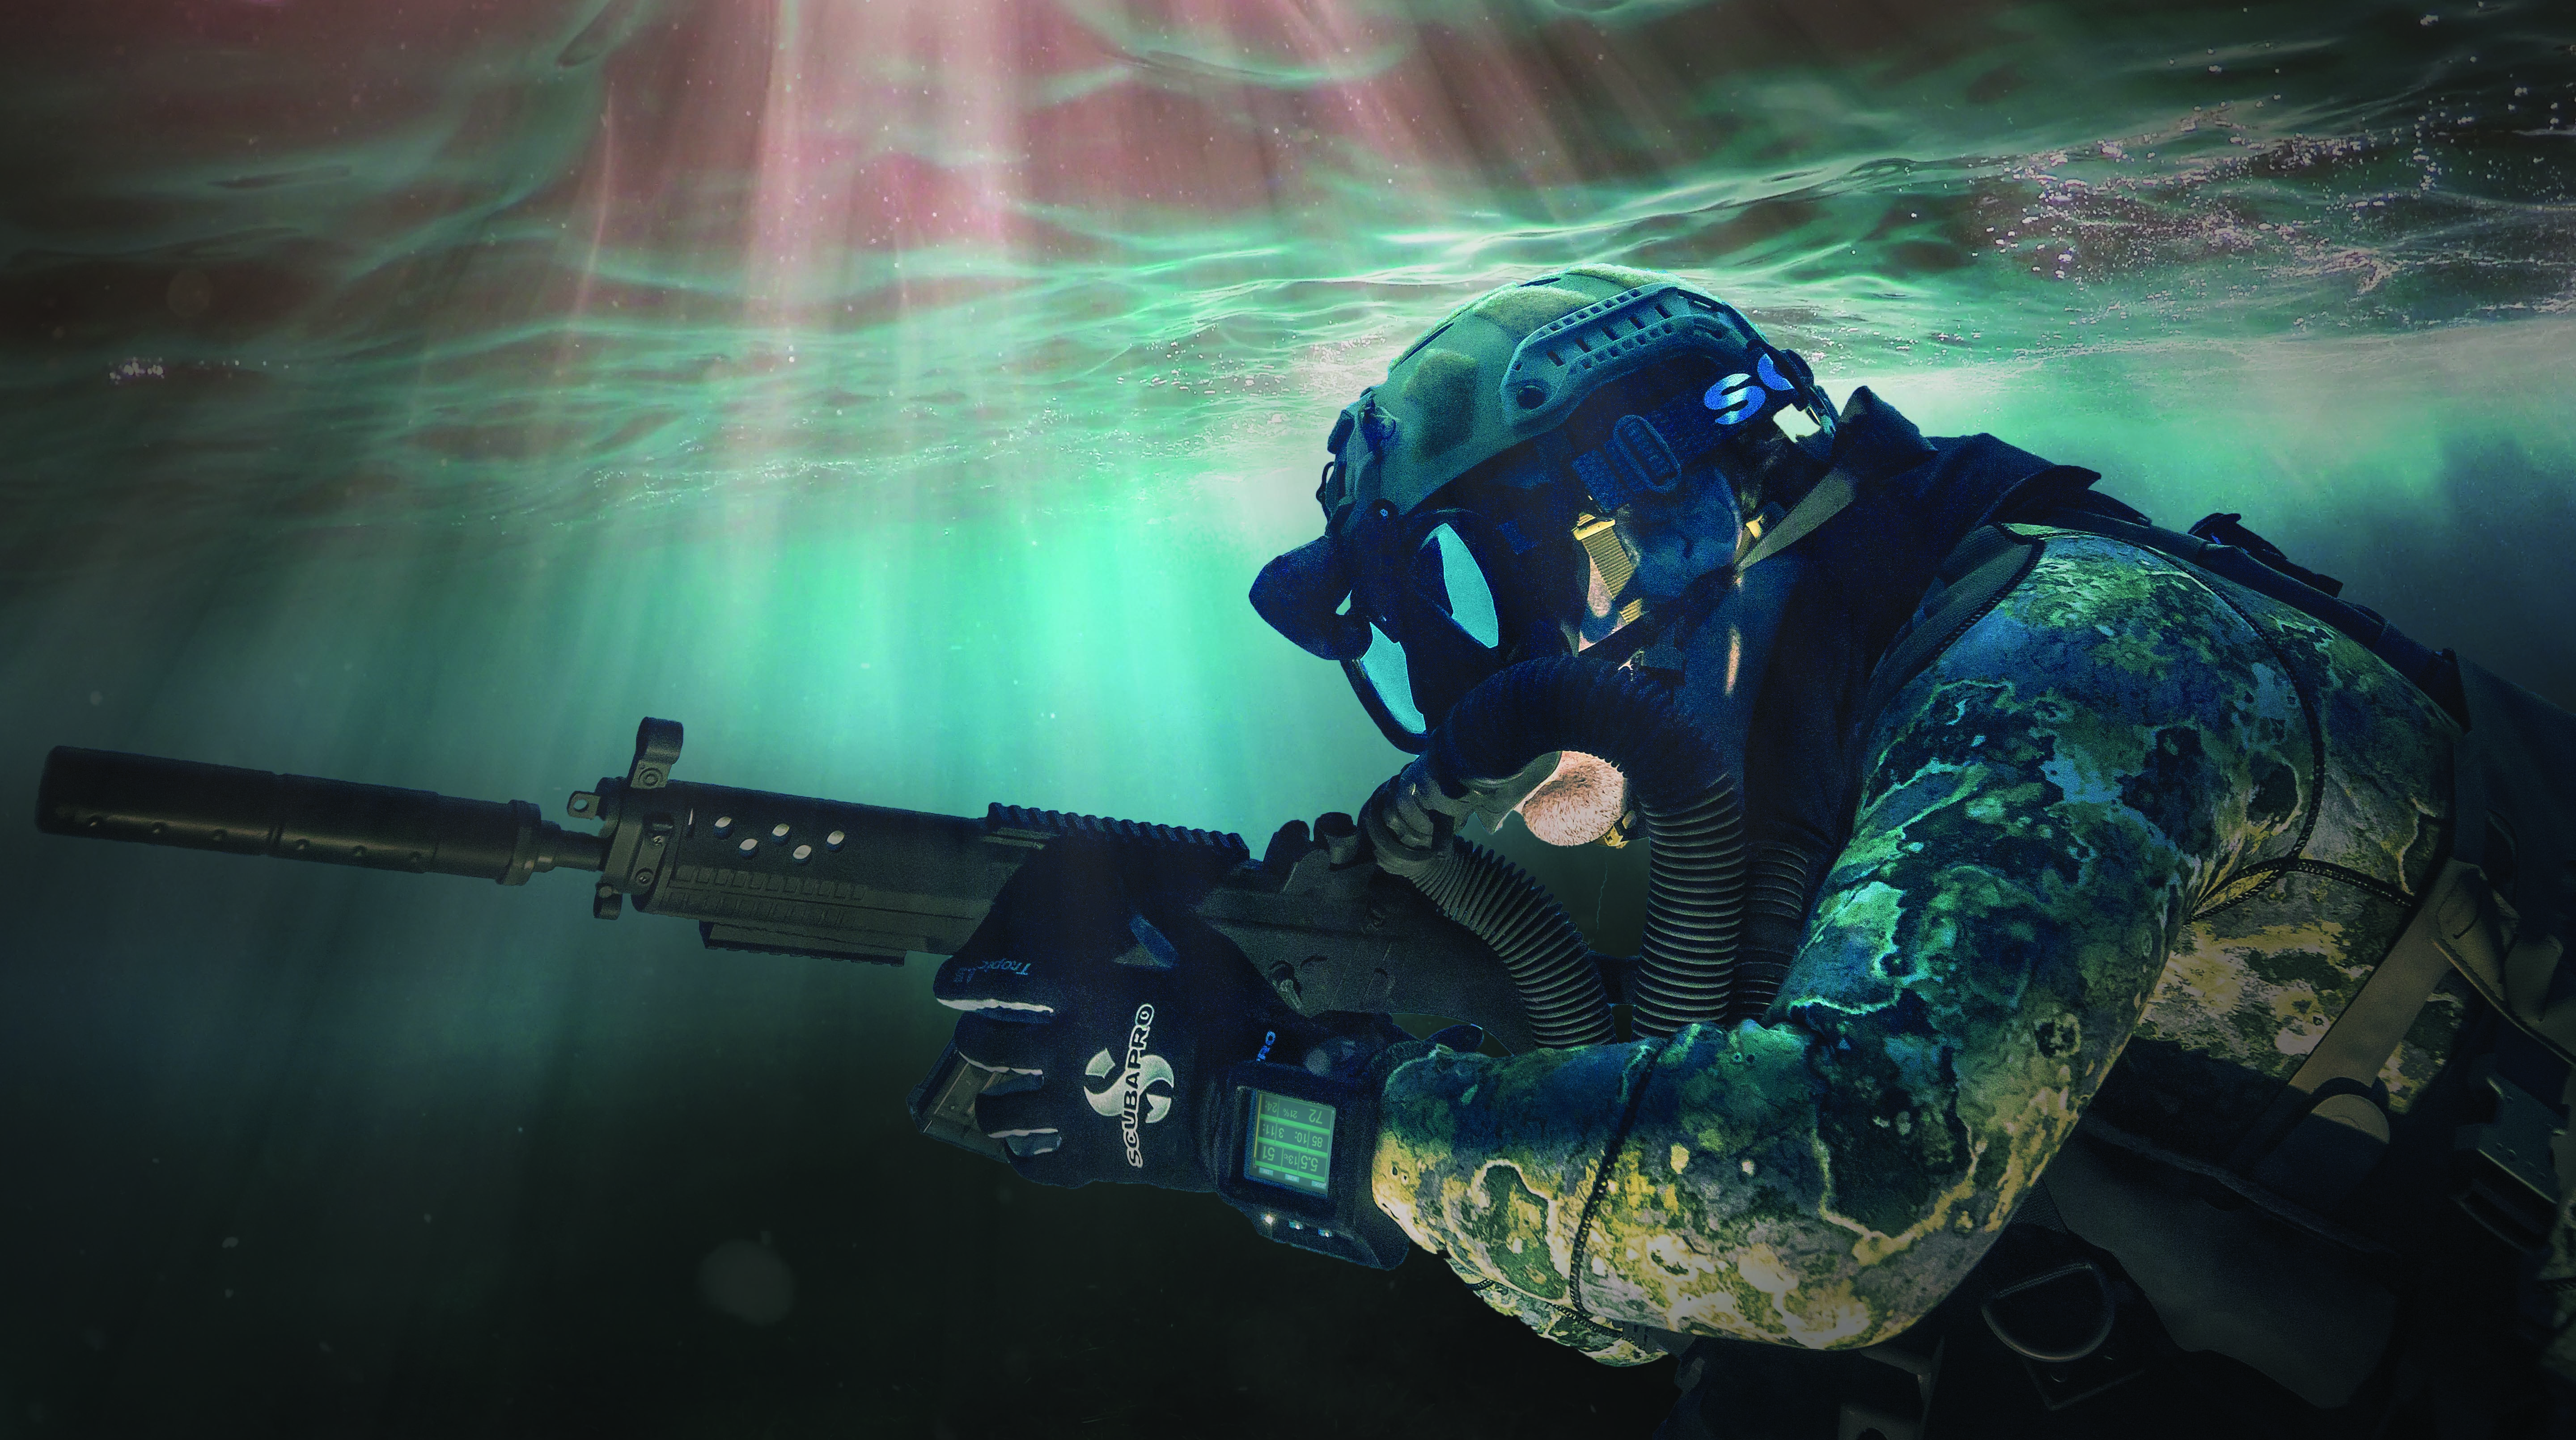
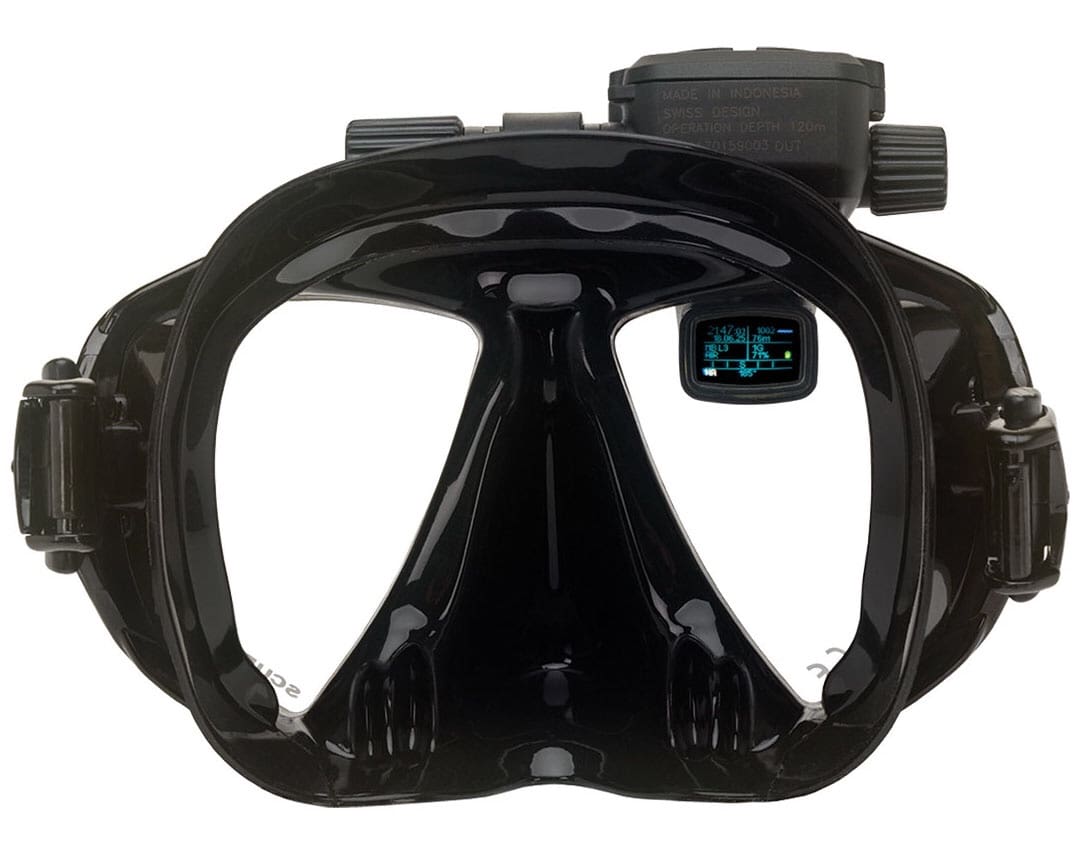
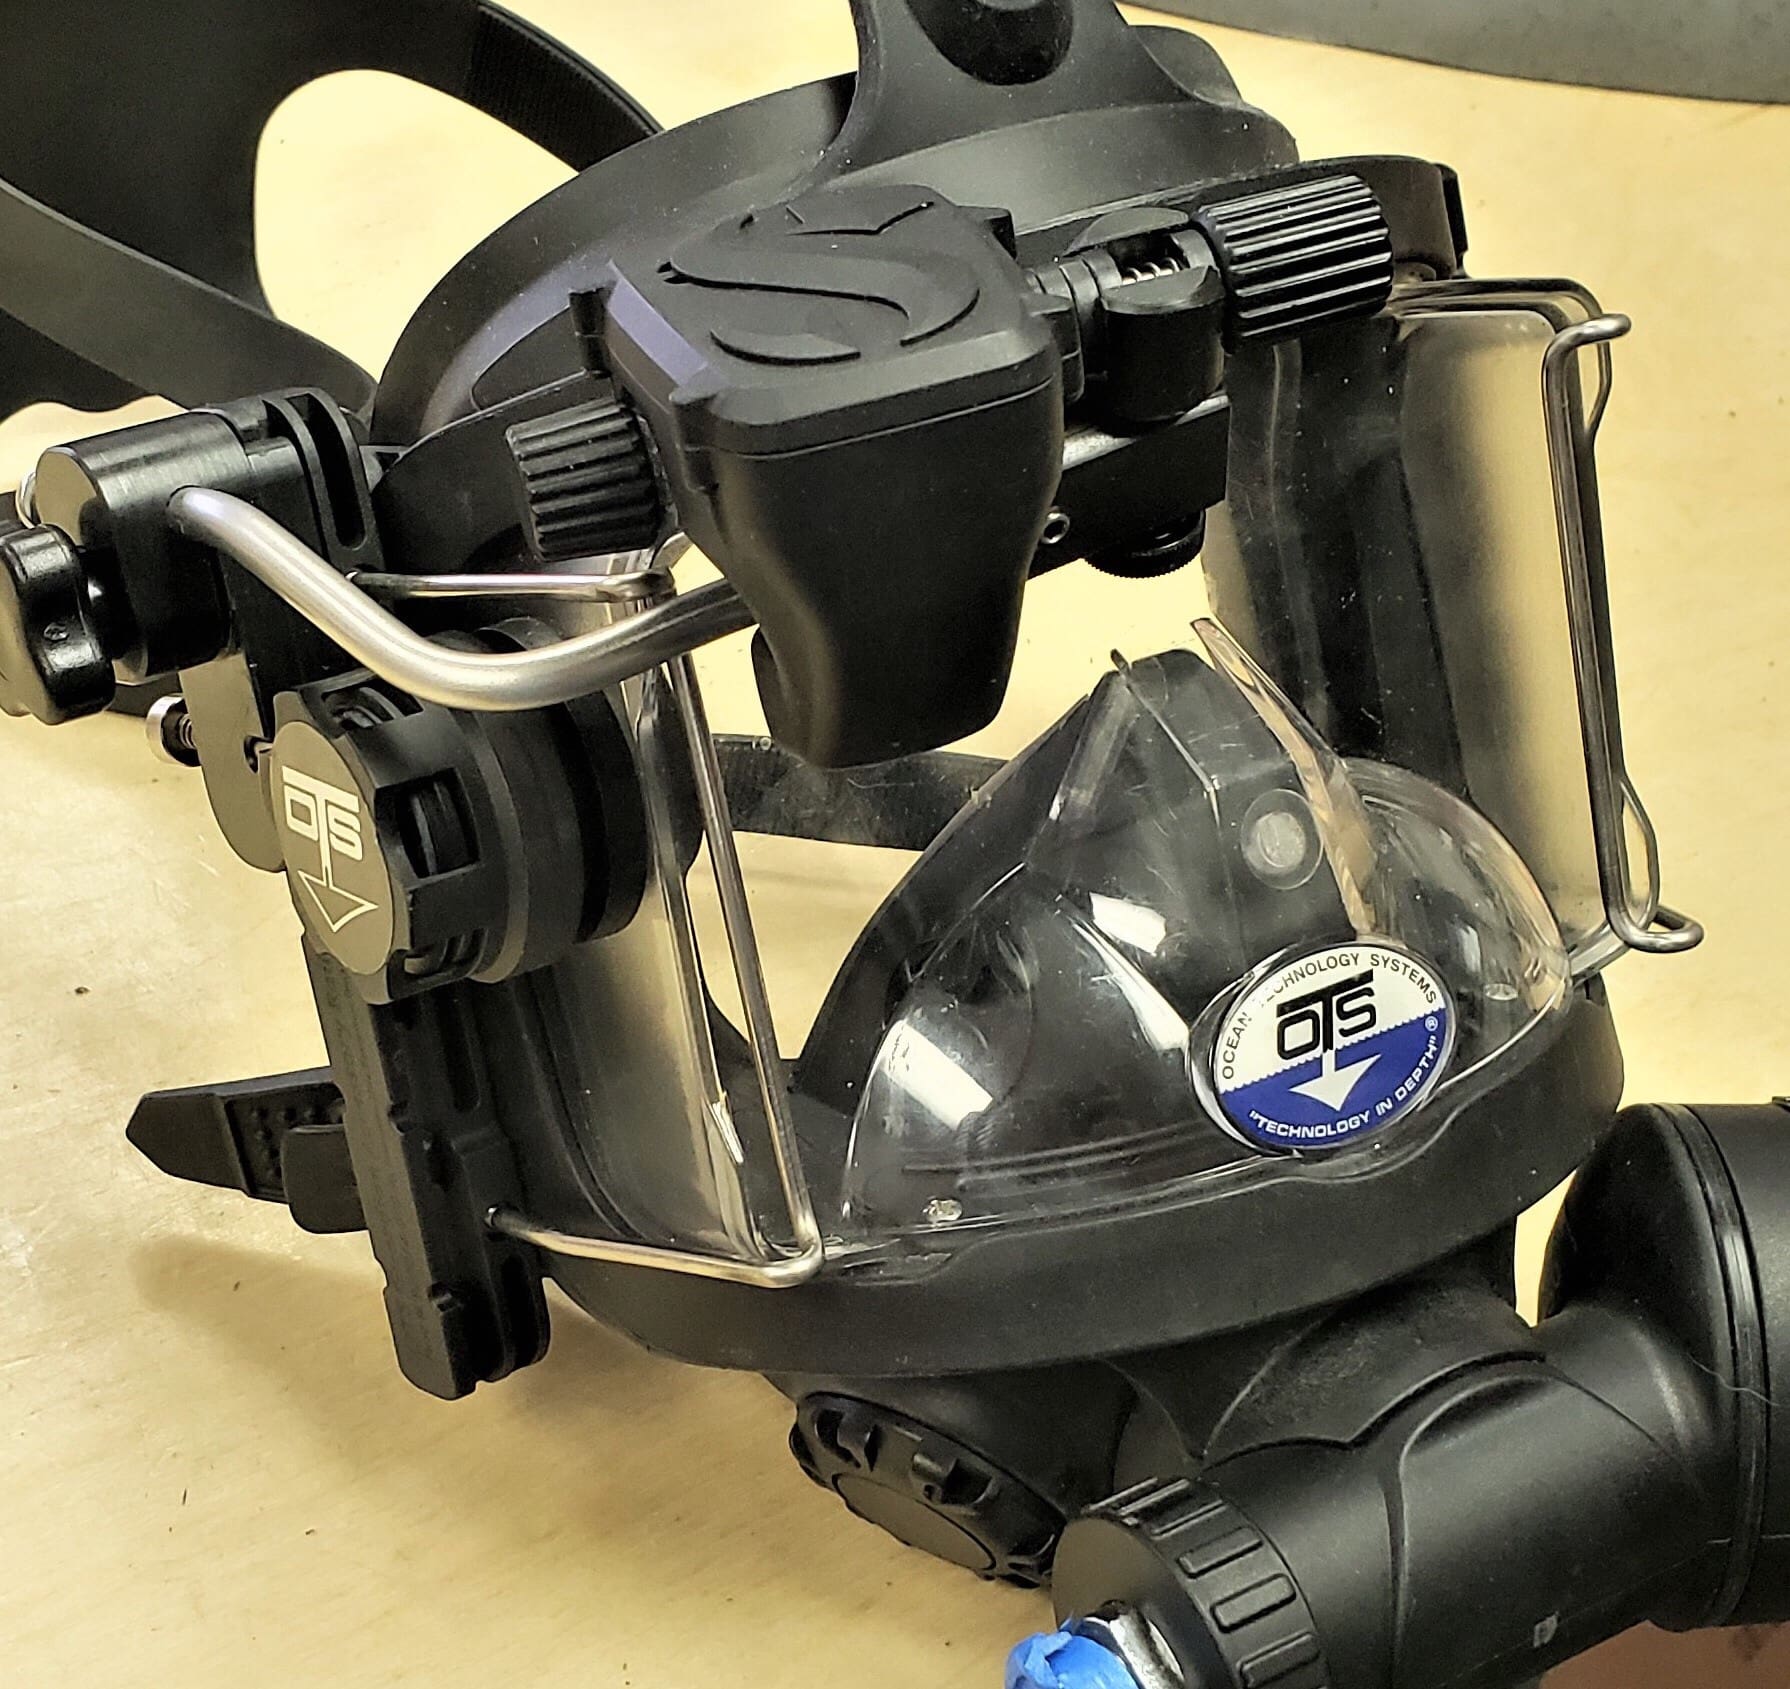
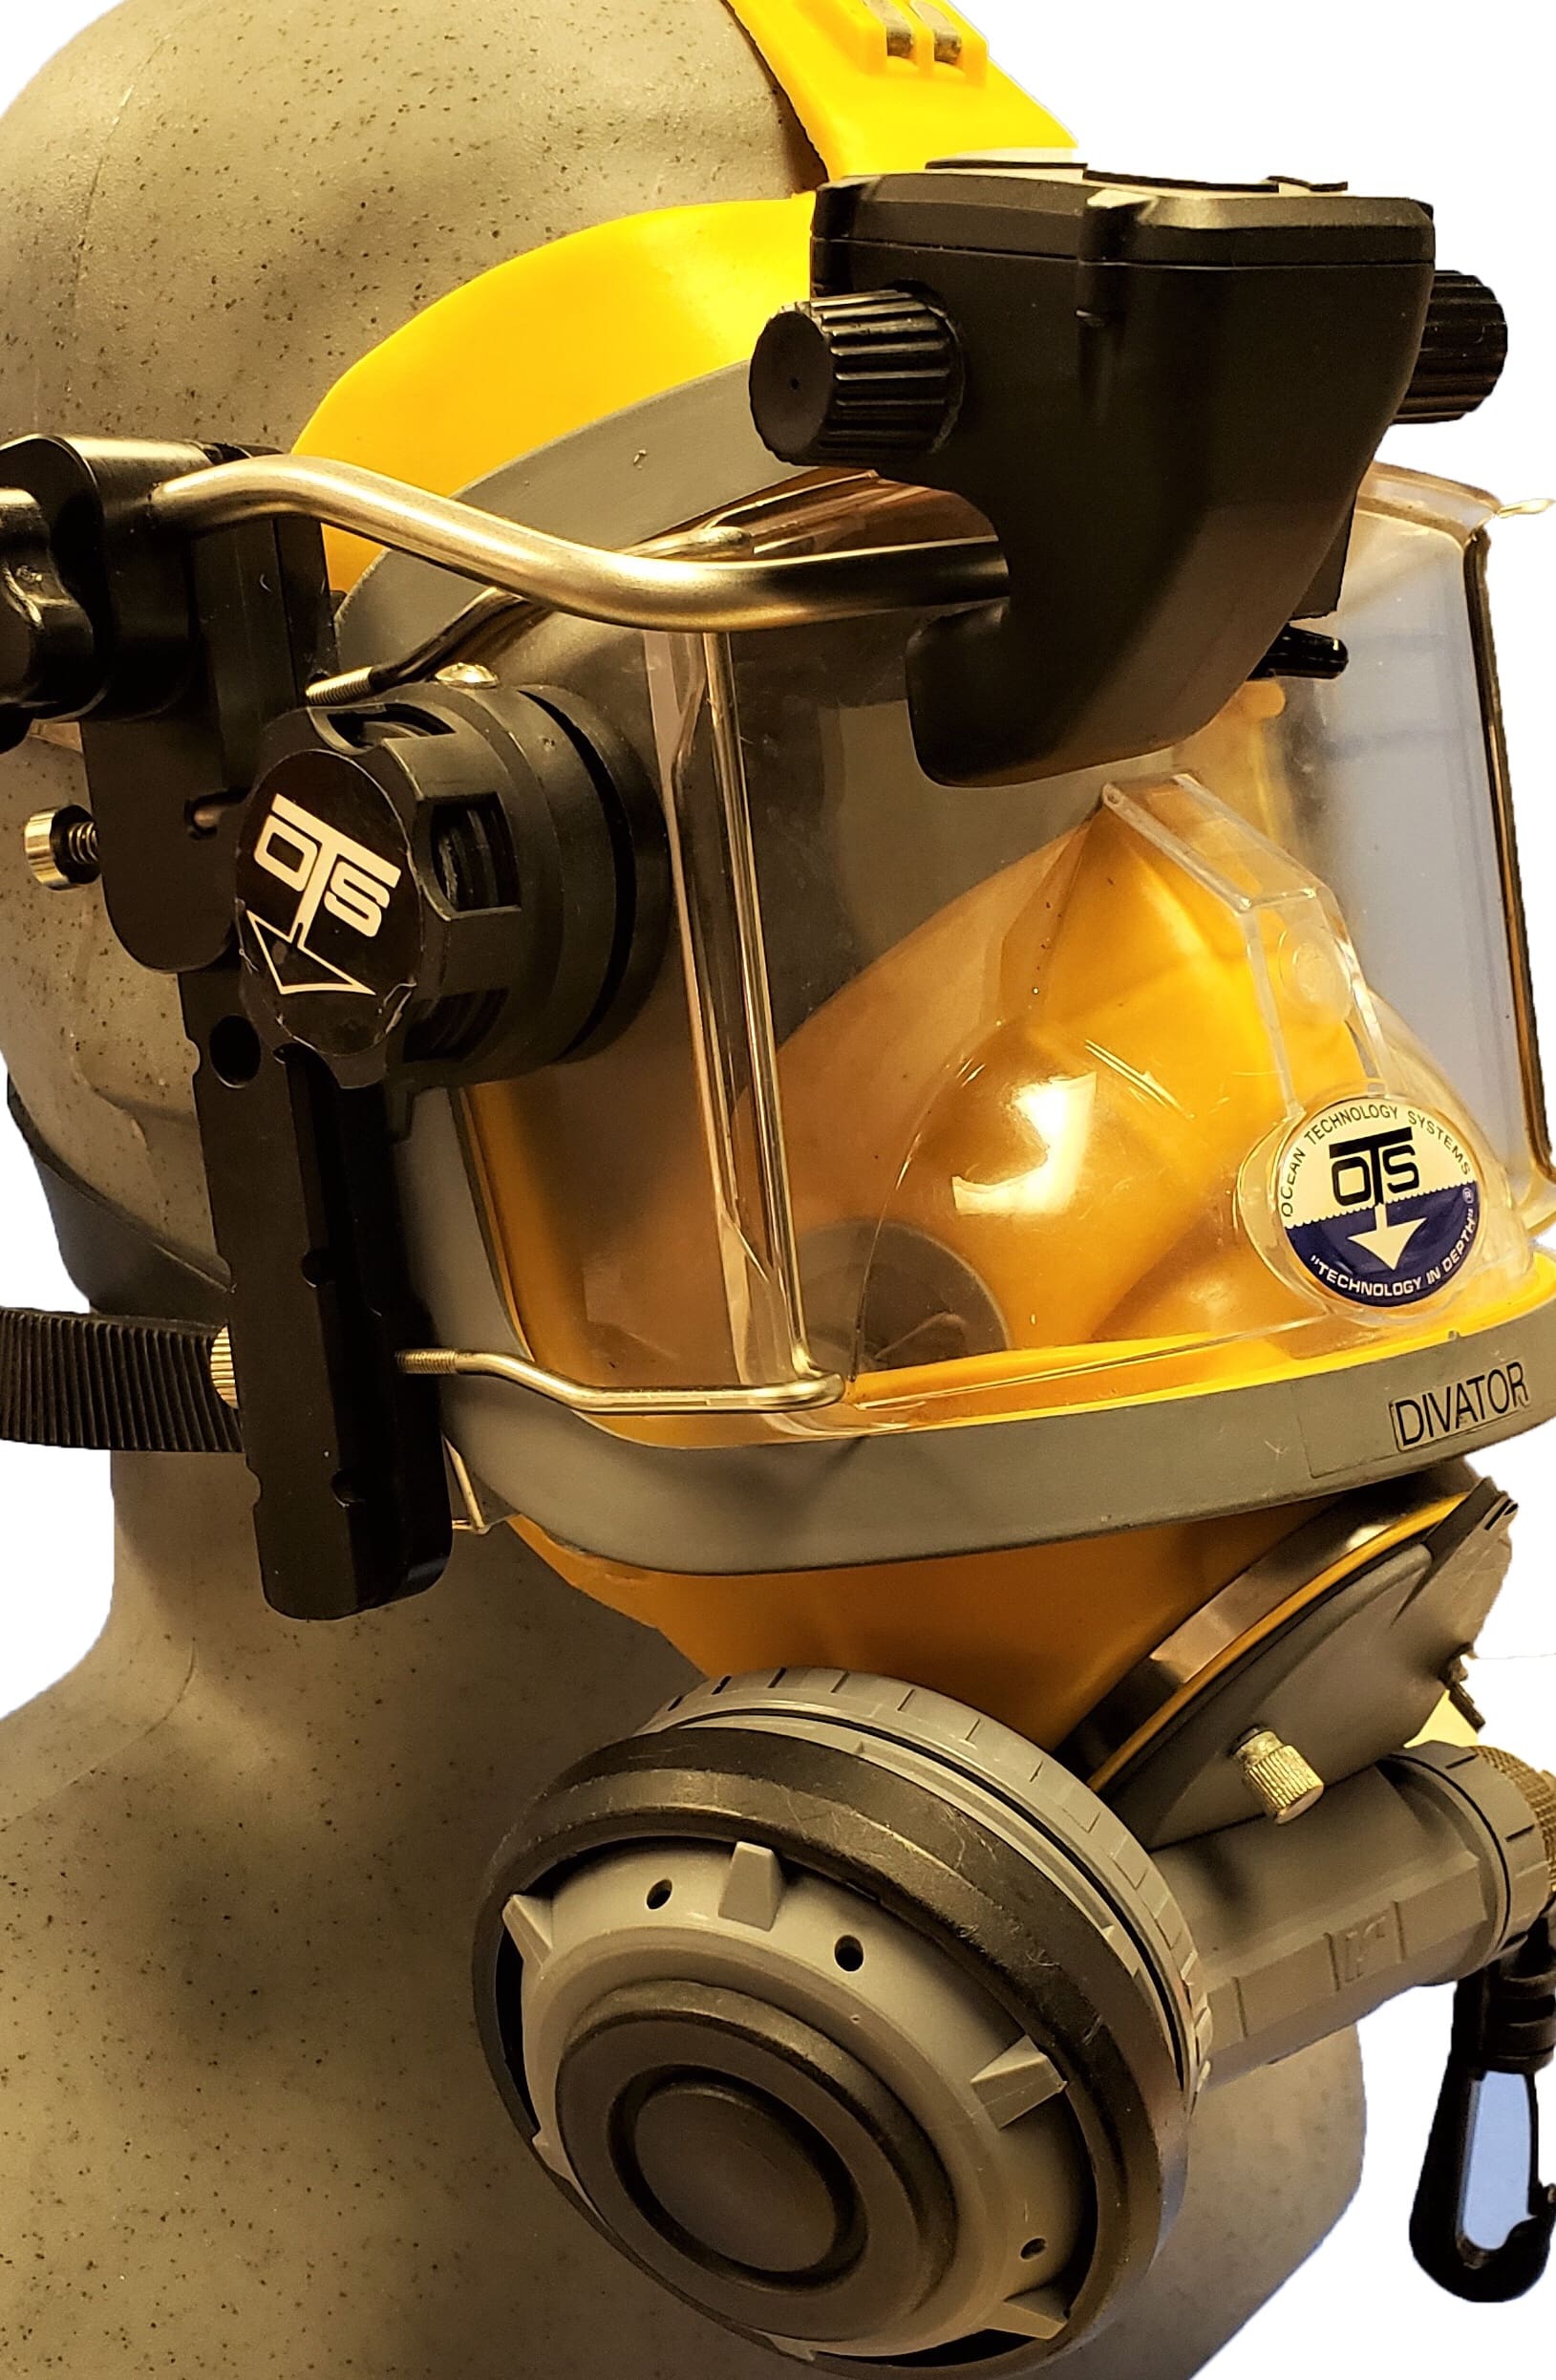
A lot of divers are being required to wear helmets when they are diving a DPV type devise. SCUBAPRO makes a helmet mask system call the Odin straps. It gives you the ability to attach any SCUBAPRO masks that has quick clips directly to an Ops Core ARC Rail. They can be quickly donned and doffed. They can also be changed backed to the full mask strap. Divers should get additional training on how to pilot an underwater scooter before using them. While diving, an underwater scooter should only be used for horizontal movement. Ascend and descend using your fins. DPVs have come a long way and they are still moving forward faster and faster, in the water and in technology.