Brisbane, Australia. 4th October 2022.
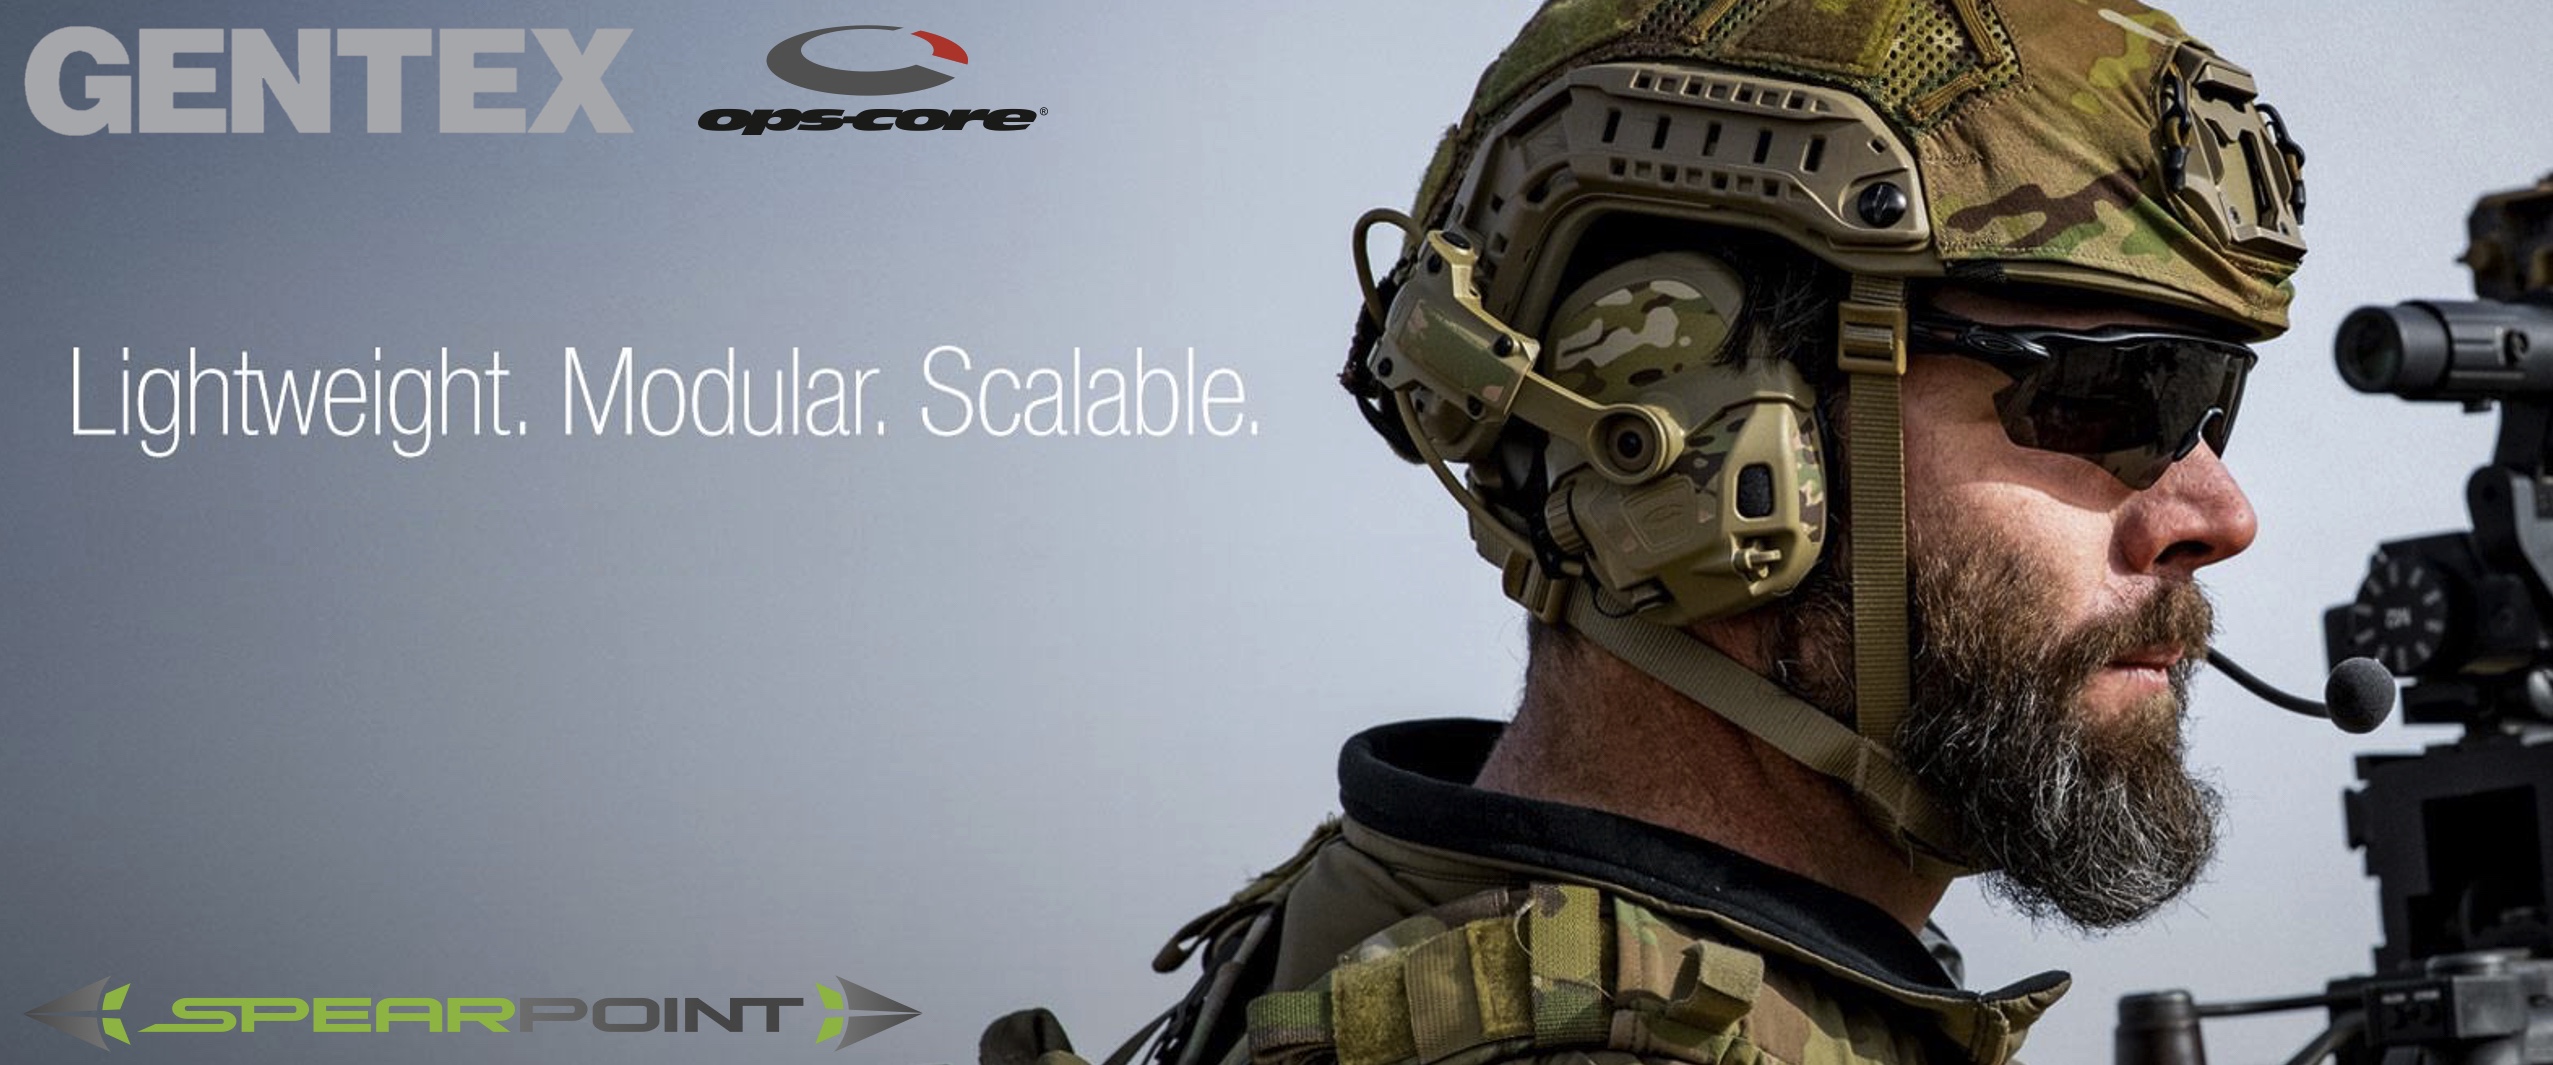
Spearpoint Solutions & Technology Pty Ltd (Spearpoint) has announced confirmation of their ongoing strategic partnership with Gentex Corporation, for the supply of the world’s leading ground combatant headborne systems. The collaboration is a continued effort by both companies to offer the Australian Defence Force the most advanced systems, with a particular emphasis on the requirements for Project Land 125 Phase 4, Integrated Soldier Systems.
-Gentex Corporation, and its subsidiary Ops-Core, design and manufacture the most innovative and comprehensive range of headborne systems for ground combatants.
-Spearpoint provides leading-edge, innovative, high-quality, operationally-proven solutions to Defence, Law Enforcement and National Security clients. Spearpoint previously led a group of nine leading international Defence companies to integrate multiple soldier systems into a Digital Combat Helmet System under a Defence Innovation Hub contract.
-This partnership confirms the decade-long relationship between the companies, offering a design, development, manufacturing and integration capability second to none.
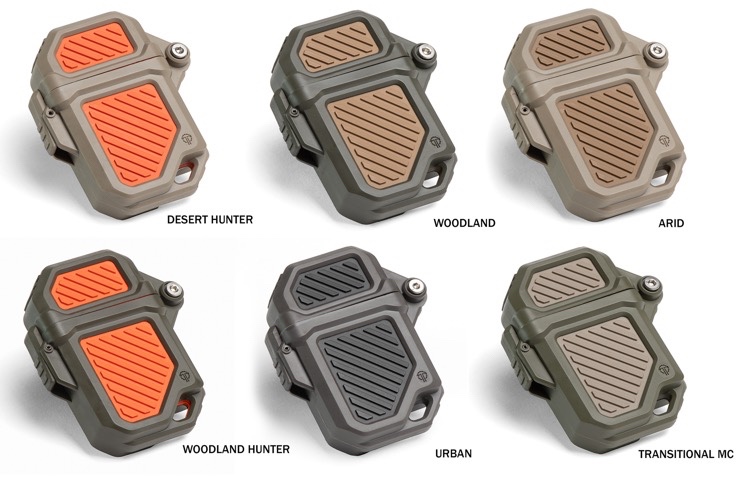
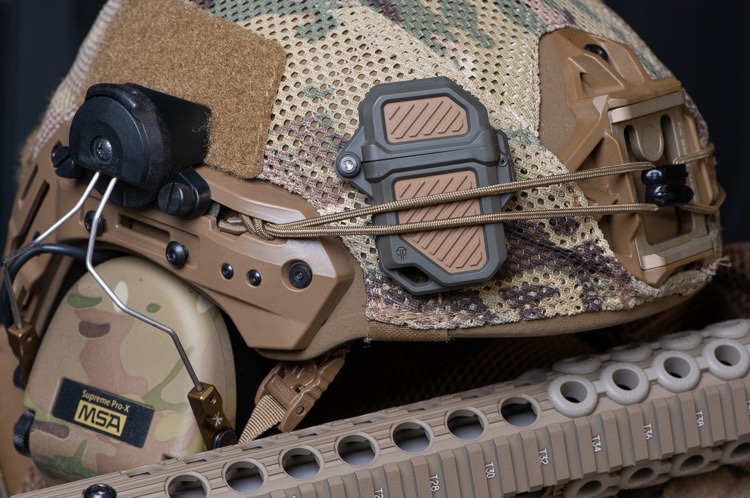
In recognition of our long-standing and successful partnership, Gentex confirmed the appointment of Spearpoint as its sole representative for Project Land 125 Phase 4, Integrated Soldier Systems. This will revolve around the current range of modular headborne systems including ballistic and bump helmets, helmet mandibles, situational awareness/communication headsets, eyewear, respirators, and headborne power/data systems and other ancillaries.
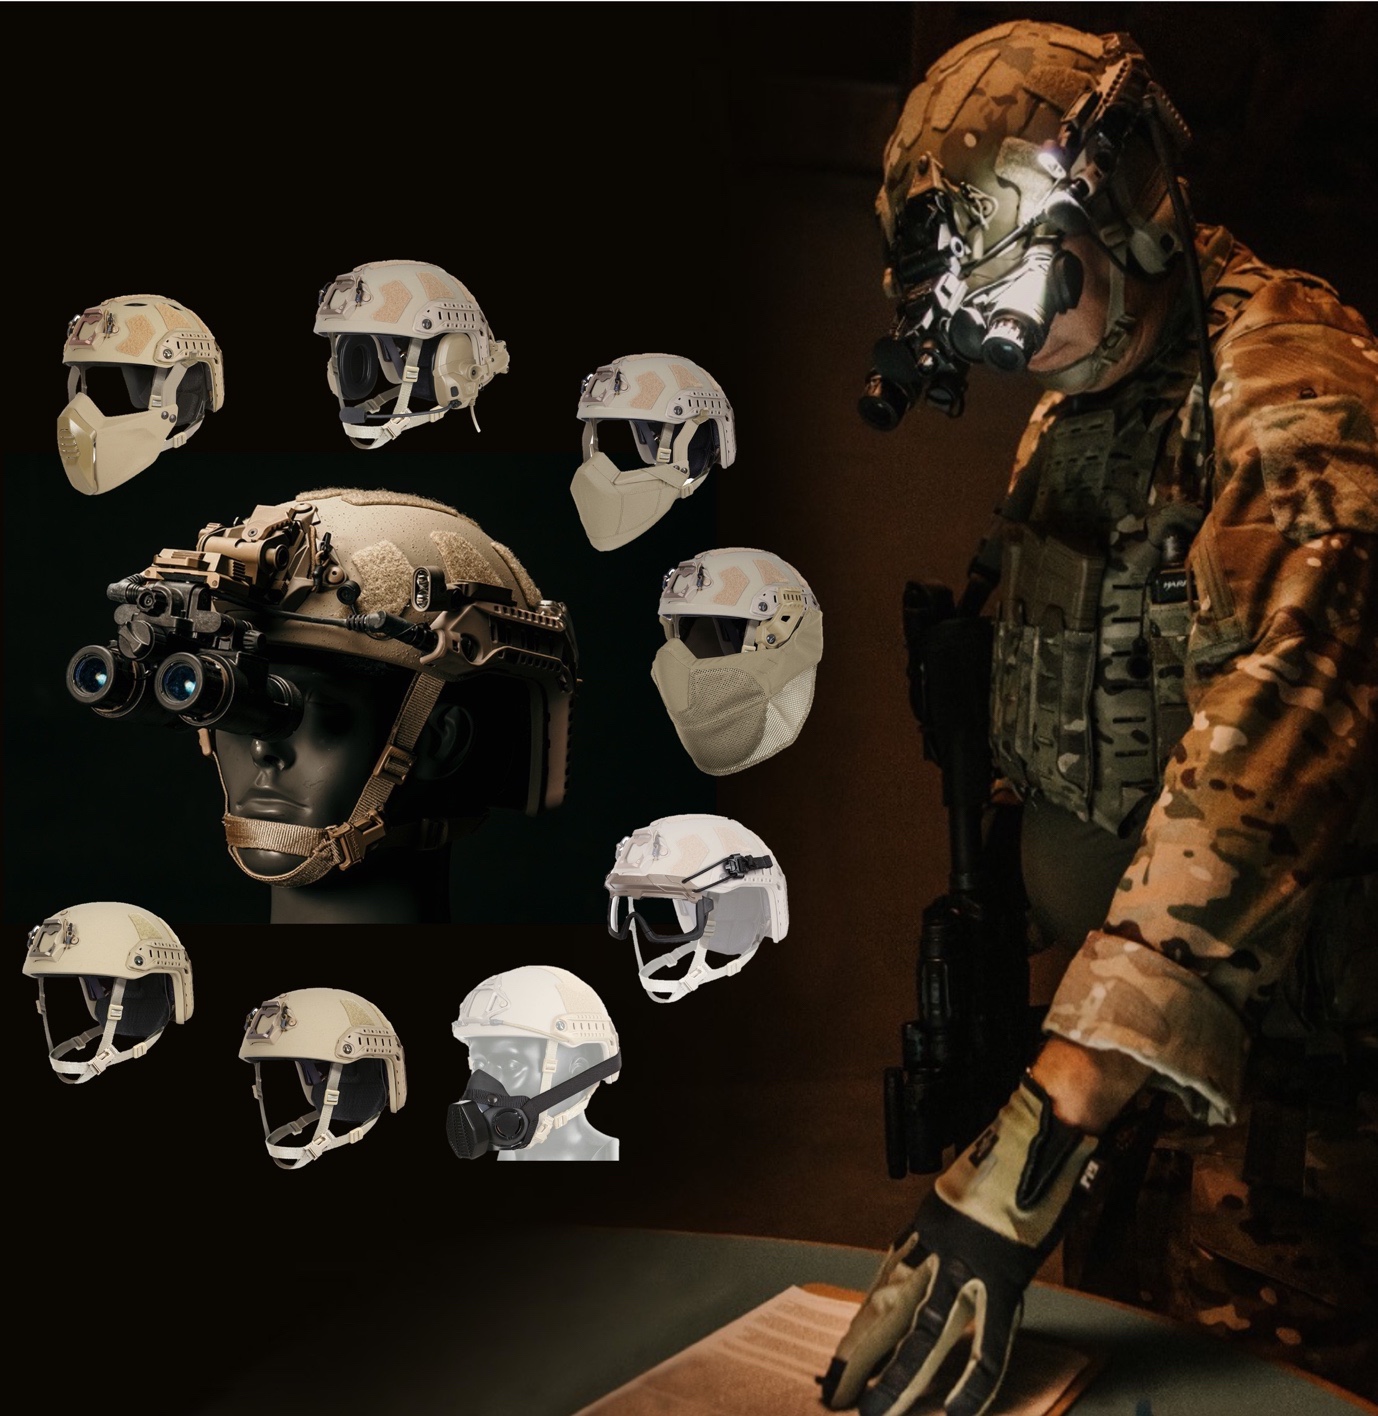
Gentex Family of Tactical Headborne Systems (Source: Spearpoint)
Andrew Jiear, Spearpoint CEO, said Spearpoint is proud to continue our strategic relationship with Gentex. Gentex are the global leaders in headborne personal protection and situational awareness solutions. This reinforces our opportunity to build on the developments achieved with our other partners for the Digital Combat Helmet System, which we believe is a critical element of any future Integrated Digital Soldier System.
Spearpoint is a sovereign, wholly-Australian, Veteran-owned company, based in Queanbeyan NSW. Spearpoint has previously supplied ballistic helmets and ancillaries to the ADF, NZDF and most Australian Law Enforcement Agencies.
Gentex Corporation is the world’s leading designer, developer and manufacturer of military headborne systems, based in Carbondale PA USA. Gentex is the designer of the F-35 JSF and F/A-18 fixed wing, HGU-56P rotary wing, DH-132 combat vehicle crewman, and FAST SF helmet systems (in service with USSOCOM and other Tier 1 units worldwide).
Contact Information: sales@spearpoint.net.au